• “Waste toner bottle removal” on page 304
• “Waste toner bottle contact block removal” on page 305
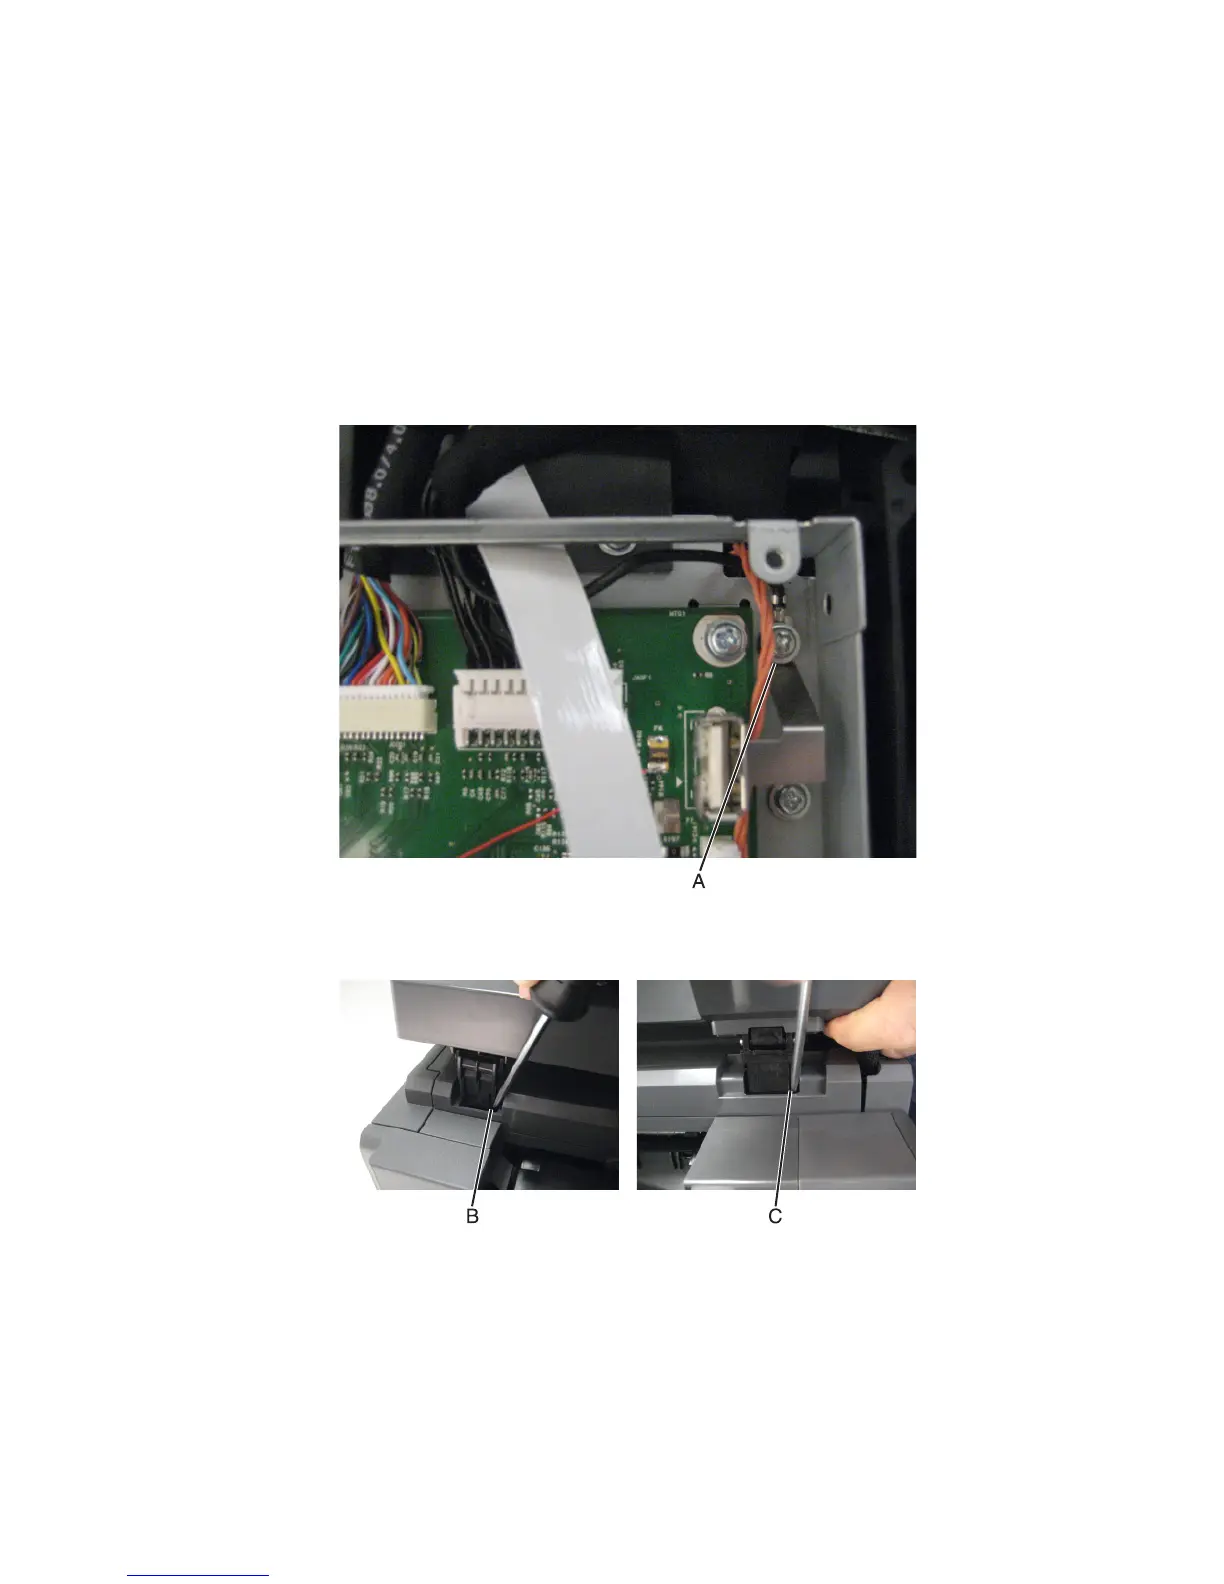
ADF assembly removal
1 Remove the exit tray. See “Output bin tray and exit bail removal” on page 216.
2 Remove the rear cover. See “Rear cover removal” on page 221.
3 Remove the rear scanner cover. See “Rear scanner cover removal” on page 222.
4 Remove the ground screw (A) from the ADF assembly.
5 Disconnect the left hinge (B) and the right hinge (C) from the top of the printer, lift, and let the ADF assembly rest
on the top of the printer.
7527
Repair information
231