Installation notes:
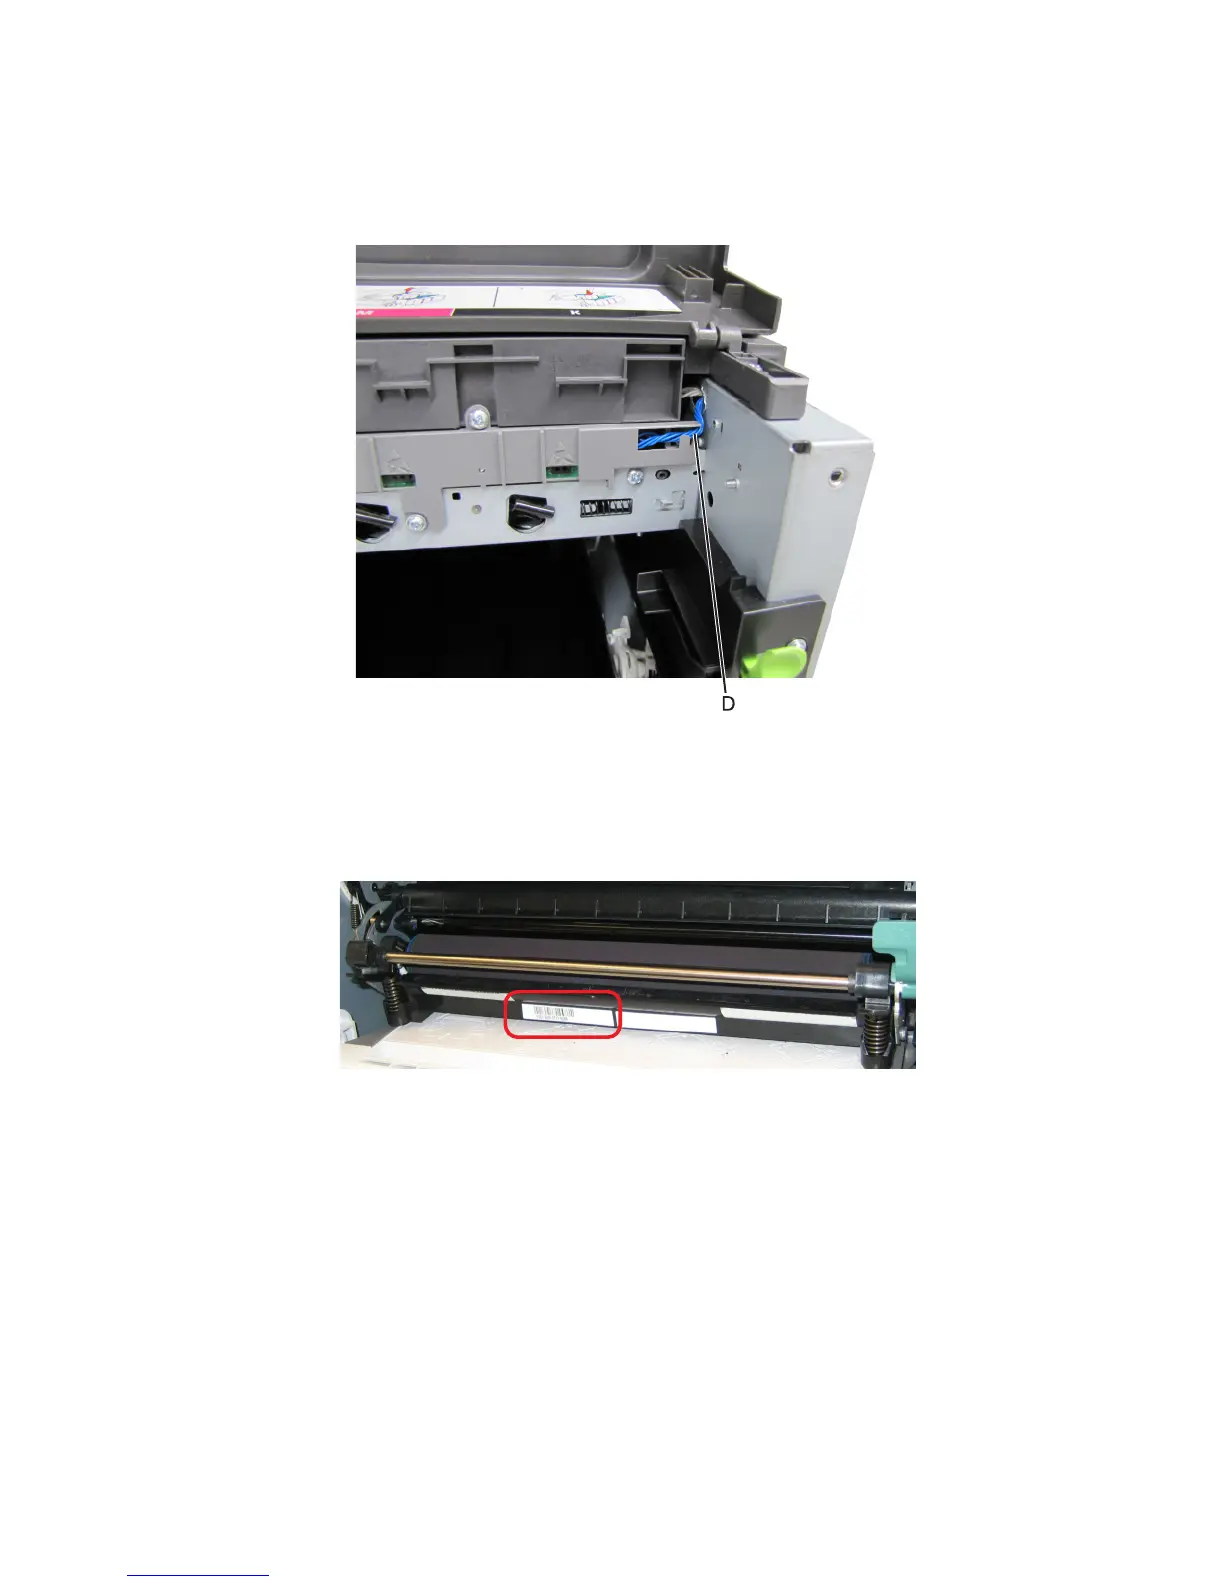
• Be sure the cable (D) runs through the retainer.
• The toner meter cycle card is a tight fit. Insert the bottom edge inside the frame, and then push down on the
top edge to clear the top cover.
Transfer module removal
1 Write down the number of the new transfer module before installing it. You will need the 16-digit numeric value
from the barcode after the installation, and it is easier to see at this point.
2 Remove the right cover assembly. See “Right cover assembly removal” on page 223.
3 Remove the waste toner bottle. See “Waste toner bottle removal” on page 304.
4 Remove the imaging unit (IU). See “Imaging unit (IU) removal” on page 266.
7527
Repair information
300