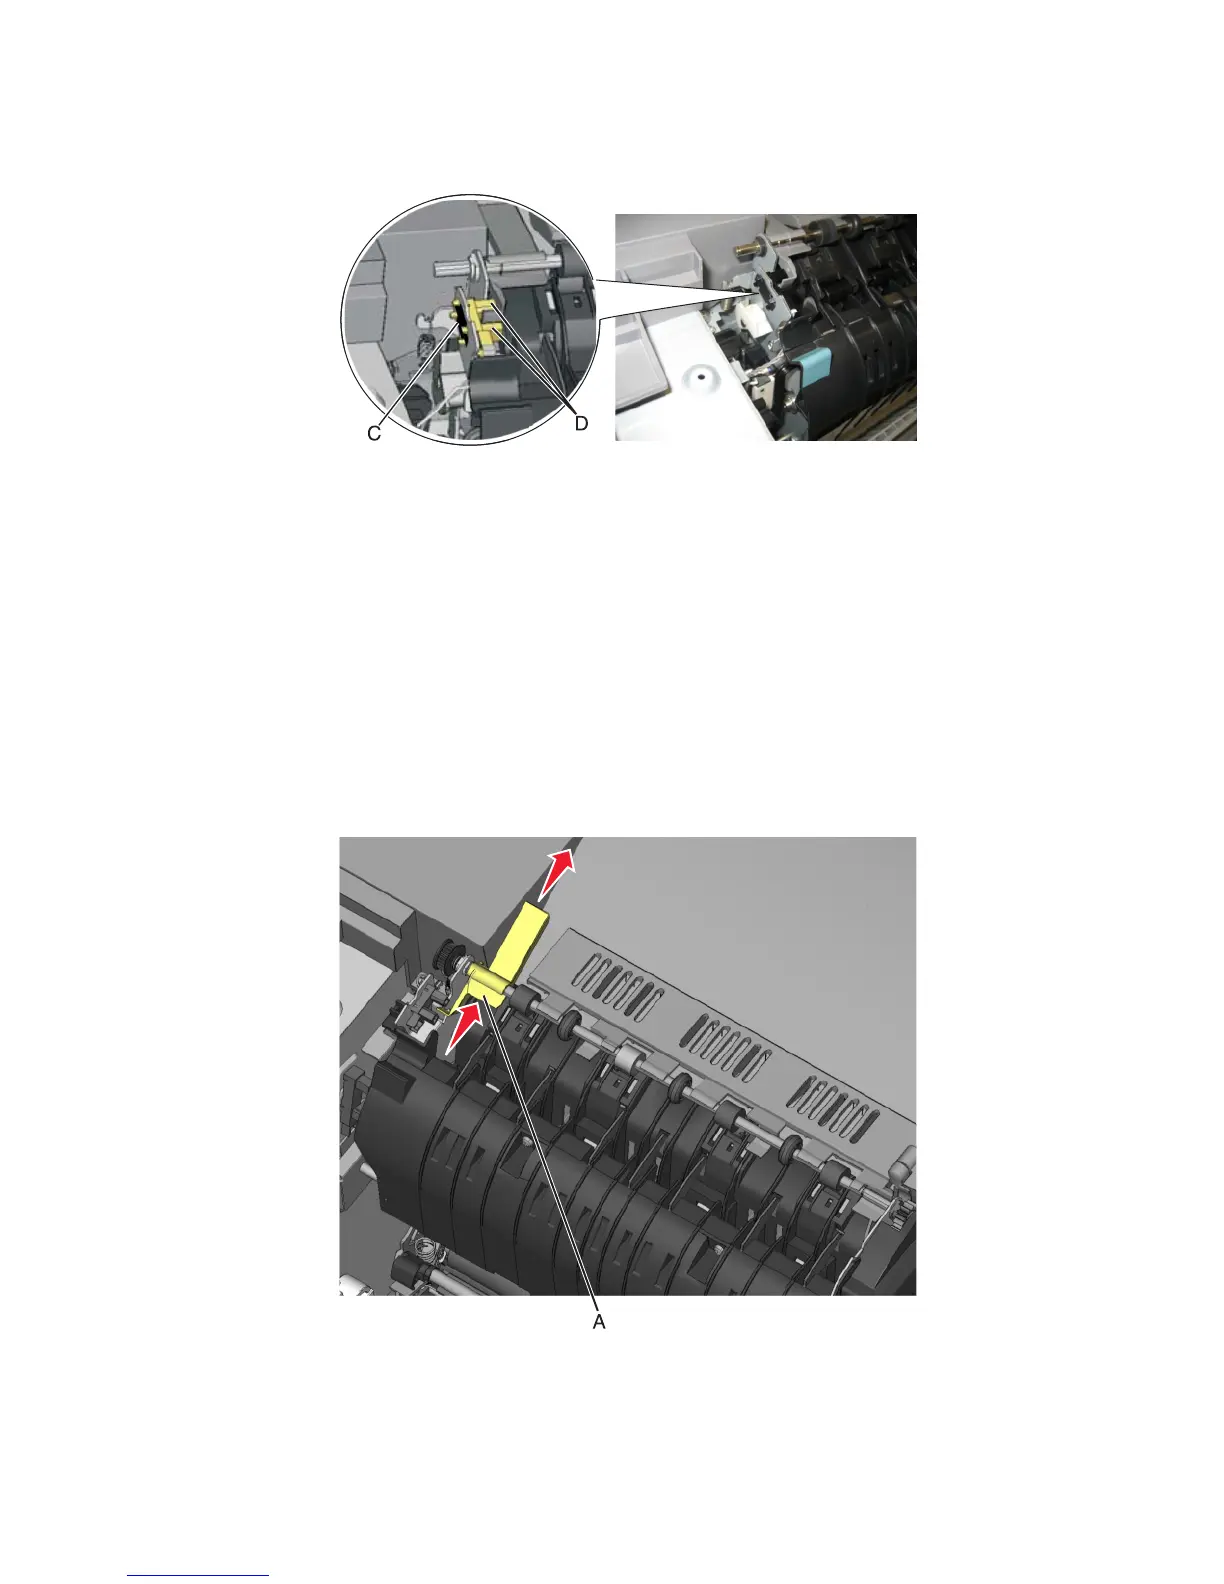
4 Remove the sensor retaining plate (C).
5 Gently remove the sensor from the bracket by pressing in on the latches (D).
Installation notes:
• Clean the contact surface where you removed the sensor retaining plate, or where you need to install the new one.
• Guide the latches that hold the sensor in the bracket into place.
• Squeeze the latches together until they latch to the metal frame.
• Remove the backing from the new plate, and place the plate on the surface between the sensor mounting legs.
• Reconnect the cable, and reroute the cable through the retainer.
Narrow media sensor flag removal
1 Open the front cover.
2 Press upward on the tab (A) to unsnap the narrow media sensor flag, and remove the flag.
Note: Be careful to not dislodge the sensor. Because of space, this flag should be installed on the fuser while the
fuser is out.
7527
Repair information
281