Front logo cover removal
Grasp the front logo, and pull sharply.
Note: A flat-tipped screw may have to be used at the outer edges on the CX510. This cover part does not give access
to any other part and therefore does not need to be removed except for replacement
Fuser assembly removal
1 Remove the right cover assembly. See “Right cover assembly removal” on page 223.
2 Remove the left cover assembly. See “Left cover assembly removal” on page 219.
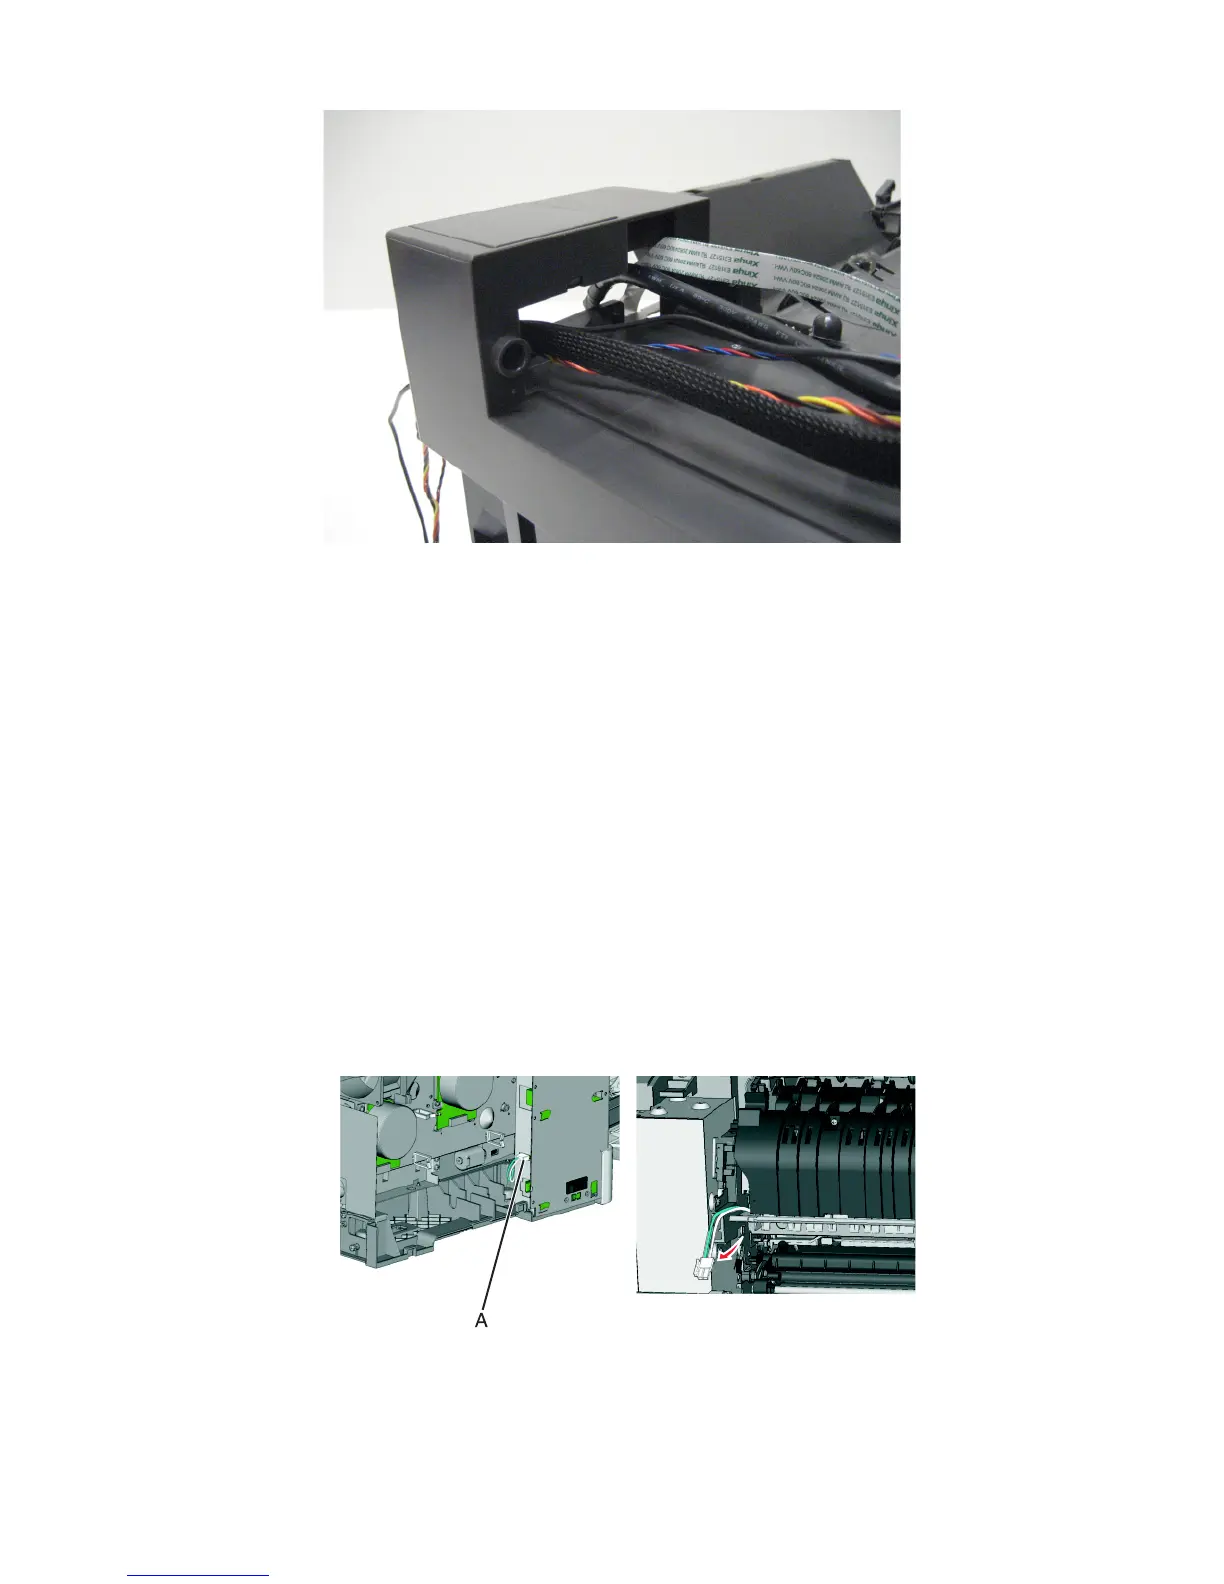
3 Disconnect the two‑wire fuser cable (A) from the LVPS.
4 Position the fuser cable so that it can be pulled through from the front of the printer, and guide the cable through
to the front.
Warning—Potential Damage: Be careful not to damage the cable by pulling too hard or cutting the cable
insulation.
7527
Repair information
257