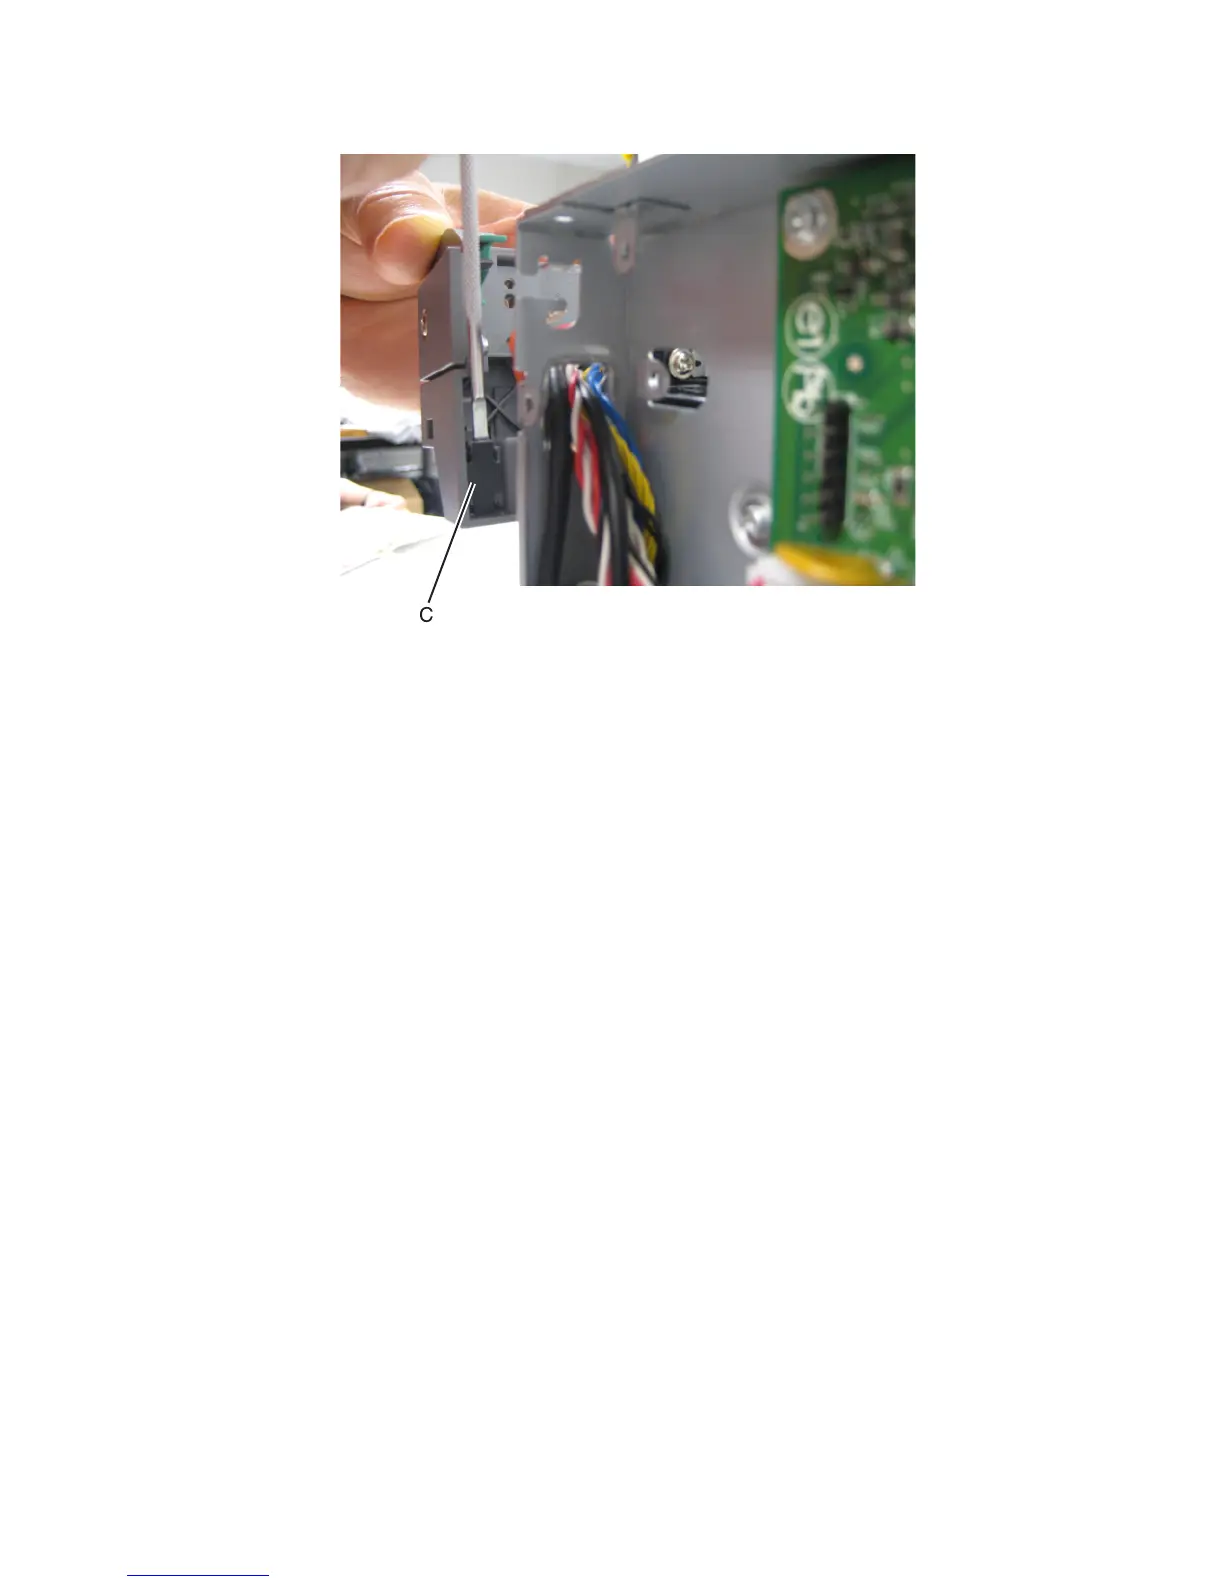
5 Remove the sensor retaining plate (C), and then pinch the latches together to remove the tray present sensor.
6 Disconnect the tray present sensor cable.
Installation notes:
a Clean the contact surface where you removed the sensor retaining plate, or where you need to install the new
one.
Install the sensor.
b Remove the backing from the new plate, and place the plate on the surface between the sensor mounting posts.
c Connect the cable to the tray present sensor.
d Replace the spring.
USB port connector removal
Note: The FRU includes the USB port connector and cable.
1 Remove the flatbed scanner assembly. See “Flatbed scanner assembly removal” on page 252.
2 Remove the operator panel. See “Operator panel removal (for CX310 and CX410 models only)” on page 283 or
“Operator panel removal (for CX510 models only)” on page 289.
3 Remove the USB connector fastened to the operator panel assembly.
4 Remove the two screws from the small cover plate.
5 Remove the USB cable from the flatbed scanner assembly, noting the access on each end.
Note: Do not reposition any of the cables.
6 Reinstall the cover plate.
7527
Repair information
303