3 Remove the controller board.
Warning—Potential Damage: When replacing the controller board, verify the cable from the high-voltage
power supply is seated properly. The cable may have come loose from the HVPS. Print a few pages to verify the
installation. If the pages are blank, then confirm that the high-voltage power supply cable is properly seated.
The connector may have been loosened at the HVPS. A blank page that should have toner on it could be an
indication that toner is applied to the ITU belt but not transferred. Therefore the toner goes into the ITU cleaner
which cannot process massive amounts of toner. It is important to prevent extensive blank pages from being
processed if they should have toner on them.
Installation note: Perform the Motor Detect test and Scanner manual registration after replacing this part. See
“Motor Detect” on page 169 and “Scanner manual registration” on page 195.
Developer unit removal
Note: The developer units are not FRUs.
1 Open the toner access door.
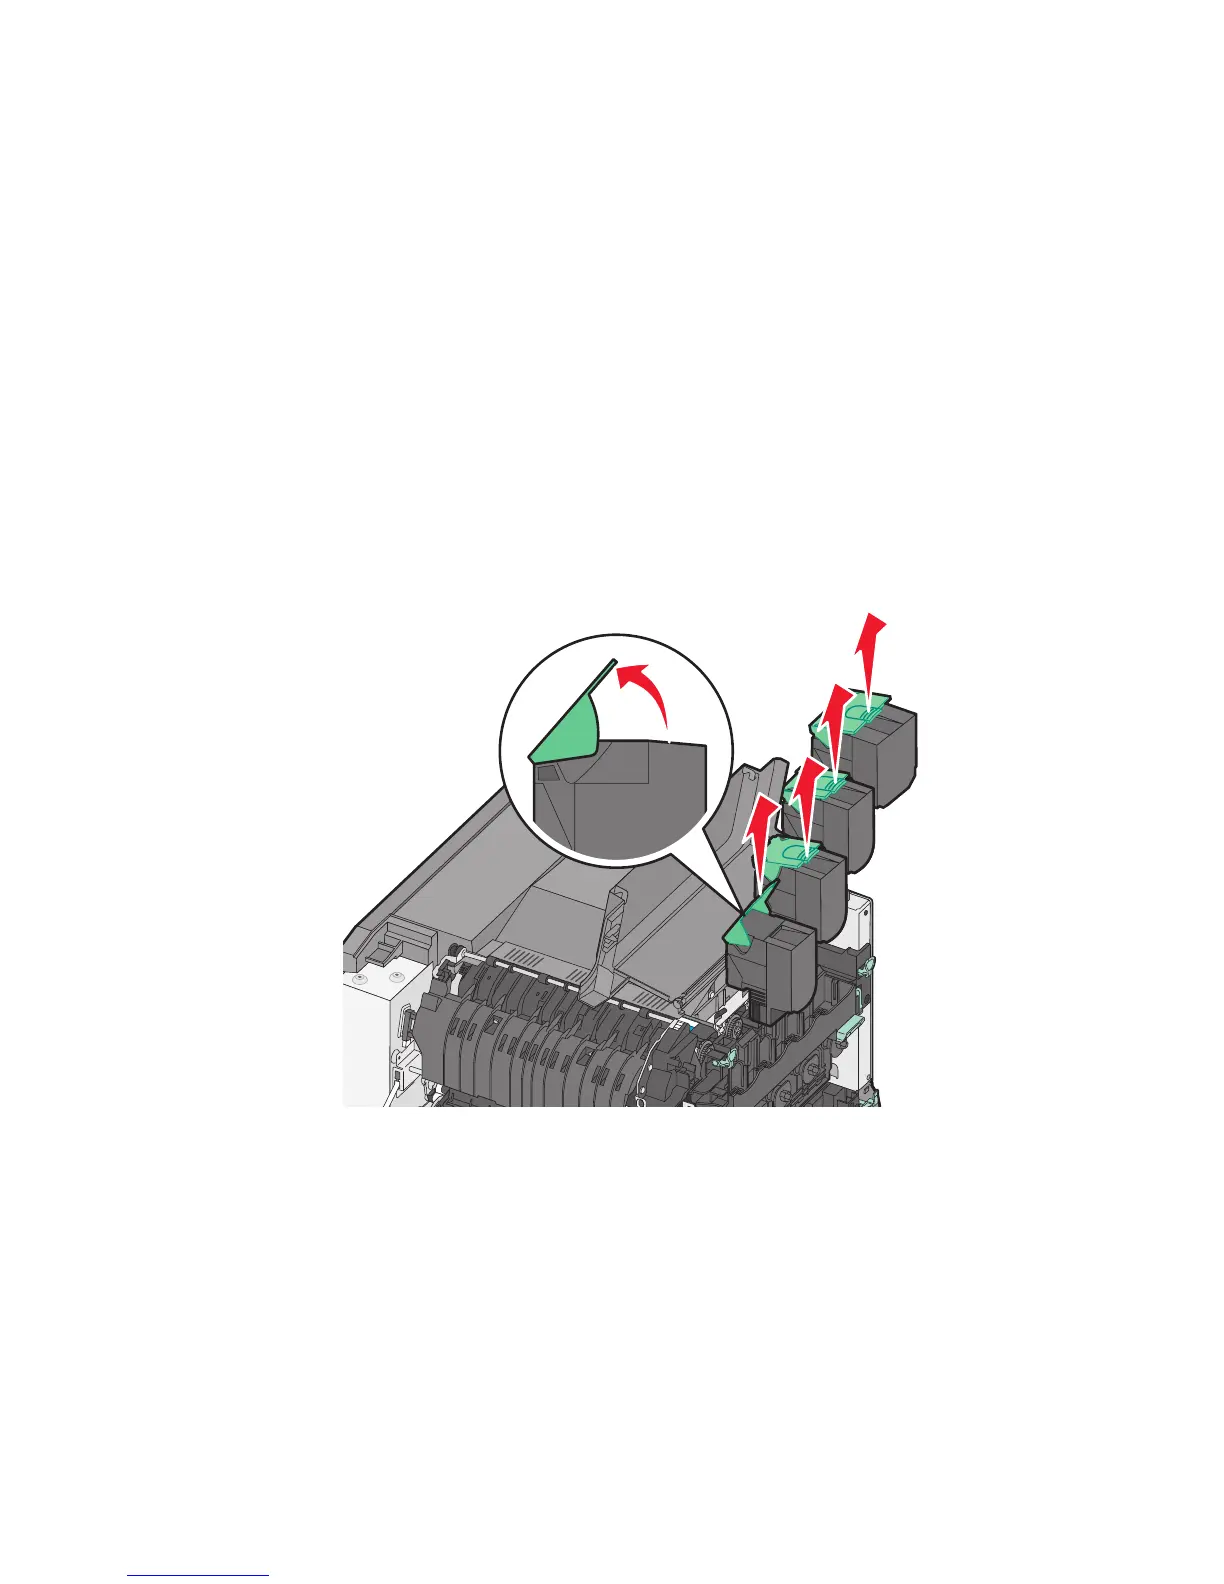
2 Remove the toner cartridges.
3 Remove the imaging unit. See “Imaging unit (IU) removal” on page 266.
Warning—Potential Damage: Do not touch the underside of the imaging unit. This could damage it.
7527
Repair information
240