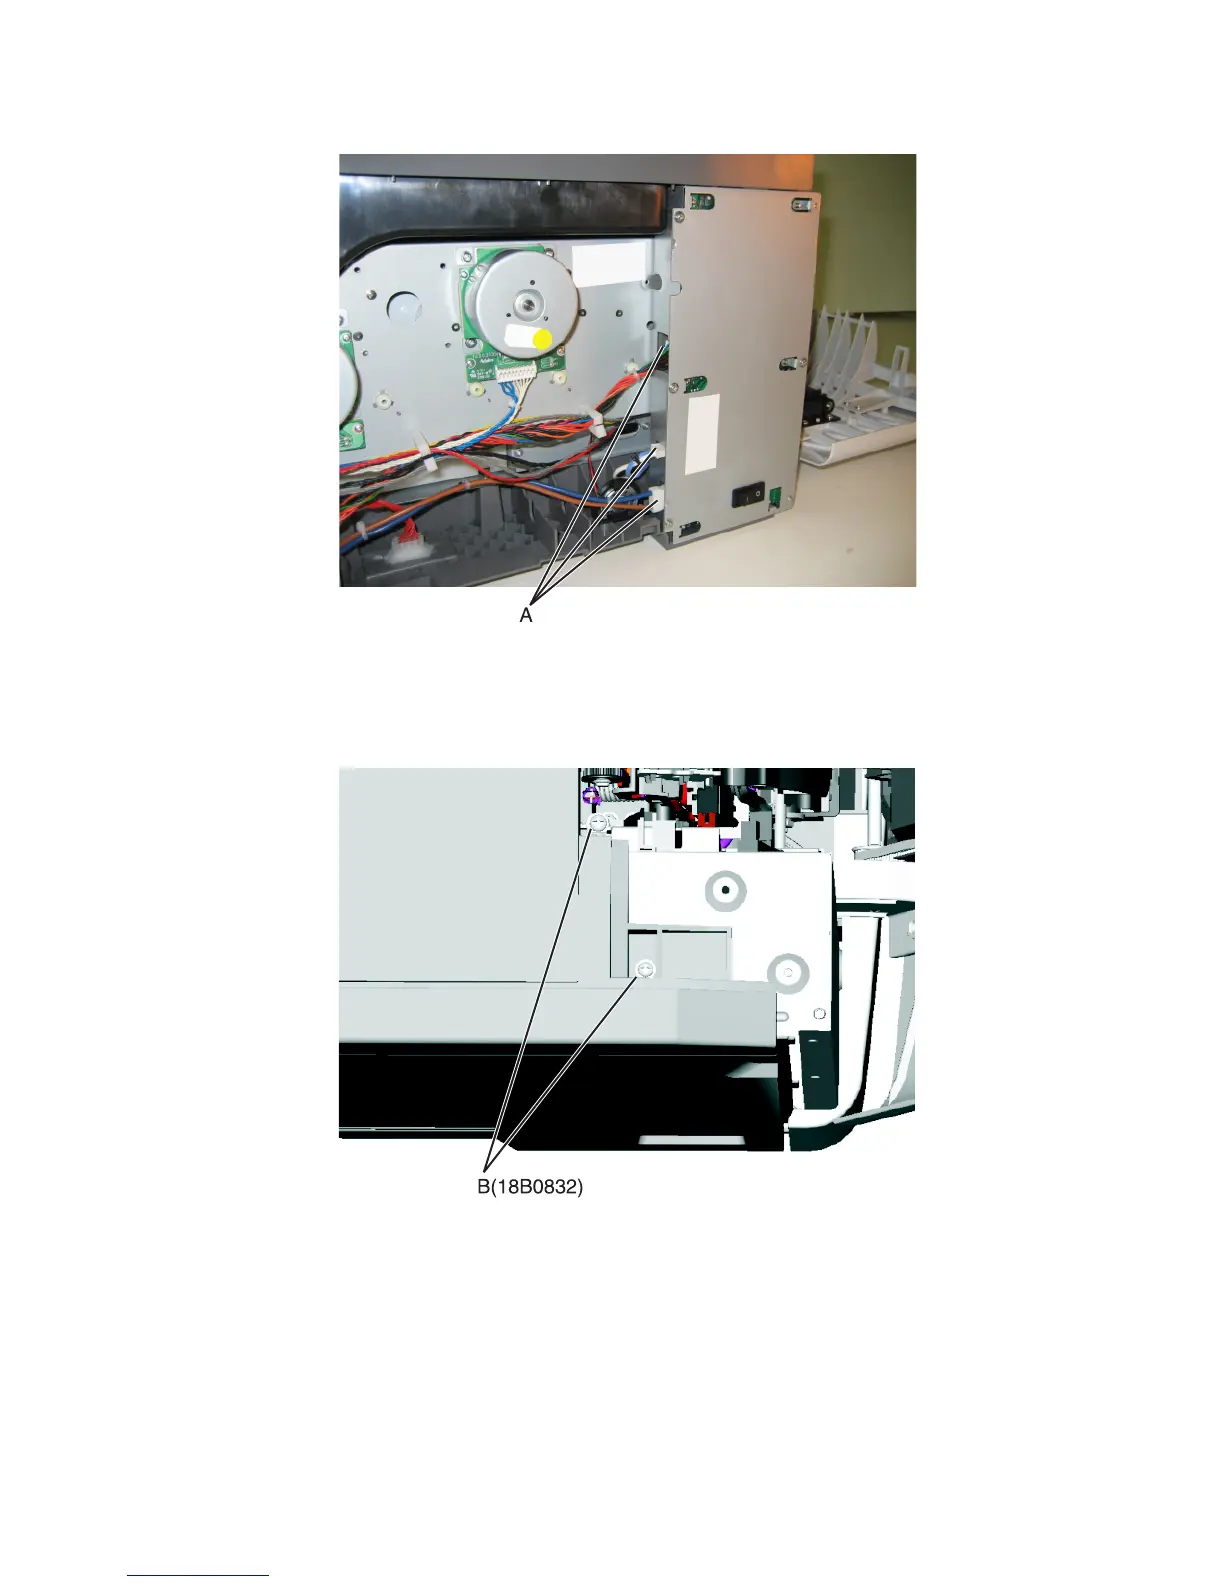
3 Disconnect the three cables (A) from the LVPS.
4 Remove the ADF assembly. See “ADF assembly removal” on page 231.
5 Remove the flatbed scanner assembly. See “Flatbed scanner assembly removal” on page 252.
6 Remove the two top screws (B) holding the top cover to the LVPS shield.
7 Remove the narrow media sensor flag. See “Narrow media sensor flag removal” on page 281.
8 Press to unsnap the tabs (C), and gently rotate the exit deflector to remove.
7527
Repair information
246