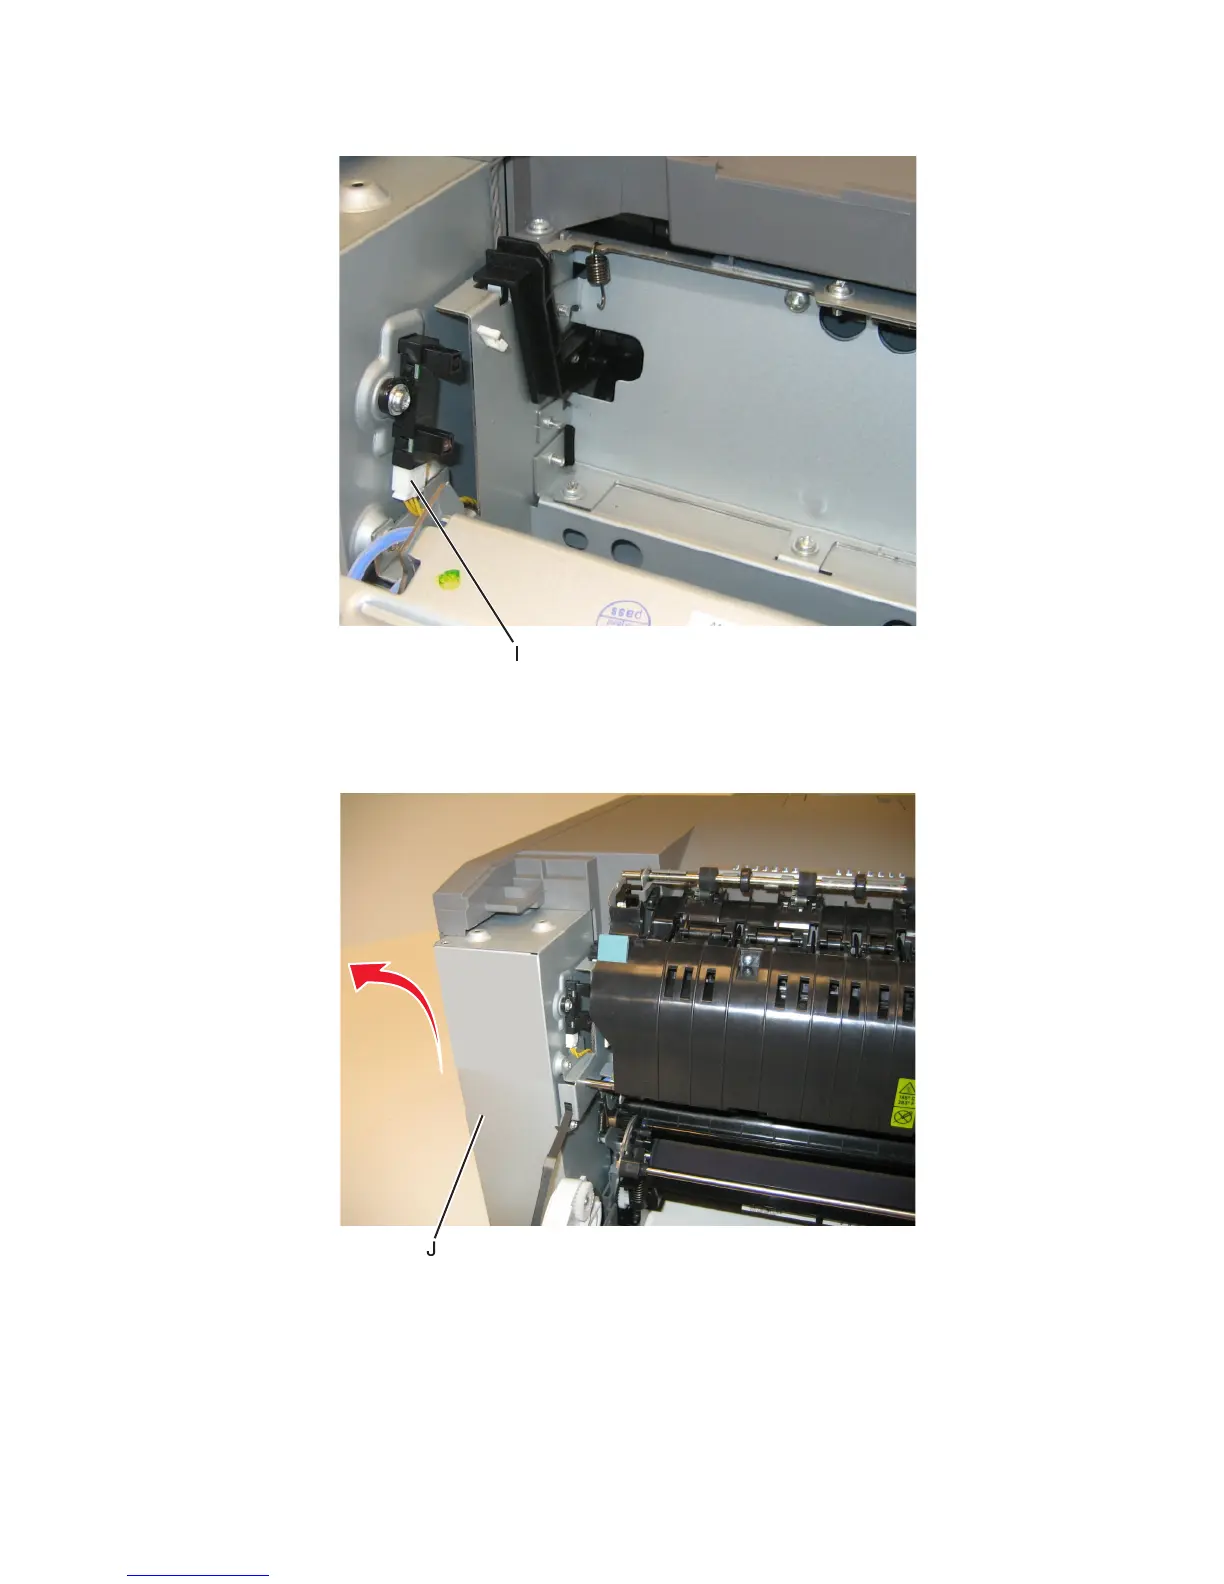
15 Disconnect the fuser exit cable (I).
16 Lift the front left corner of the top cover, and tilt the LVPS cage (J) to remove. There are two posts at the bottom
of the cage on the left side that need to be disengaged.
Note: Be careful to not damage the fuser exit sensor as it remains in the cage.
17 Disconnect the cables from the motors (K) and the two cables from the retainer (L).
7527
Repair information
249