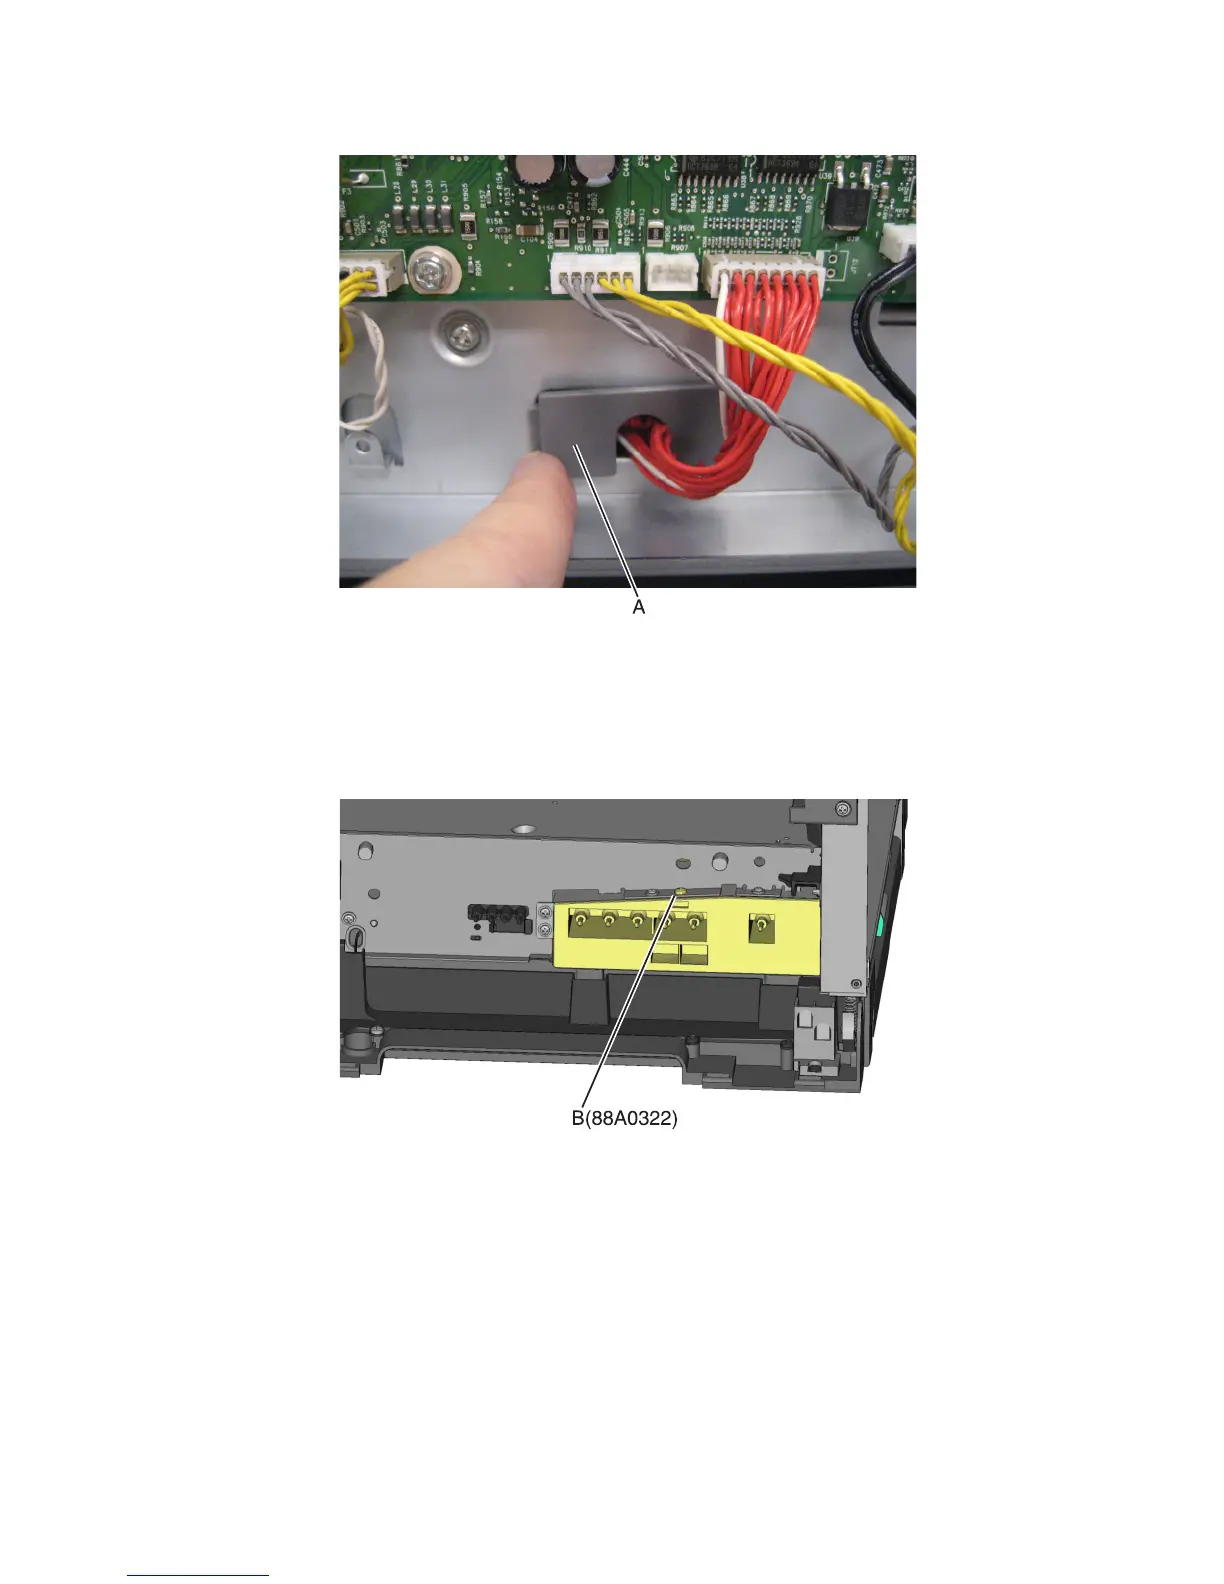
3 Remove the cable cover (A).
Note: Leave the cable attached to the HVPS until the HVPS has been removed.
4 Remove the transfer module. See “Transfer module removal” on page 300.
5 Remove the waste toner bottle. See “Waste toner bottle removal” on page 304.
6 Remove the screw (B) securing the HVPS.
7 Remove the left cover assembly. See “Left cover assembly removal” on page 219.
7527
Repair information
263