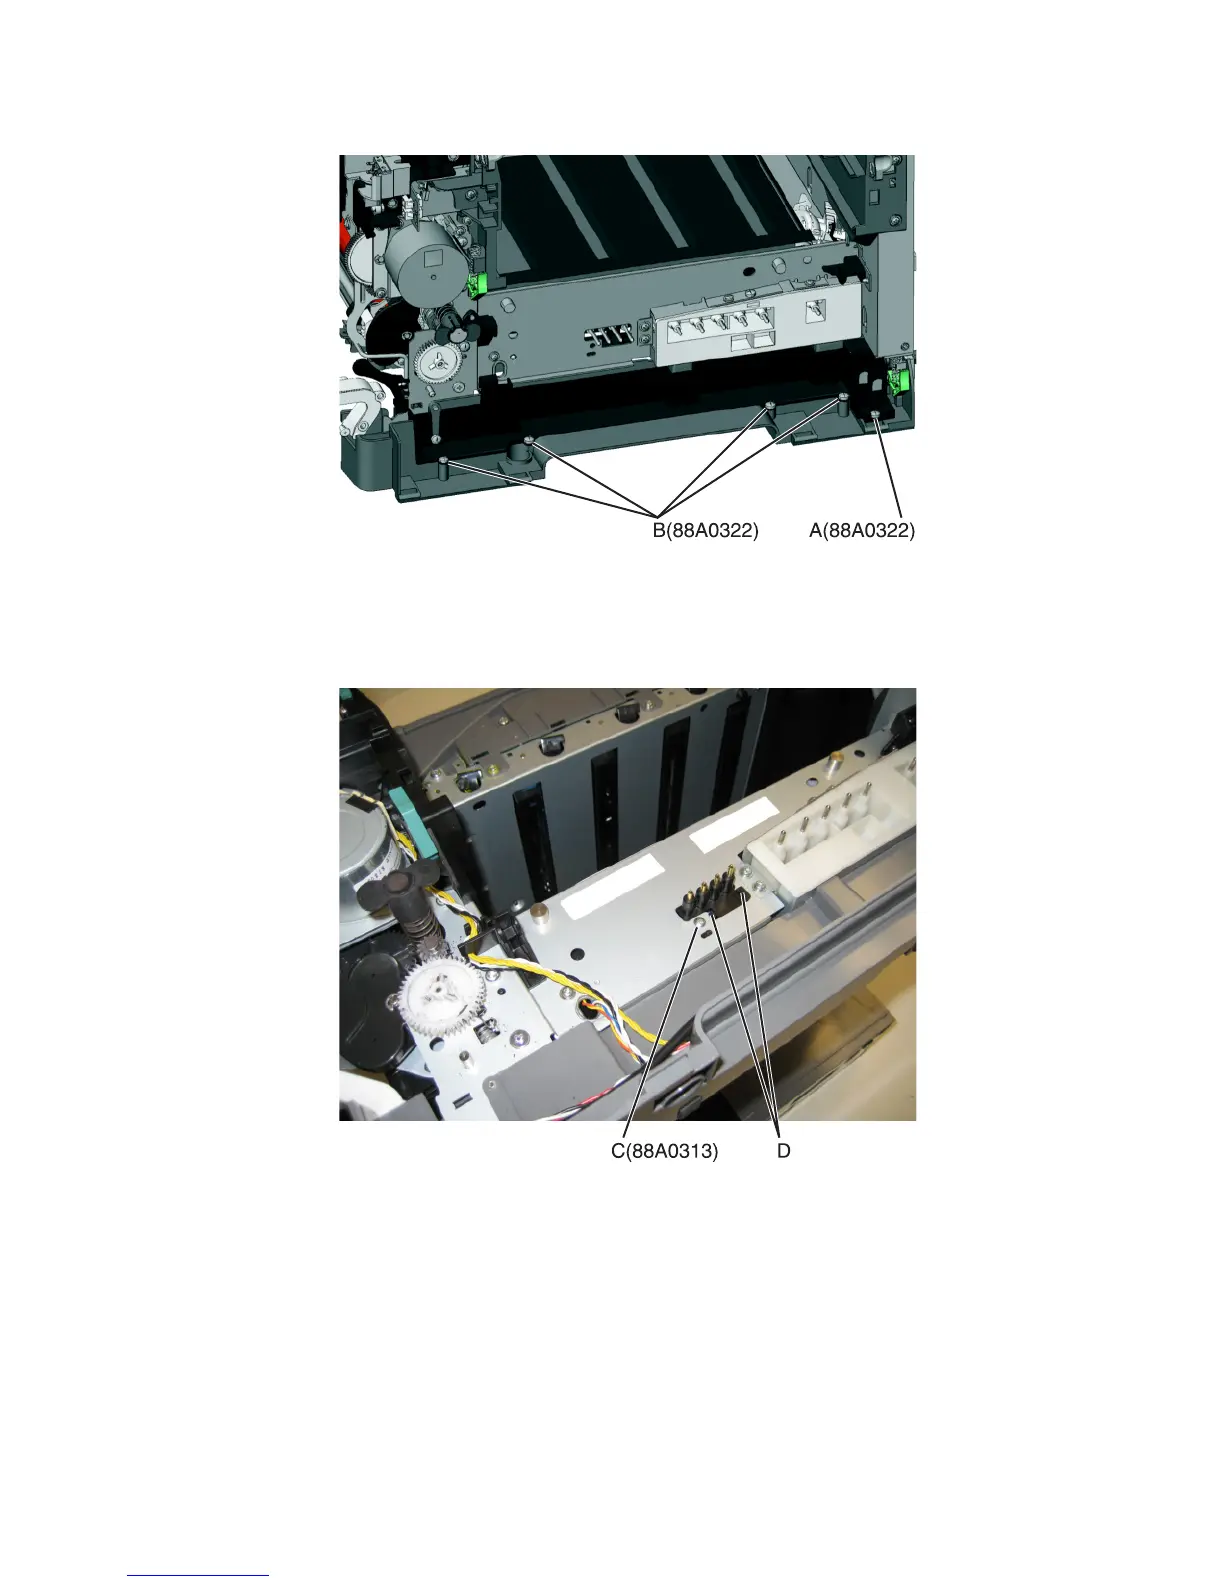
6 Remove the four screws (B) securing the cable cover, and remove the cable cover.
7 Rotate the printer to view the right side.
8 Lay the printer on its left side, and remove the screw (C) securing the spring contacts.
9 Release the tabs (D) on the spring contact, and slide to the left to remove.
7527
Repair information
295