McHale Fusion 2 field operation and adjustments section
9- 5
McHale Fusion 2 round baler wrapper technical service manual
Issue 1: 0208
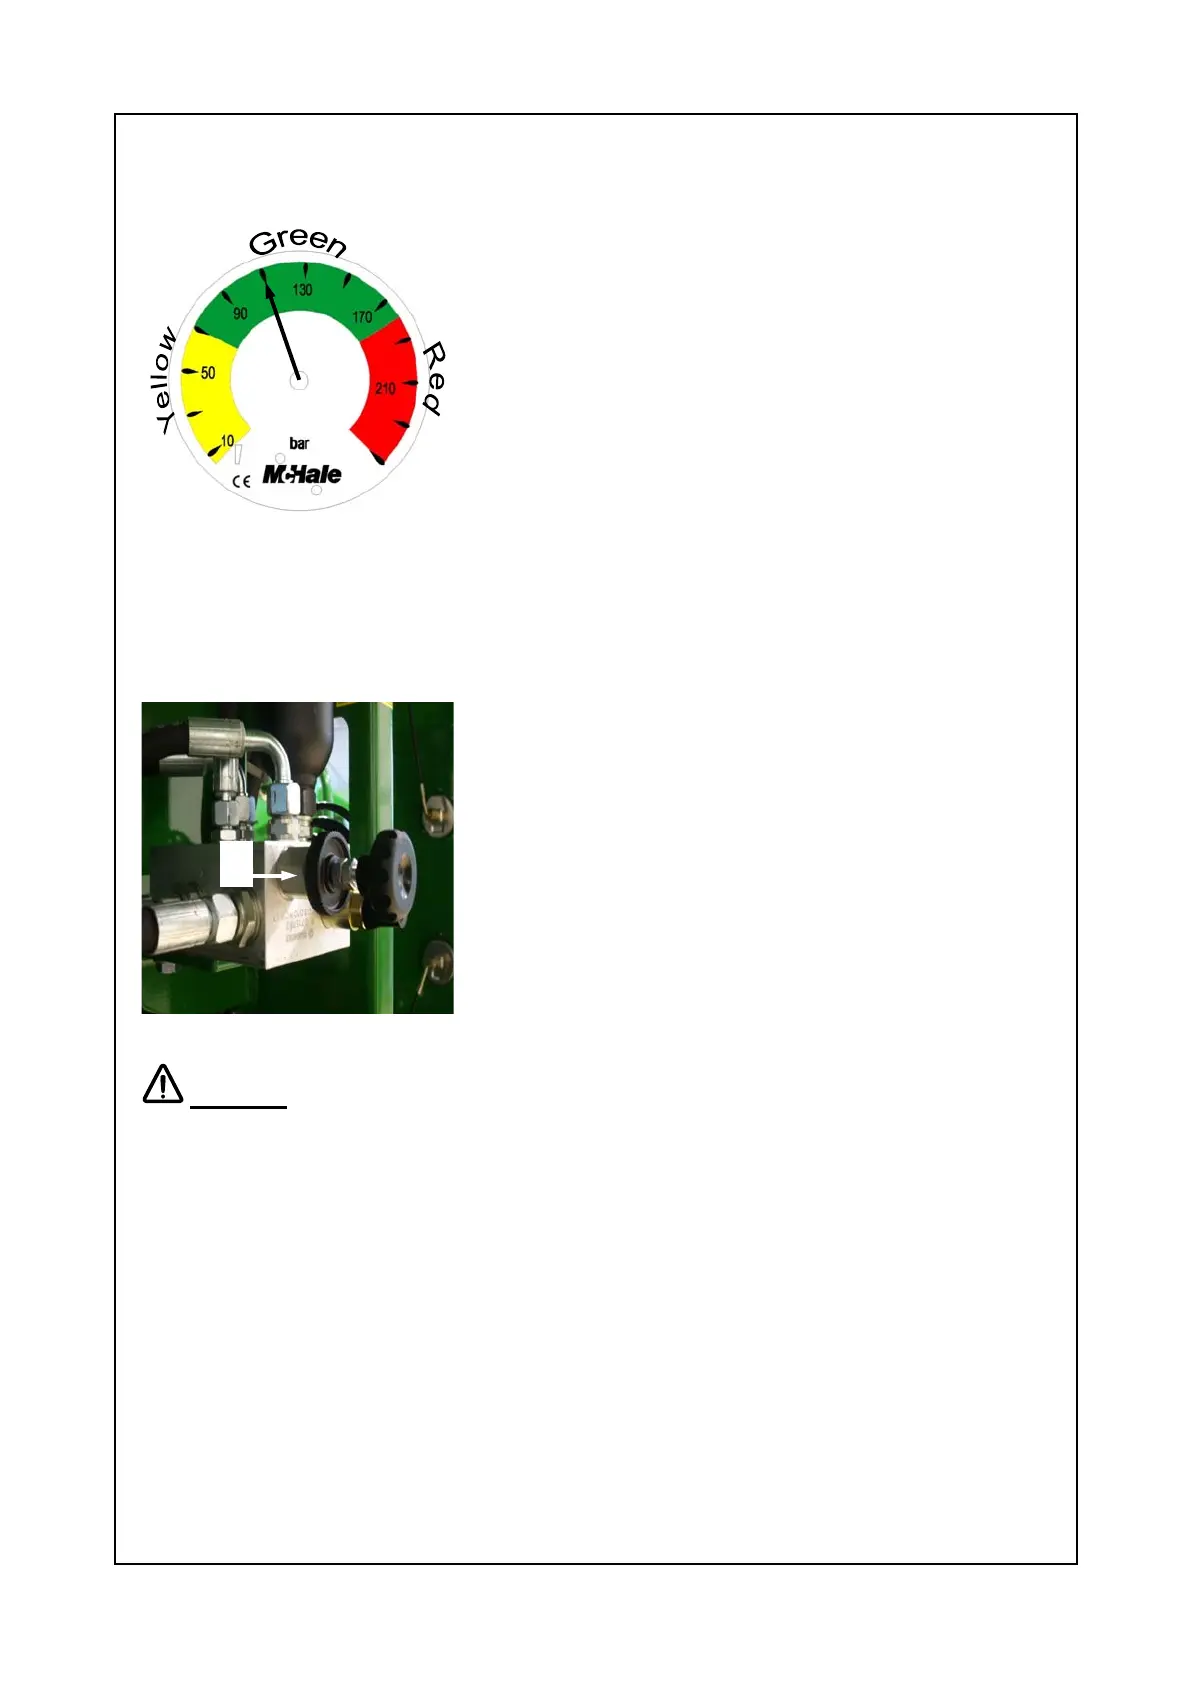
9.8 Bale density gauge
The bale density gauge, shown in figure 9.8.1 is used
to indicate the pressure applied to the top door rams
(on the small side of the rams).
When the top door is closed, and no material in the
baling chamber, this is known as “chamber
pre-charge pressure”. This pressure will then
increase at the end of the bale forming cycle due to
the oil in the cylinders being forced into the
accumulator, as material begins to fill up the baling
chamber, thus pushing the door rams open ever so
slightly. This can cause the gauge to go into the red,
and is normal operation. However, pressure should
never go above 210 bar, if so consult your McHale
dealer.
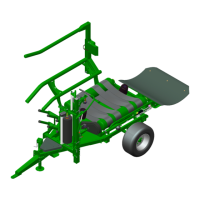
9.9 Setting chamber pre-charge pressure
The bale density gauge is divided up into increments
of 20 bar per increment and has a yellow zone, green
zone and a red zone as a quick reference during
machine operation. When baling drier materials such
as straw or hay McHale recommend setting the
chamber pre-charge pressure between 70 and 110 bar
pressure. When baling wetter materials such as grass
for silage a pressure of between 110 and 160 bar is
recommended. Chamber pre-charge pressure is set at
the door charge valve, shown in figure 9.9.1, and is
located in the hydraulic section (inside the front right
door panel) by following the below procedure.
Fig. 9.9.1 Door charge valve.
Caution:
The chamber pre-charge pressure should never be adjusted above
160 bar pressure in any case, damage to machine components may result!
1. Remove all unfinished and finished bales from the baling chamber.
2. Loosen the locking wheel on the adjustment screw (A).
3. Inspect the existing pre-charge pressure by holding the top door close button,
while in “manual” mode, on the control box for 3 seconds, see section 8 for
button referencing.
4. If pressure must be increased (gauge in the yellow zone, or if there is a change
in the material being baled i.e. dry to wet etc., gauge in the green zone) turn
the adjustment screw (A) clockwise and if the pressure is to be decreased turn
the adjustment screw anti-clockwise.
5. Continue to inspect the gauge and once the indicator needle is at the desired
setting, tighten the lock nut on the adjustment screw ensuring not to let the
adjustment screw itself rotate and close all protective covers. To reduce the
pressure the door must be opened, then turn the adjustment screw and close
the door again to check the gauge.
Fig. 9.8.1 Chamber pressure
A