4. Ensure that the guide bar of the tilt lock is aligned in the channels of the clamp brackets.
5.
Install the washer and nut onto the clamp bracket spacer. Tighten the nut to the specified torque.
6. Install the tilt tube locknut. Tighten the locknut to the specified torque.
7. Install the tilt tube cap.
8. Install the tilt pin.
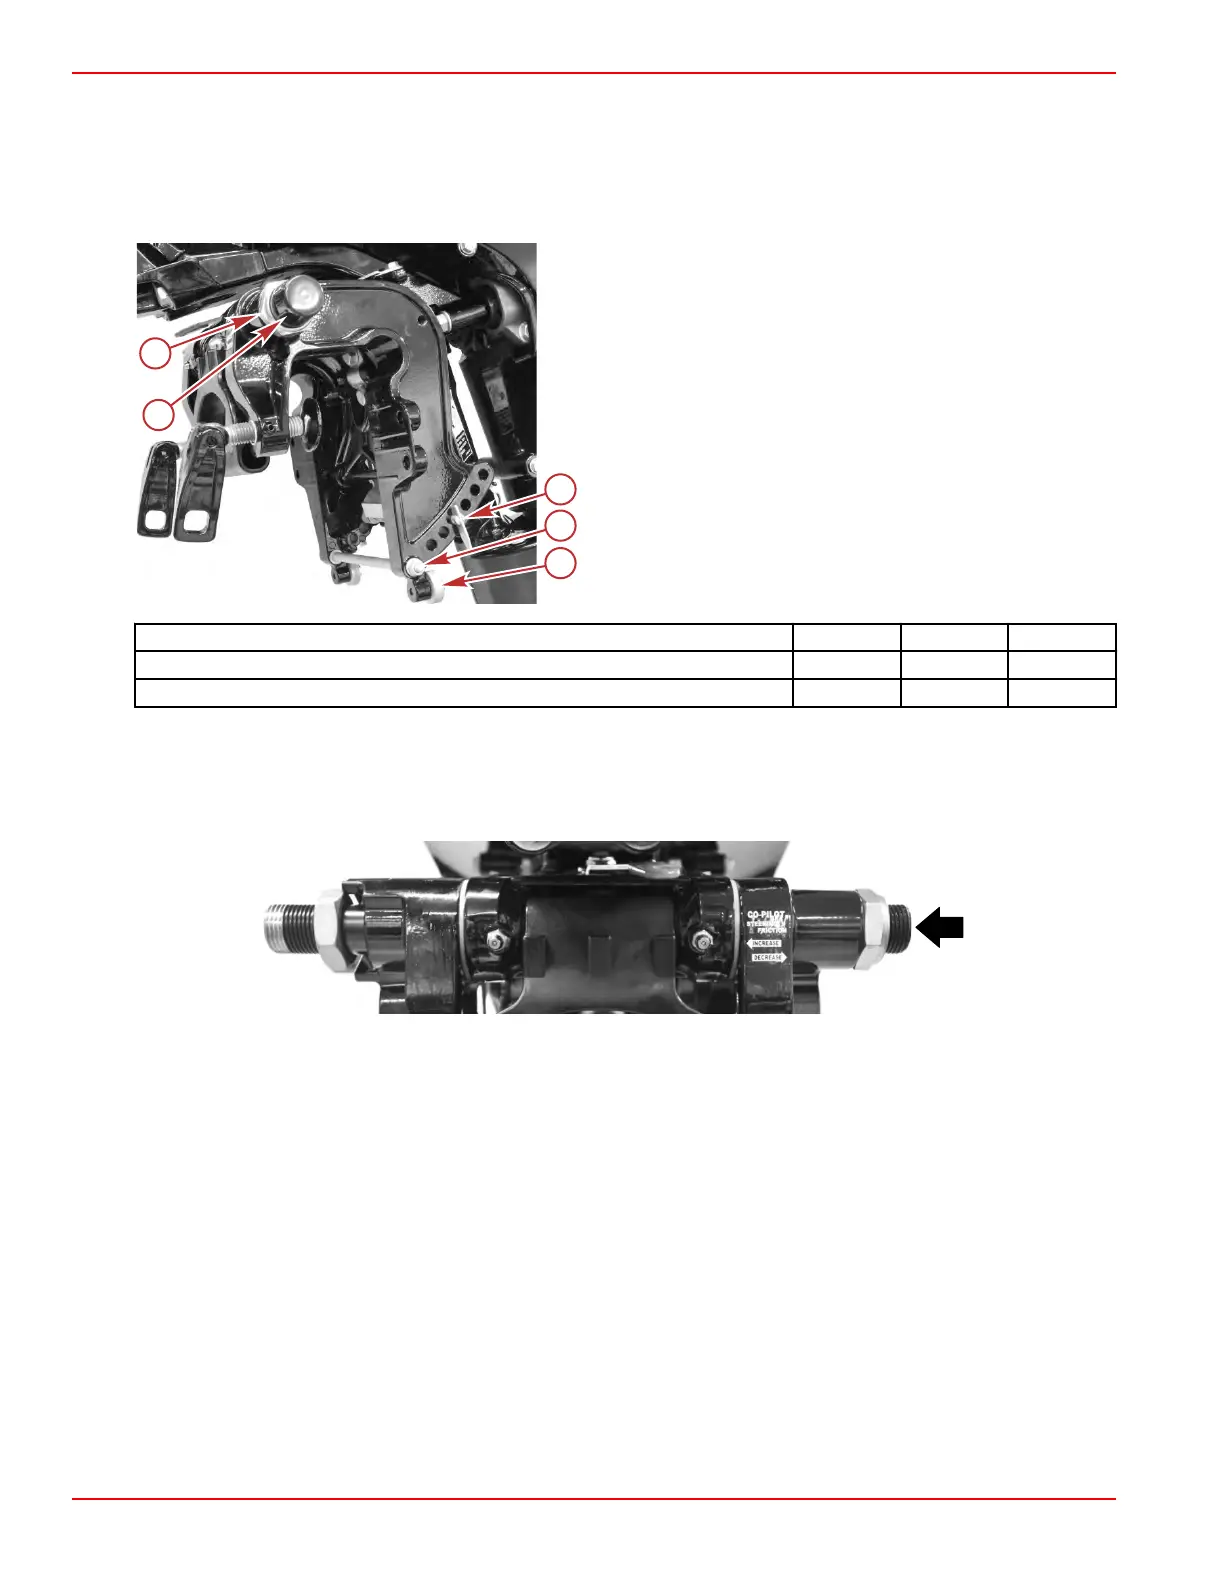
a - Tilt tube cap
b - Locknut
c - Tilt pin
d - Nut and washer on the clamp bracket spacer
e - Anode
Description Nm lb‑in. lb‑ft
Tilt tube locknut 24.0 – 17.7
Clamp bracket spacer nut 6.0 53.1 –
Starboard Bracket Removal
1.
Remove the tilt tube caps.
2. Loosen the locknut on the port end of the tilt tube.
3. Push the tilt tube towards the starboard side to allow the starboard nut to be removed.
4. Remove the nut.
5.
Remove the nut and washer from the clamp bracket spacer.
6. Remove the tilt pin.
7. Remove the starboard clamp bracket.
Clamp/Swivel Bracket and Driveshaft Housing
Page 5A-38 © 2018 Mercury Marine 90-8M0125265 eng NOVEMBER 2017
 Loading...


