2. Remove the fill plug and check the fluid level. The fluid level should be even with the bottom of the fill hole. Add Quicksilver
or Mercury Precision Lubricants Power Trim and Steering Fluid. If not available, use automotive automatic transmission
fluid (ATF).
4531
Tube Ref No. Description Where Used Part No.
114
Power Trim and Steering
Fluid
Power tilt system 92-858074K01
3. Reinstall the fill plug.
Purging the Power Tilt System
IMPORTANT:
The fill plug must be tightened securely before operating the power tilt system.
Operate the power tilt system in short spurts until the hydraulic pump is primed and the tilt cylinder moves.
• Cycle the outboard through the entire tilt range four times.
• To check for presence of air in the system, extend the cylinder slightly and push down on outboard. If the tilt cylinder
retracts more than 3 mm (0.125 in.), air is present in the system. Cycle tilt cylinder again and repeat this step.
• Recheck the fluid level.
Cowl‑Mounted Tilt Switch
On remote control models, the cowl‑mounted tilt switch provides an easy way to raise or lower the outboard while performing
maintenance or service procedures.
Removal
1.
Remove the port‑side driveshaft housing cover. Refer to Section 5A ‑ Driveshaft Housing Covers.
NOTE: It is not necessary to disconnect the power tilt unit.
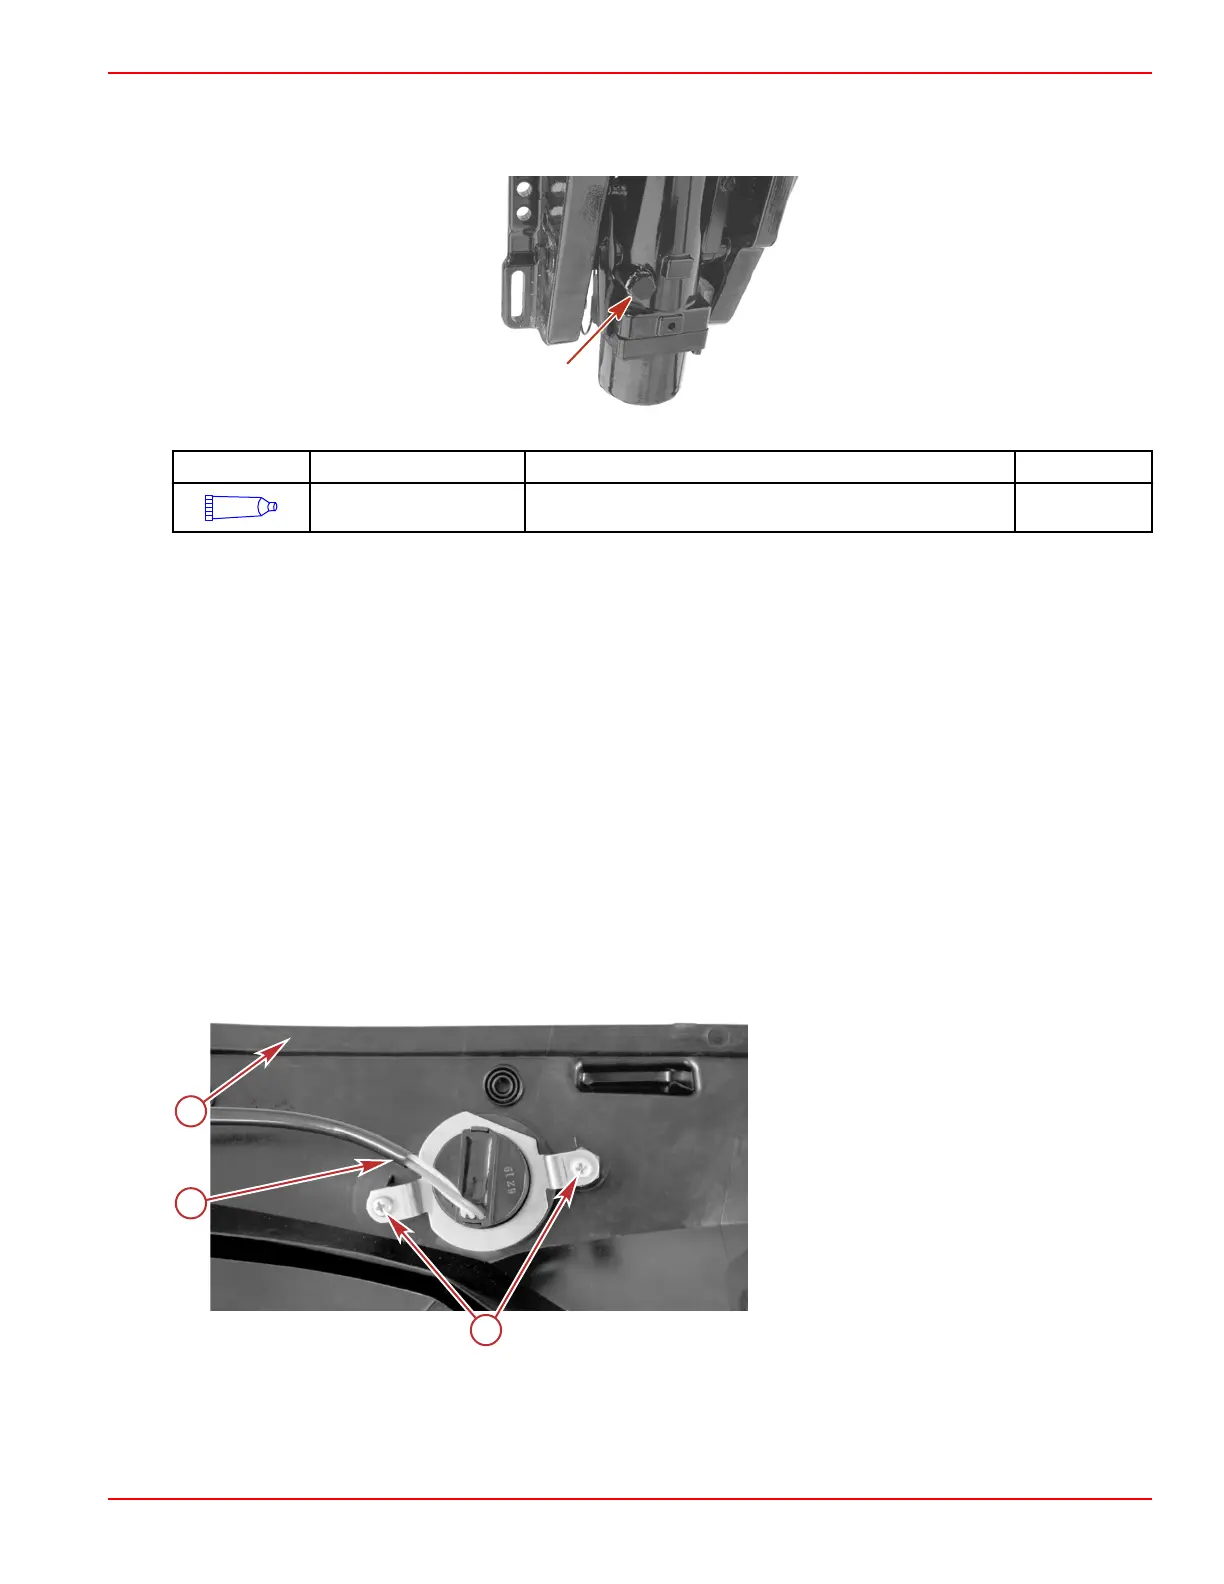
2. Disconnect the tilt switch from the engine harness.
3. Remove the two screws that hold the tilt switch to the inside of the driveshaft housing cover.
a - Screws (2)
b - Tilt switch harness
c - Top edge of port‑side driveshaft housing
cover
Installation
1.
Place two foam gaskets and the mounting bracket on the tilt switch.
2. Install the tilt switch into the port‑side driveshaft housing cover, using two screws.
• The flat edge of the mounting bracket should face upward.
Power Tilt
90-8M0125265 eng NOVEMBER 2017 © 2018 Mercury Marine Page 5B-9
 Loading...


