Revision:1.0(2023-01-12)
142
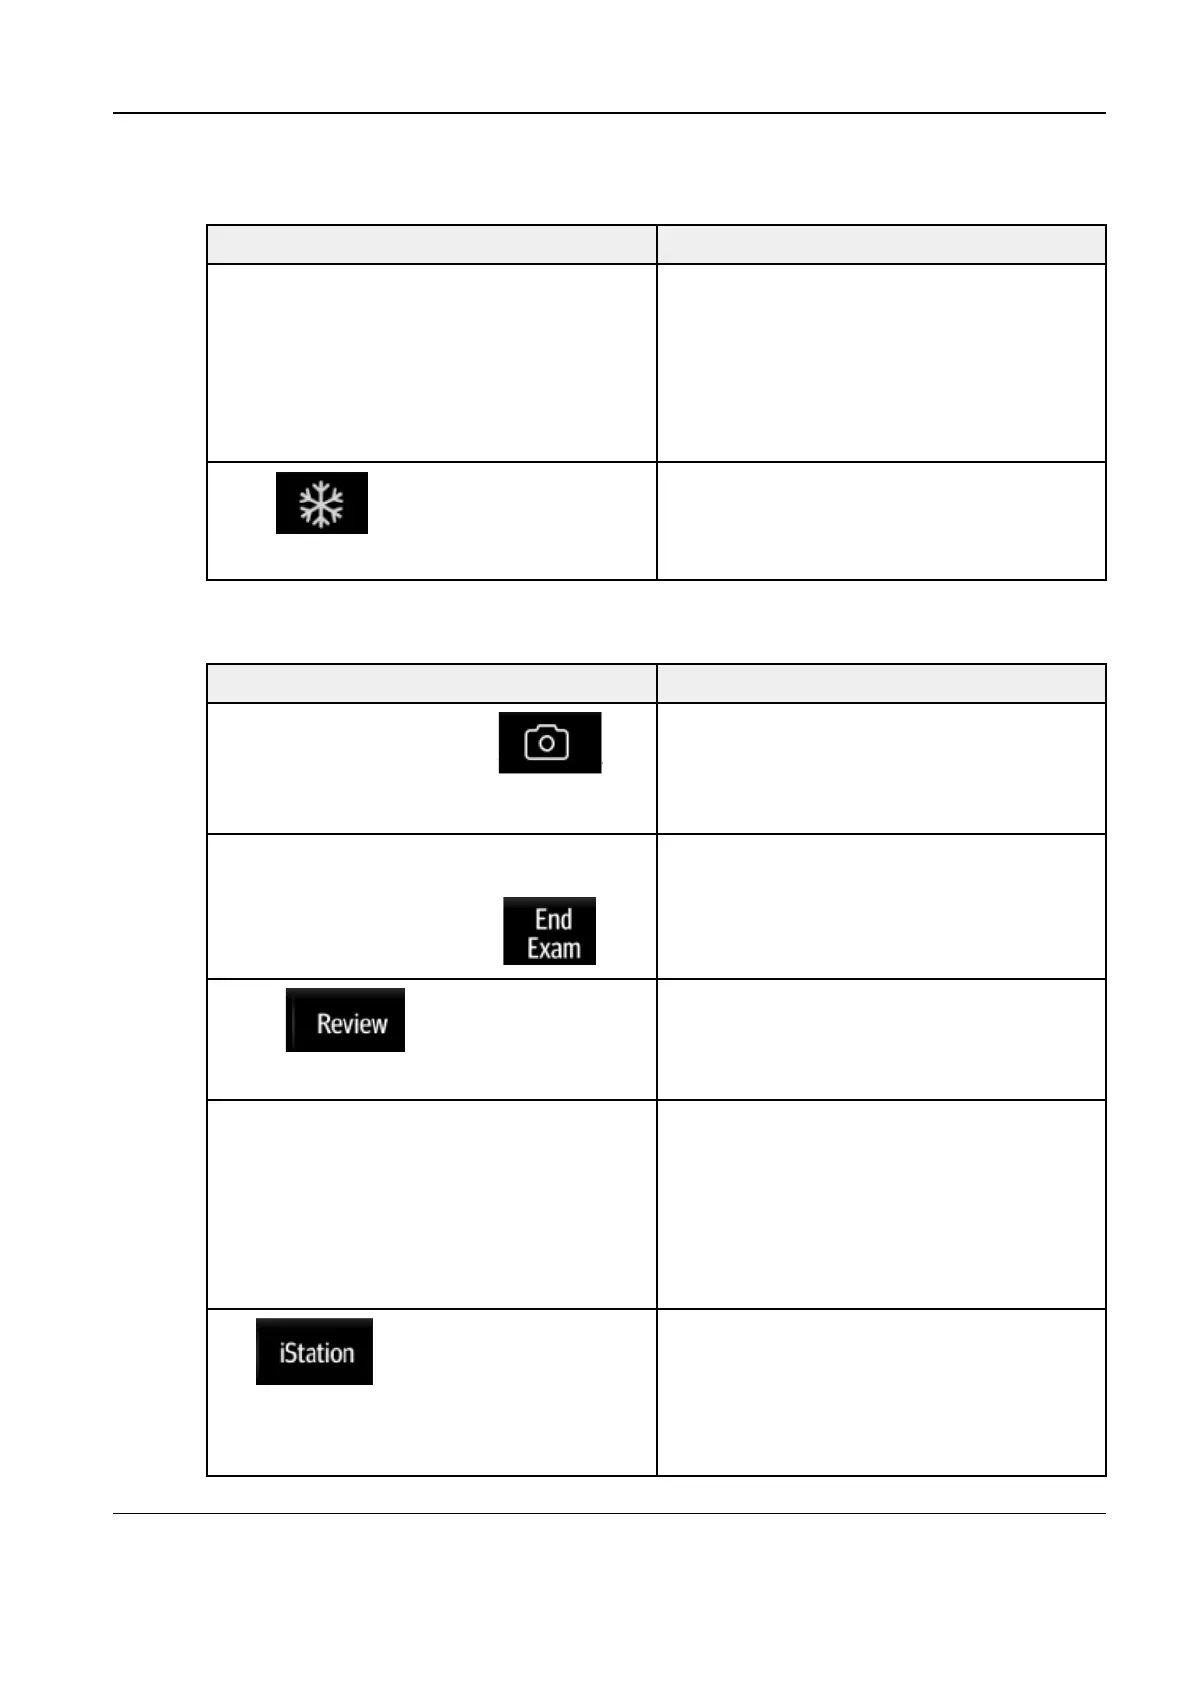
44..44..22..44 Checking Usage of the Probe
Procedure Acceptance criteria
Insert the probe into the probe socket of the
ultrasound device, and then tap Probe.
The convex probe and linear probe are
connected. The ultrasonic device can identify
the probes and switch between the two
probes.
The system can switch between probes
inserted in multiple probe sockets.
Press
, remove the probe, and insert
another probe.
The ultrasound device can immediately
identify the new probe type.
44..44..22..55 Checking Images and Managing Videos
Procedure Acceptance criteria
During image scanning, press
.
The system stores the current single-B image
to the patient database and displays the
thumbnail of the stored image on the right of
the screen.
Choose Setup>System>General. Select
Sending/printing Image After End Exam in
the Exam Setup area, and tap
.
The system automatically sends the entire
check image to the connected default DICOM
storage server or print server.
• Tap .
• Tap Exit on the image review screen,
• The system enters the image review mode.
• The system exits the image review mode.
Tap Setup>iVision.
On the iVision screen, add the content to be
played and select the demo mode. Select an
item in the list, tap Start. After the demo ends,
tap Exit.
• Access the iVision dialog box to start the
demo. Image files are played according to
file names one by one (including the image
of system-relevant and PC-compatible
format).
• The system exits image demo.
Tap
to access the patient
information management screen.
The stored image corresponding to the patient
ID can be viewed. You can perform the
following operations on the image:
Backup (or restore)
Send (to DICOM or USB flash drive)
Diagnostic Ultrasound System
Service Manual
4 Function and Performance
Check