Revision:1.0(2023-01-12)
145
1. Place the probe gently on the acoustic window of the phantom which is covered by water or
ultrasonic gel. Ensure that the axial resolution targets are displayed in the center of the image.
2. Focus to the axial resolution targets.
3. Adjust the gain, dynamic range, TGC, and other parameters, so that only the target line is
displayed clearly on the image with no tissue image in the background.
4. Read the distance between two target points that can be distinguished clearly
5. Repeat above steps at other depths.
44..55..22..33 Maximum Detection Depth
• An overlarge gain may result in large noise and submergence of the echo signal.
• For the linear probe, the probe surface should be perfectly fit with the acoustic
window of the phantom without any inclination during scanning.
• For the convex or phased probe, the axial target must be placed in the center of the
scanning plane which keeps the justice of the interfering effect.
• In non-freeze mode, a distant target may be similar to a noise dot which should be
discarded.
Test procedure:
1. Place the probe gently on the phantom surface which is covered by water or ultrasonic gel.
2. Set the display depth (according to the max depth of the current probe).
3. Adjust the focus to the deepest and set AP value to the largest.
4. Increase gain, contrast, and TGC, but ensure that no halos or defocusing appears.
5. Read the depth of the most distant target line which is imaged clearly.
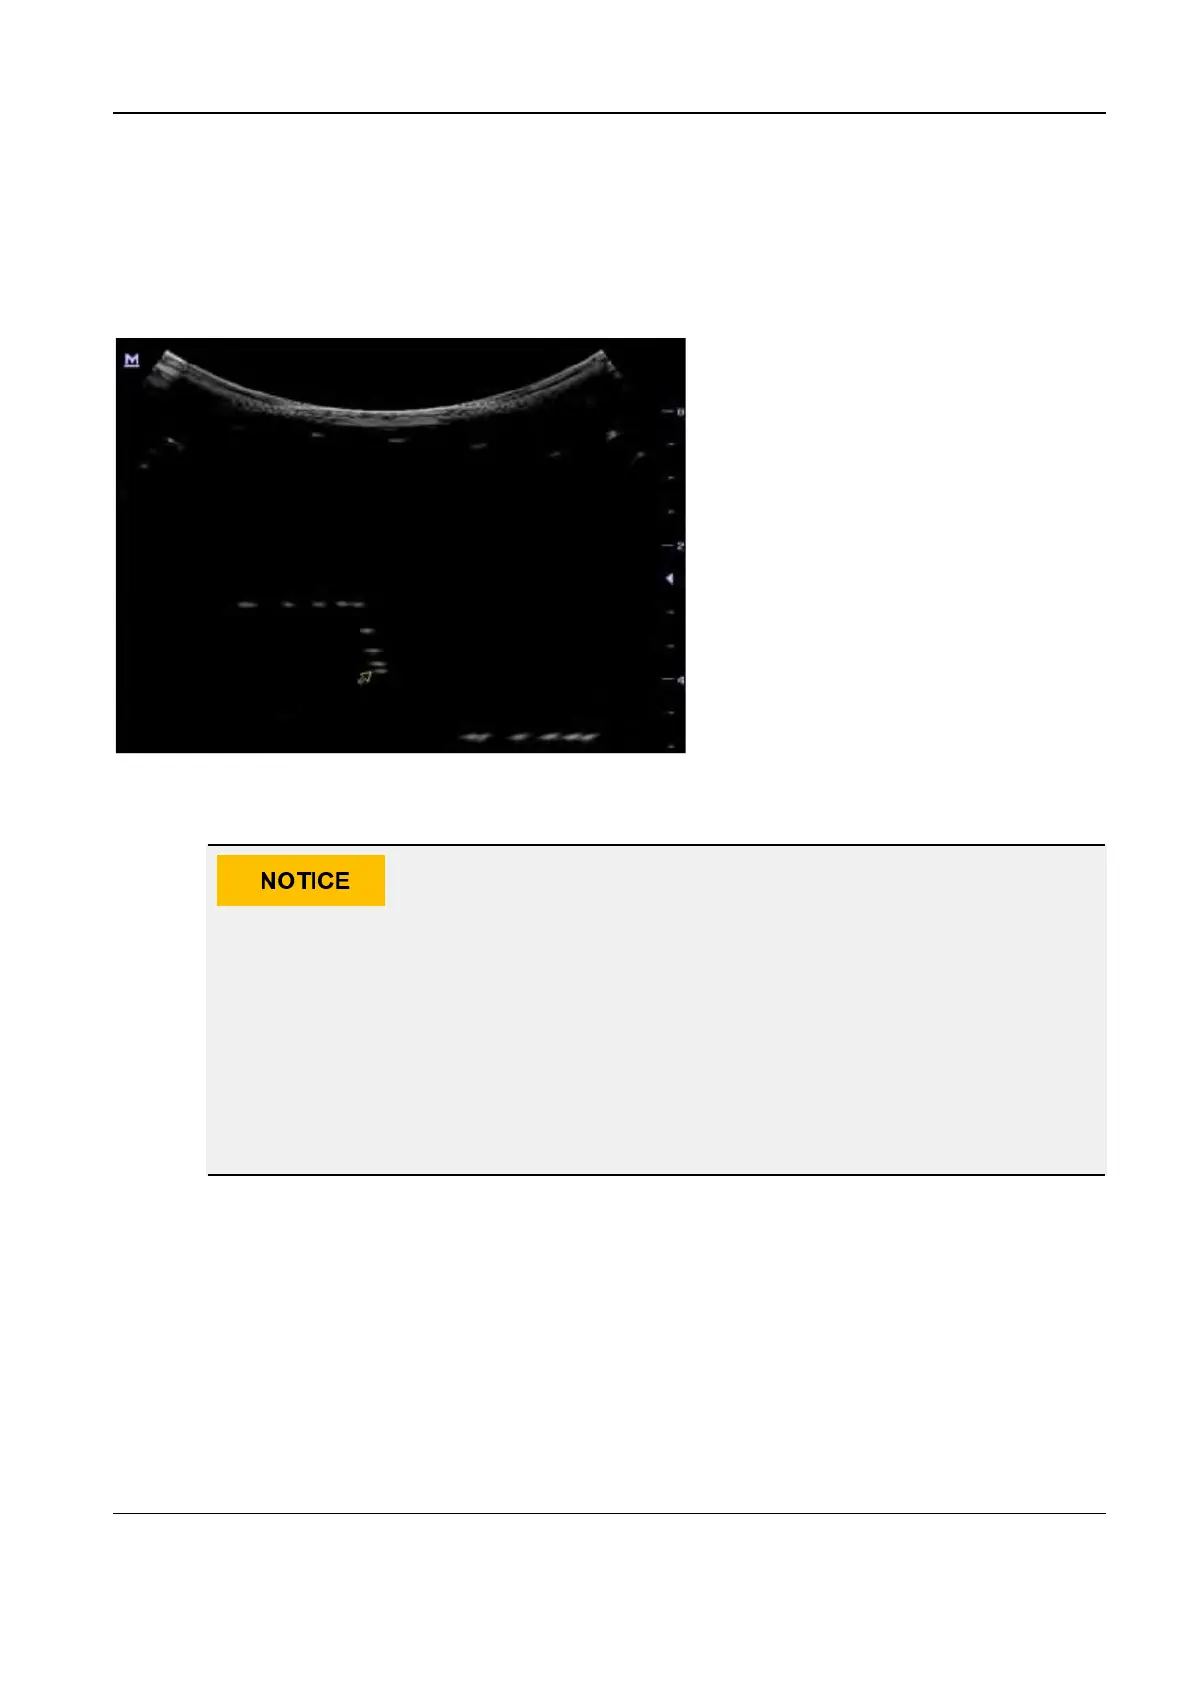
The image effect is shown as follows:
Diagnostic Ultrasound System
Service Manual
4 Function and Performance
Check