Revision:1.0(2023-01-12)
430
• Test Items
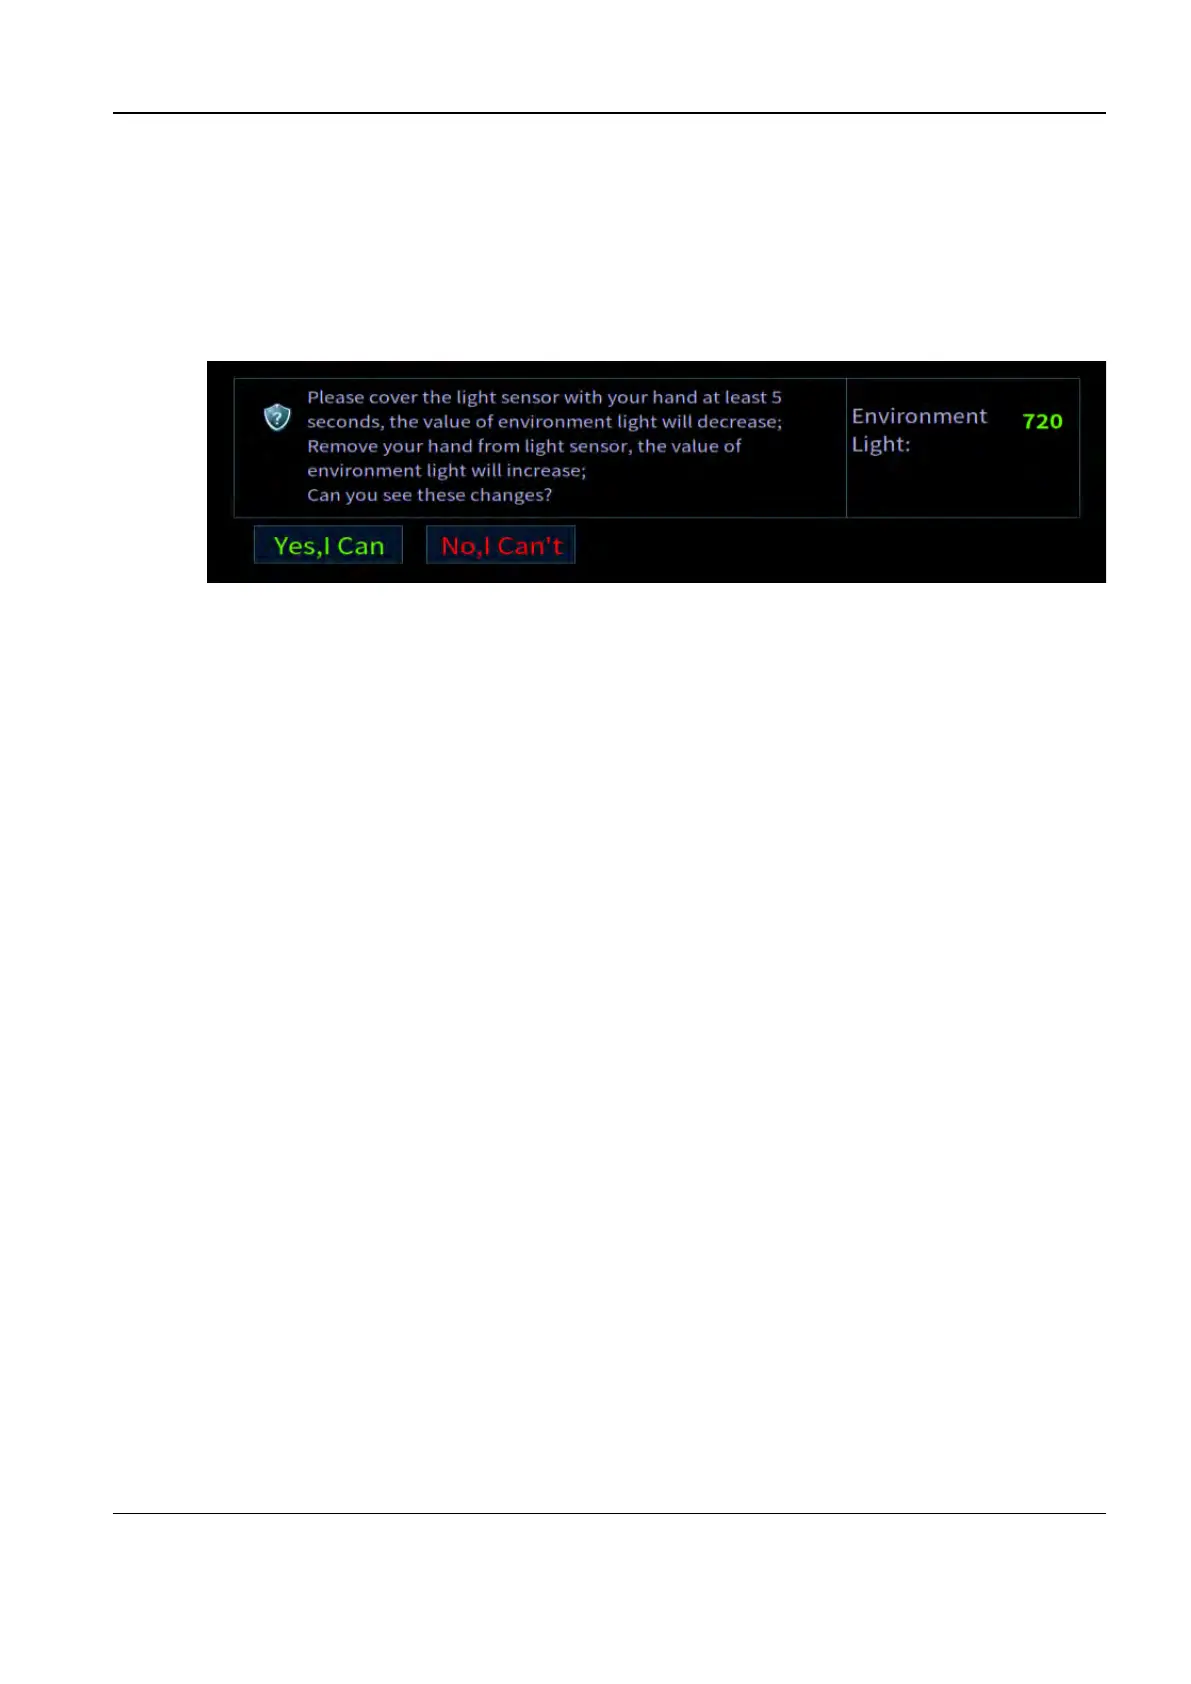
During the test, the following dialog box pops up. Completely cover the distance sensor in the
upper right corner of the screen with your hand for at least 5s. If the distance value displayed
on the screen becomes smaller, take off your hand from the distance sensor and check
whether the distance value displayed on the screen becomes greater. If the preceding
procedures are normal, click Yes, I Can; otherwise, click No, I Can't. See the figure below:
• Test failure analysis
If the test result is Error, the drive is abnormal.
If the test result is FAIL, the distance sensor is faulty.
• Troubleshooting suggestion
1. If the test result is Error, restart the device and re-perform the self-test. If the problem persists,
restore the device.
2. If the test result is FAIL, check whether there are stains on the distance sensor glass. If so,
replace the main display assembly. The distance sensor is connected to the battery capacity
indicator board, which is integrated to the main display assembly.
Z1901 Communication Test for the Charging Socket PCBA
• Upper-level test item
Communication test for the battery management board
• Test Items
Check whether the UART connection between the battery management board ARM and the
wireless probe charging socket PCBA ARM is normal, and read the firmware version and
board ID.
• Test failure analysis
If the test result is Error, the drive is abnormal.
If the test result is NaN, the wireless probe charging station is not in place or is not assembled
properly.
If the test result is FAIL, the UART connection between the battery management ARM and the
wireless probe charging socket PCBA ARM is abnormal.
• Troubleshooting suggestion
1. If the test result is Error, restart the device and re-perform the self-test. If the problem persists,
restore the device.
Diagnostic Ultrasound System
Service Manual
9 Appendix