System Operation 49
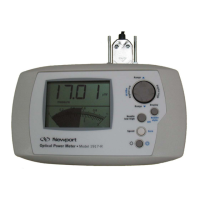
4.1.6.6 Set Zero Offset (Zero Key)
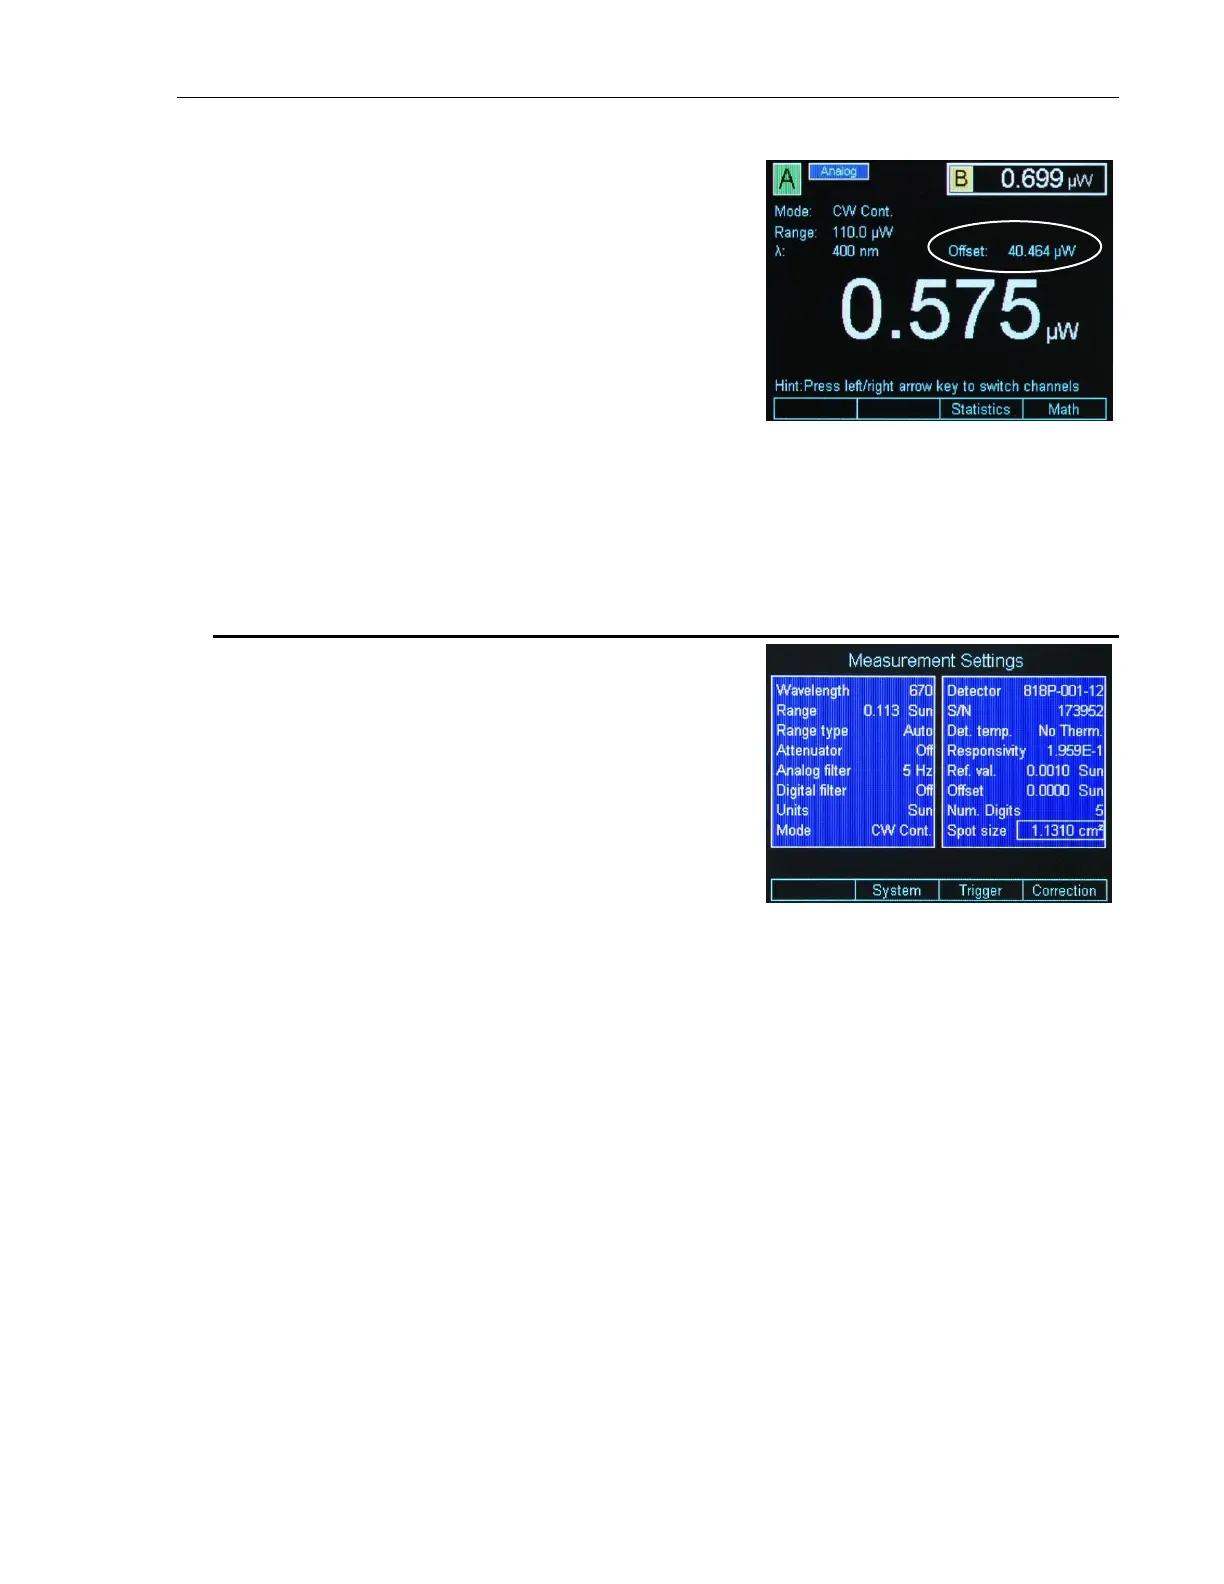
The Zero Offset key, or short, Zero
key is used to temporarily zero the
instrument for the measurement in
progress. When the user presses this
key, the instrument takes the displayed
numeric value as offset and subtracts
it from all the subsequent
measurements. When the instrument is
zeroed the offset value is displayed on
the main screen above the numeric
value (see Figure 39).
The Zero key toggles the offset on or
off. The ESC key has no effect on the
Zero function.
4.2 Measurement Settings
The Measurement Settings screen has
dual functionality:
One is the convenience the user has
to change all the measurement
settings within one screen.
The other is information presented
to the user about the detector used.
From the default screen, when pressing
the Setup/Enter key, the 1936/2936
Series displays the Measurement
Settings screen as in Figure 40.
Figure 40 Measurement Settings
screen
4.2.1 Changing the Measurement Settings
Within the Measurement Settings screen the user can select the Wavelength,
Range, Range Type, Beam Attenuator, Analog Filter selection, Digital Filter
selection, Measurement Units, Measurement Mode, Spot Size and the
Number of Digits displayed.
4.2.1.1 Wavelength Selection
With the Navigation/Selection keys bring the cursor on top of the wavelength
field. Hit the Enter key. A drop-down menu appears with the custom
wavelength values (see Section 4.4 for more information about the
wavelength custom values). Select the desired wavelength and hit Enter.
4.2.1.2 Range Selection and Range Type (Rng. type)
The Range field has dual functionality:
One is to display the current selected range whether it was selected by the
user, in Manual Range Mode, or by the system, in Auto Range Mode.
 Loading...