7-8 Service Manual
XZAC4219-05
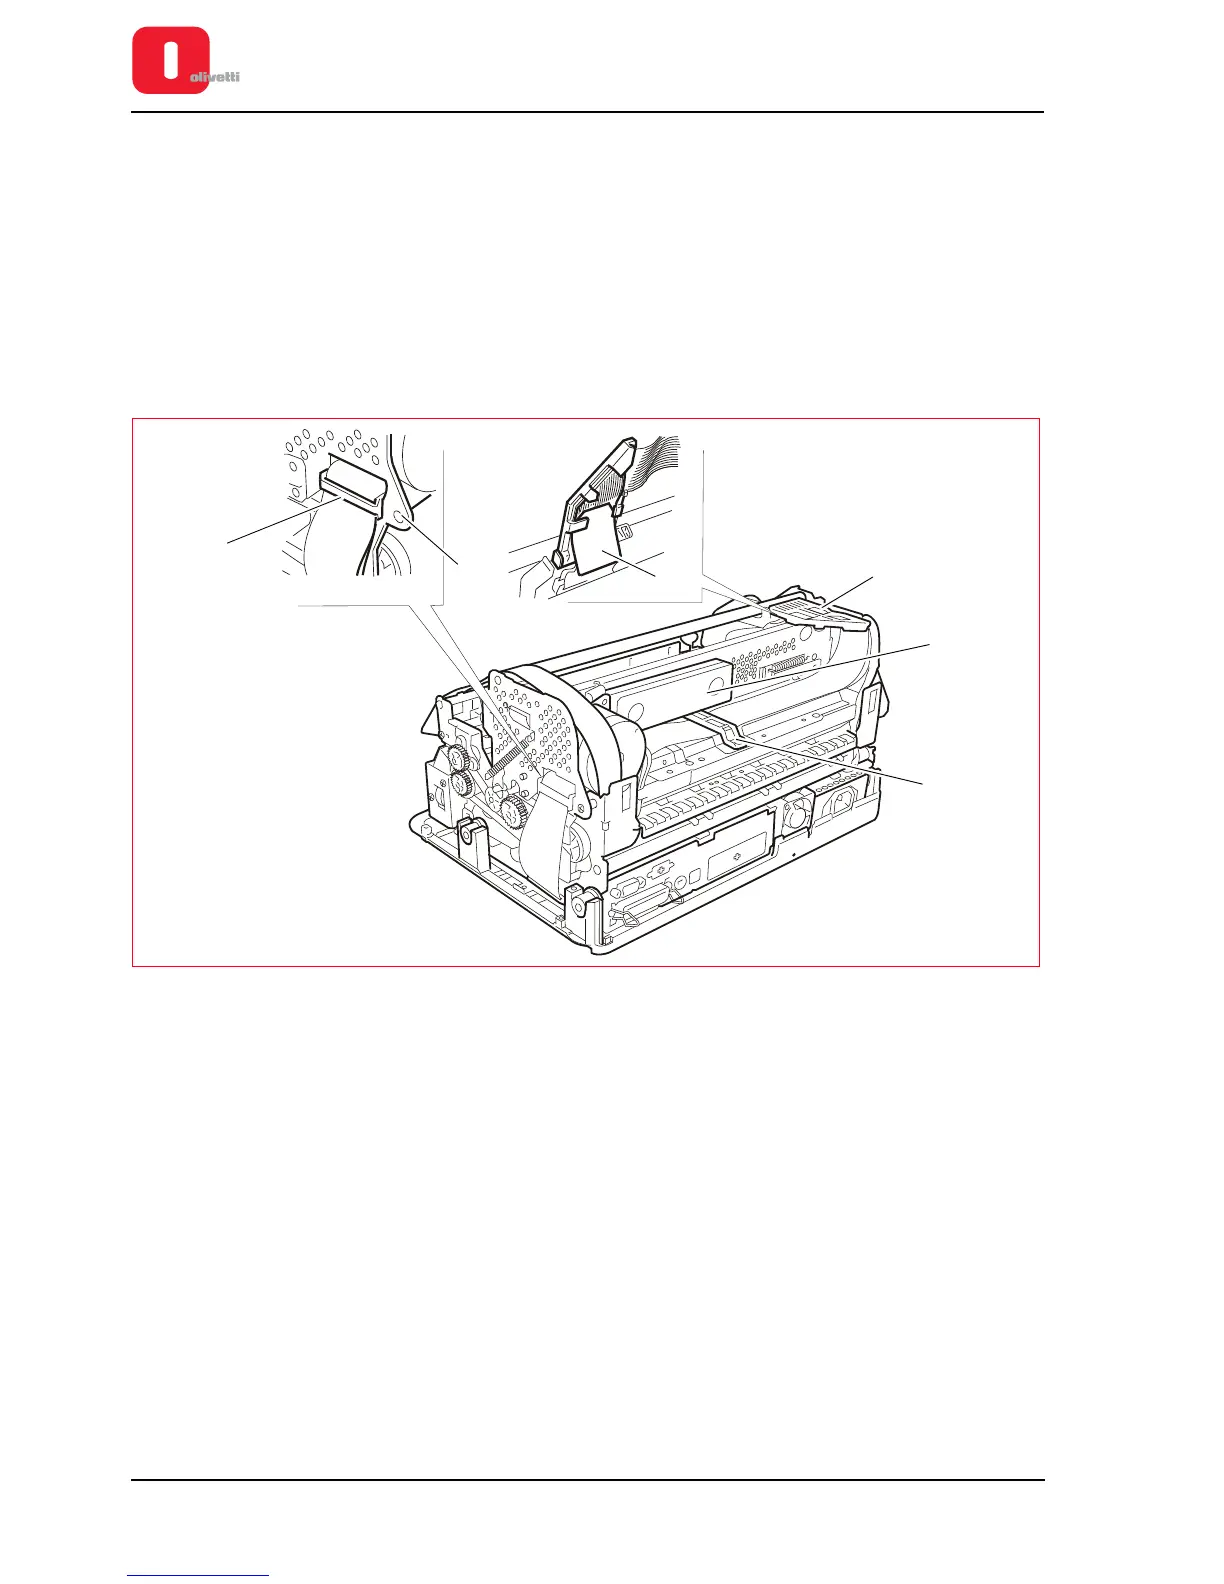
Printhead flat cable disassembly/reassembly
1. Disassembling the casing. See the section “Casing disassembly/reassembly” on page 7 - 4.
2. Removing the ribbon cartridge from the printer. See the section “REPLACING THE RIBBON CARTRIDGE” on
page 3 - 8.
3. Free the cable clip (1) on the right-hand side of the structure, unclipping it from the inside (2) of the structure.
4. Remove the sound-proofing material (3).
5. Loosen the lock-screw (4) of the rear cable clip, rotate the cable clip and free the flat cable.
6. Rotate the flat cable support connected to the printhead (5) upwards to its stopping point.
7. Slide out the mylar (6) from the lower part of the flat cable support, then free the flat cable from the clips of the
support.
Figure 7 - 9 Removing the cable retainers
8. Remove the printhead, unscrewing the two screws (1).