XZA4219-05 Service Manual
A-7
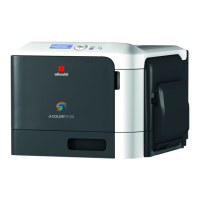
8. Select the file containing the firmware to be transferred, confirming this with the Open key.
Figure A - 4 Display for selecting file containing the firmware to be transferred
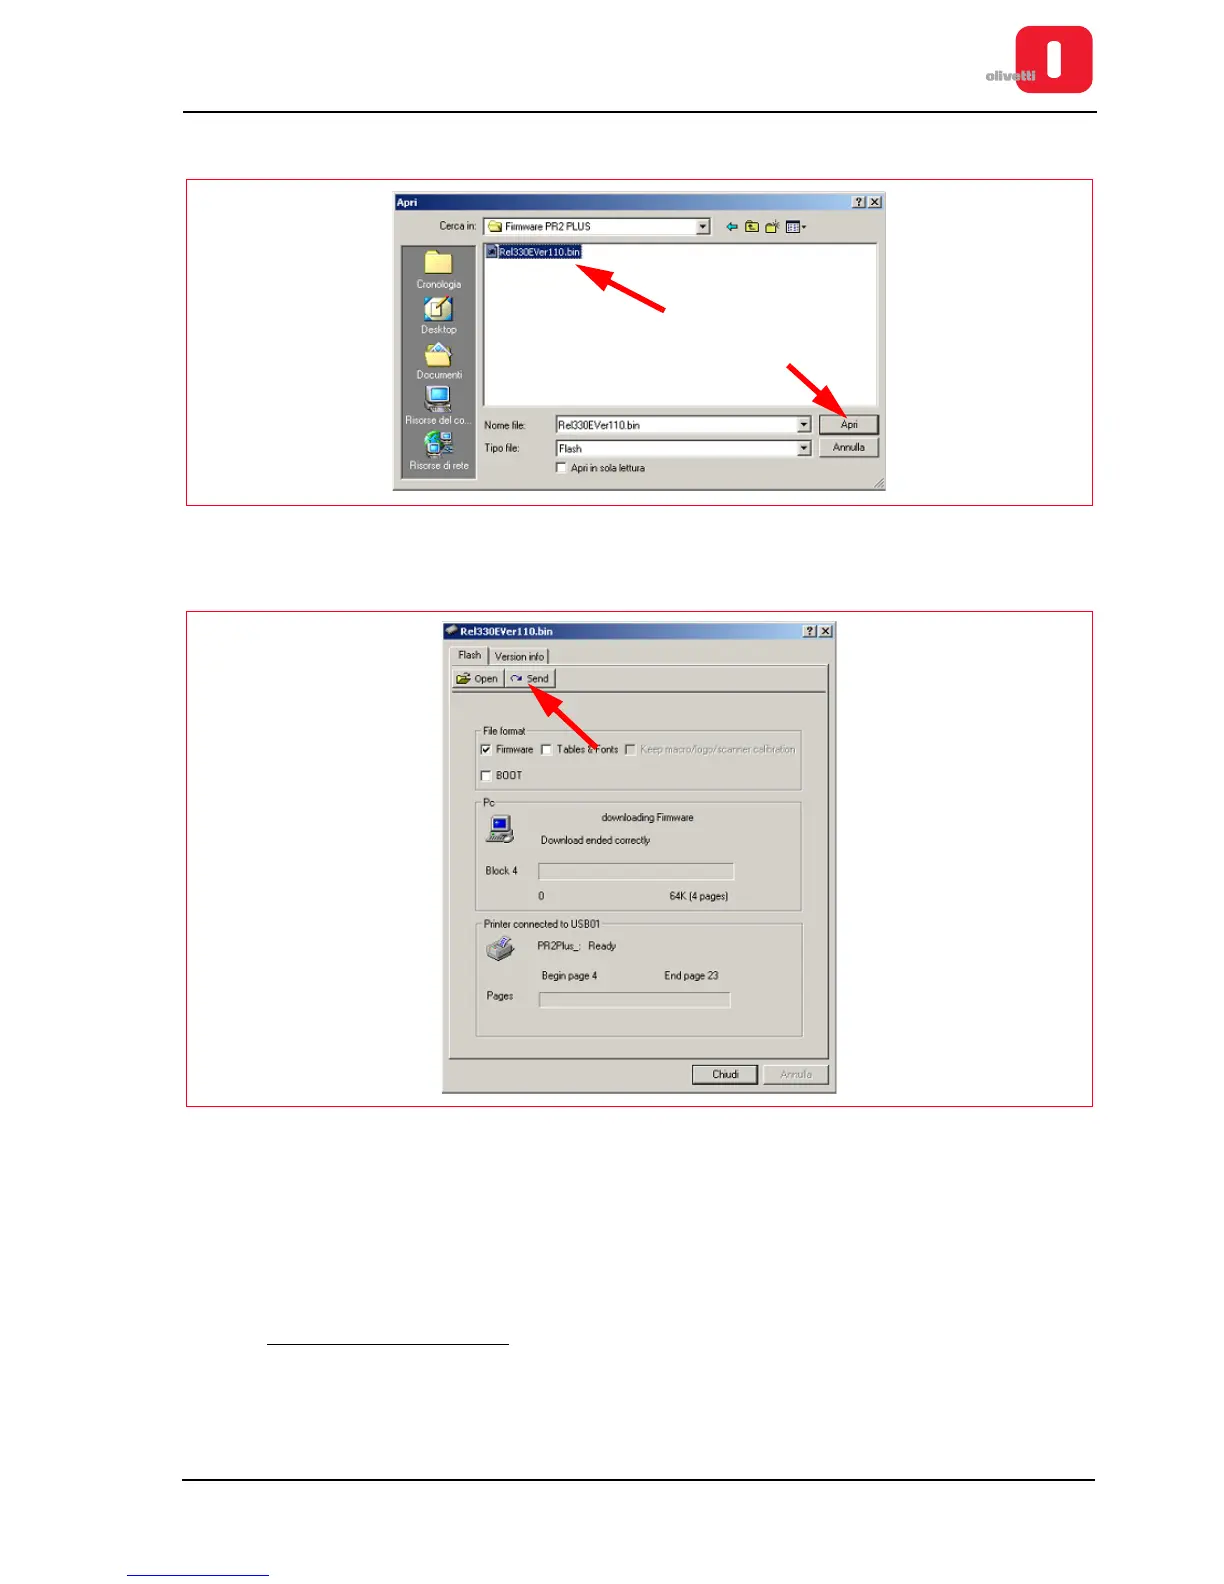
9. Select the Send key and wait until transfer of the firmware has been completed.
Figure A - 5 Key to send the firmware transfer
10. Calibrate the photosensors. See the section “CALIBRATING THE PHOTOSENSORS” on page 4 - 18.
Calibrate the scanner. See the section “Calibrating the scanner” on page 4 - 28.
11. Print the Self Test again, checking that the firmware release is that required.
Forced loading of firmware
Before proceeding to force loading of the firmware, contact Technical Support
Mail box: Banking.Printers@Olivetti.com