7-34 Service Manual
XZAC4219-05
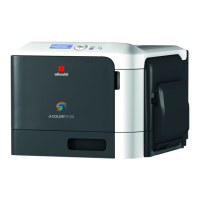
NOTE: for reassembly, reverse the procedure, paying particular
attention to correct fitting of the spring (3).
See the Figure 7 - 47.
Clean the glass of the CIS with a soft cloth.
After completing the re-assembly procedure, carry out
mechanical adjustment and calibration of the scanner
(see the section “Calibrating the scanner” on page 4 - 28).
CIS assy (lower scanner) disassembly/reassembly
1. Disassembling the casing. See the section “Casing disassembly/reassembly” on page 7 - 4.
2. Remove the upper mechanical assy. See the section “Upper mechanical assy disassembly/reassembly” on
page 7 - 11.
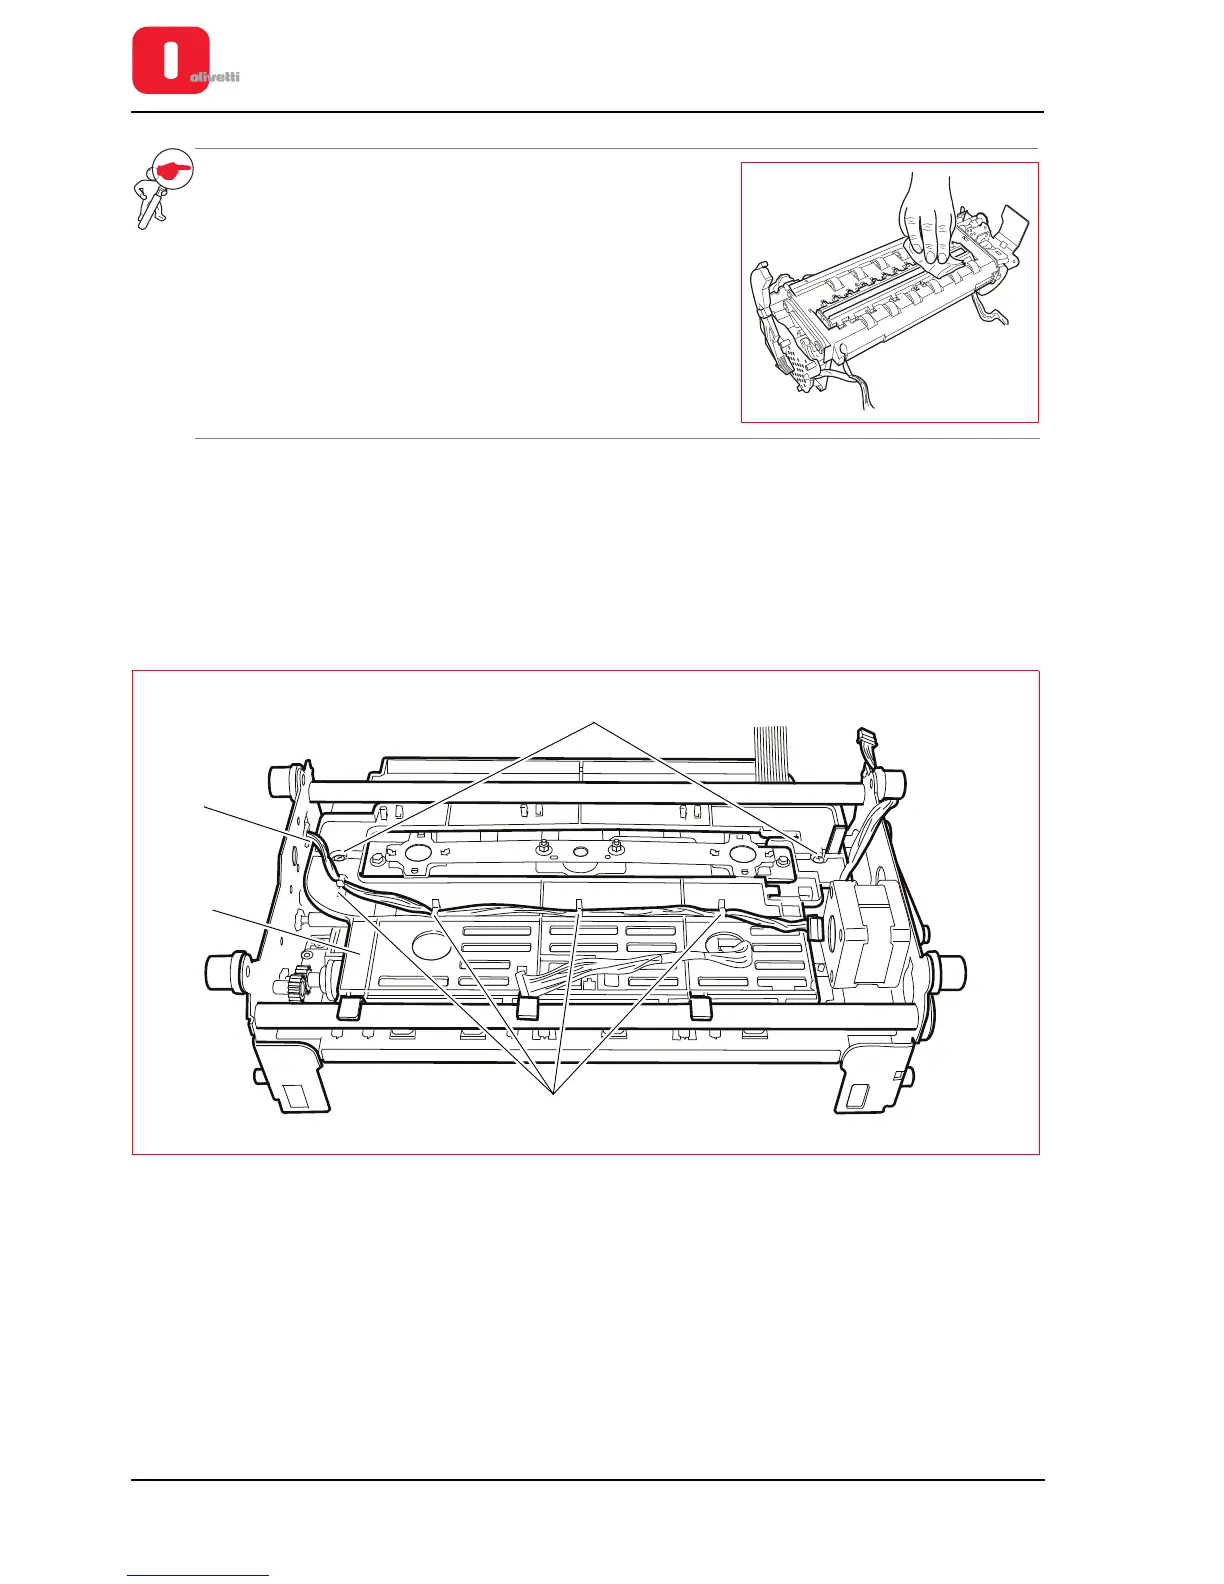
3. Remove the roller guard (1) removing the related M3 lock-screws (2) and release the cable (3) from the cable
clips (4).
Figure 7 - 49 Disassembling the CIS assy (lower scanner)