24.3.2 Traditional view
Steps
1. Move the chair to the required position by using the chair movement
buttons on the control panel or by using the foot control.
For instructions, see section "Manual operation" on page 80.
2. If you want the operating light or its composite mode to be on (off) in this
position, turn it on (off).
3. Adjust the intensity of the operating light and/or its composite mode as
described in section "Intensity" on page 163.
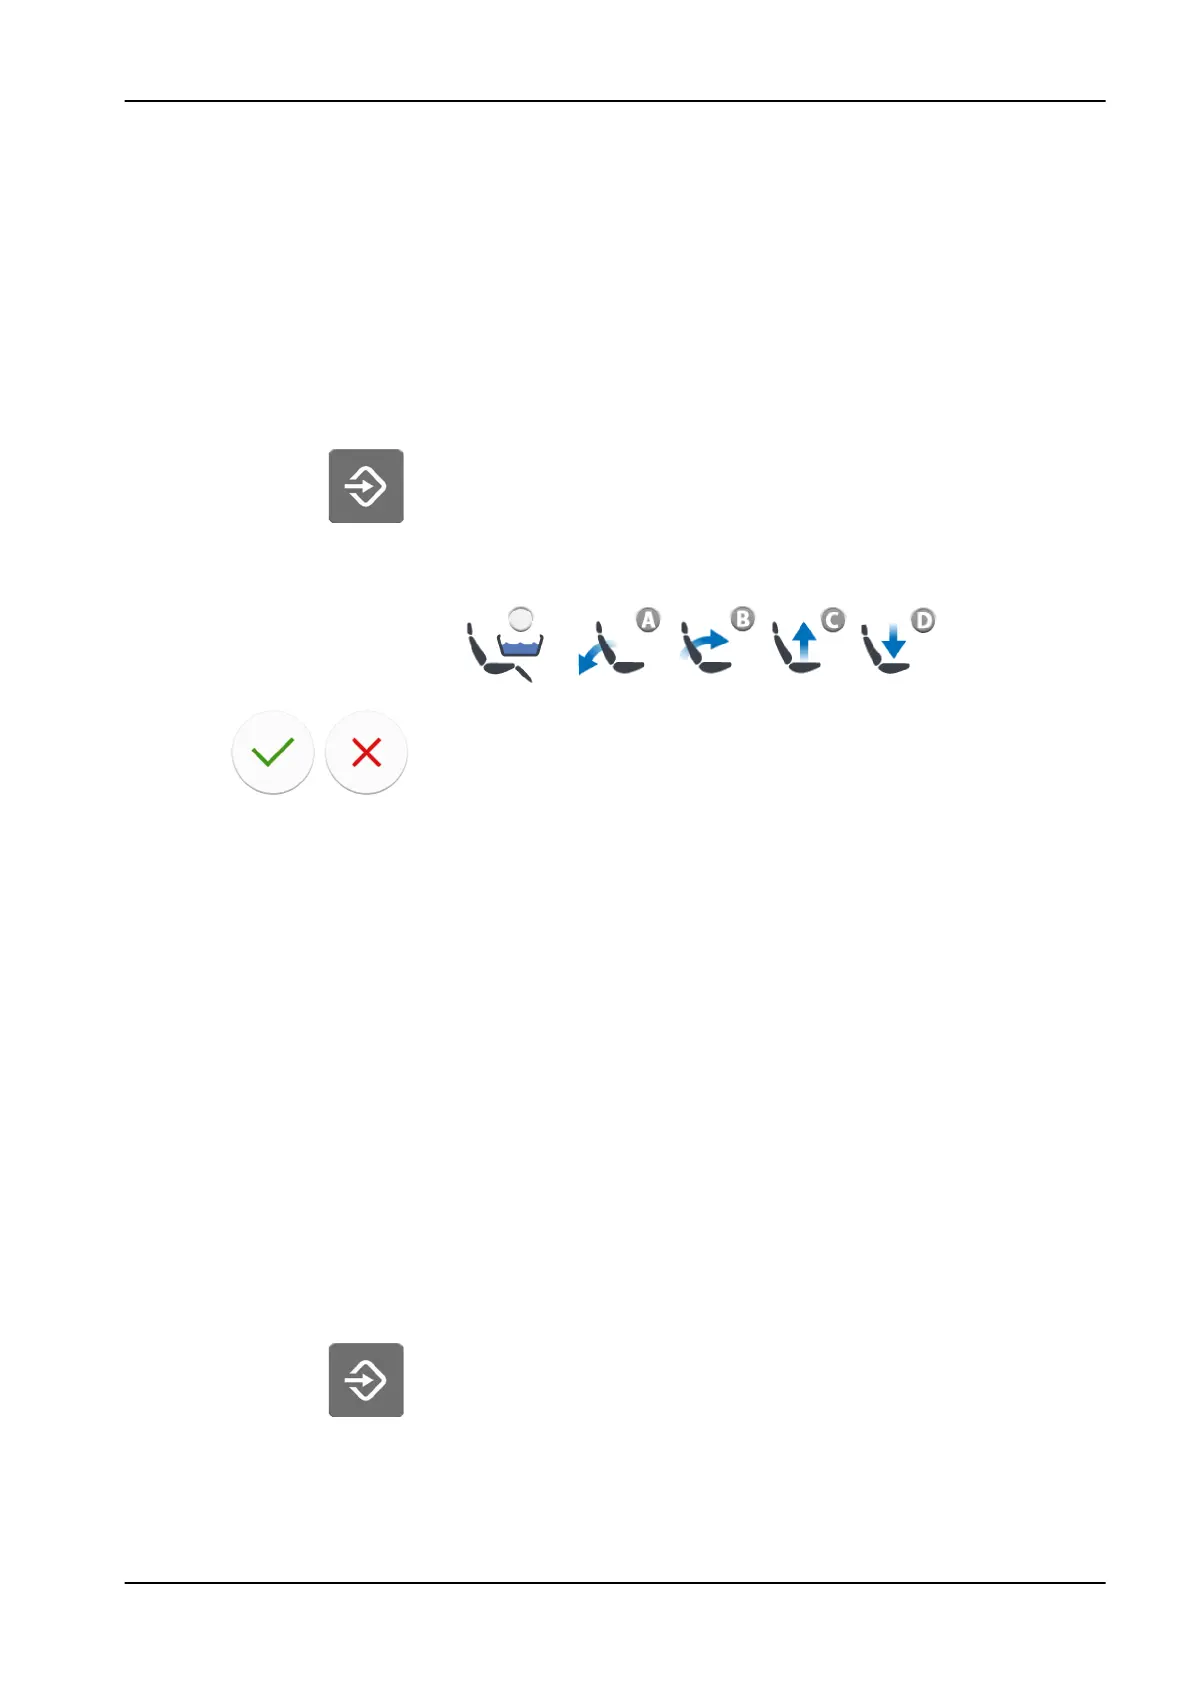
4. Press Program.
5. Press the desired chair position where to store the chair’s position (entry/
exit position, A, B, C or D).
6. Press OK to confirm that you want to save the current position as an
automatic position.
If you do not wish to save the position as an automatic position, press
Close.
24.4 Instrument settings
When you have signed in to the dental unit with your own user name, all
changes you make to the instrument settings and then save, are saved to
your personal settings. This means that whenever you sign in to the dental
unit, you will use your last saved instrument settings.
24.4.1 Instrument speed/power limit
About this task
NOTE
The instrument speed/power limit does not affect the air driven instruments
for which quickstart has been selected.
Steps
1. Activate the instrument.
2. Press Program.
24 Programming
User's manual Planmeca Compact i3 151