The system will first identify the instruments and then each instrument
hose is flushed with air and water for 30 seconds in its turn.
5. Release the instrument arms (if your dental unit is equipped with
balanced instrument arms).
6. Once the flushing cycle is finished, H 36 is displayed. Remove the
instruments from the flushing holder and return them to the instrument
console.
If water flow was not detected for all water consuming instruments,
H 36.1 is displayed. Run instruments for a while with spray water to
ensure that the flushing of instruments is sufficient.
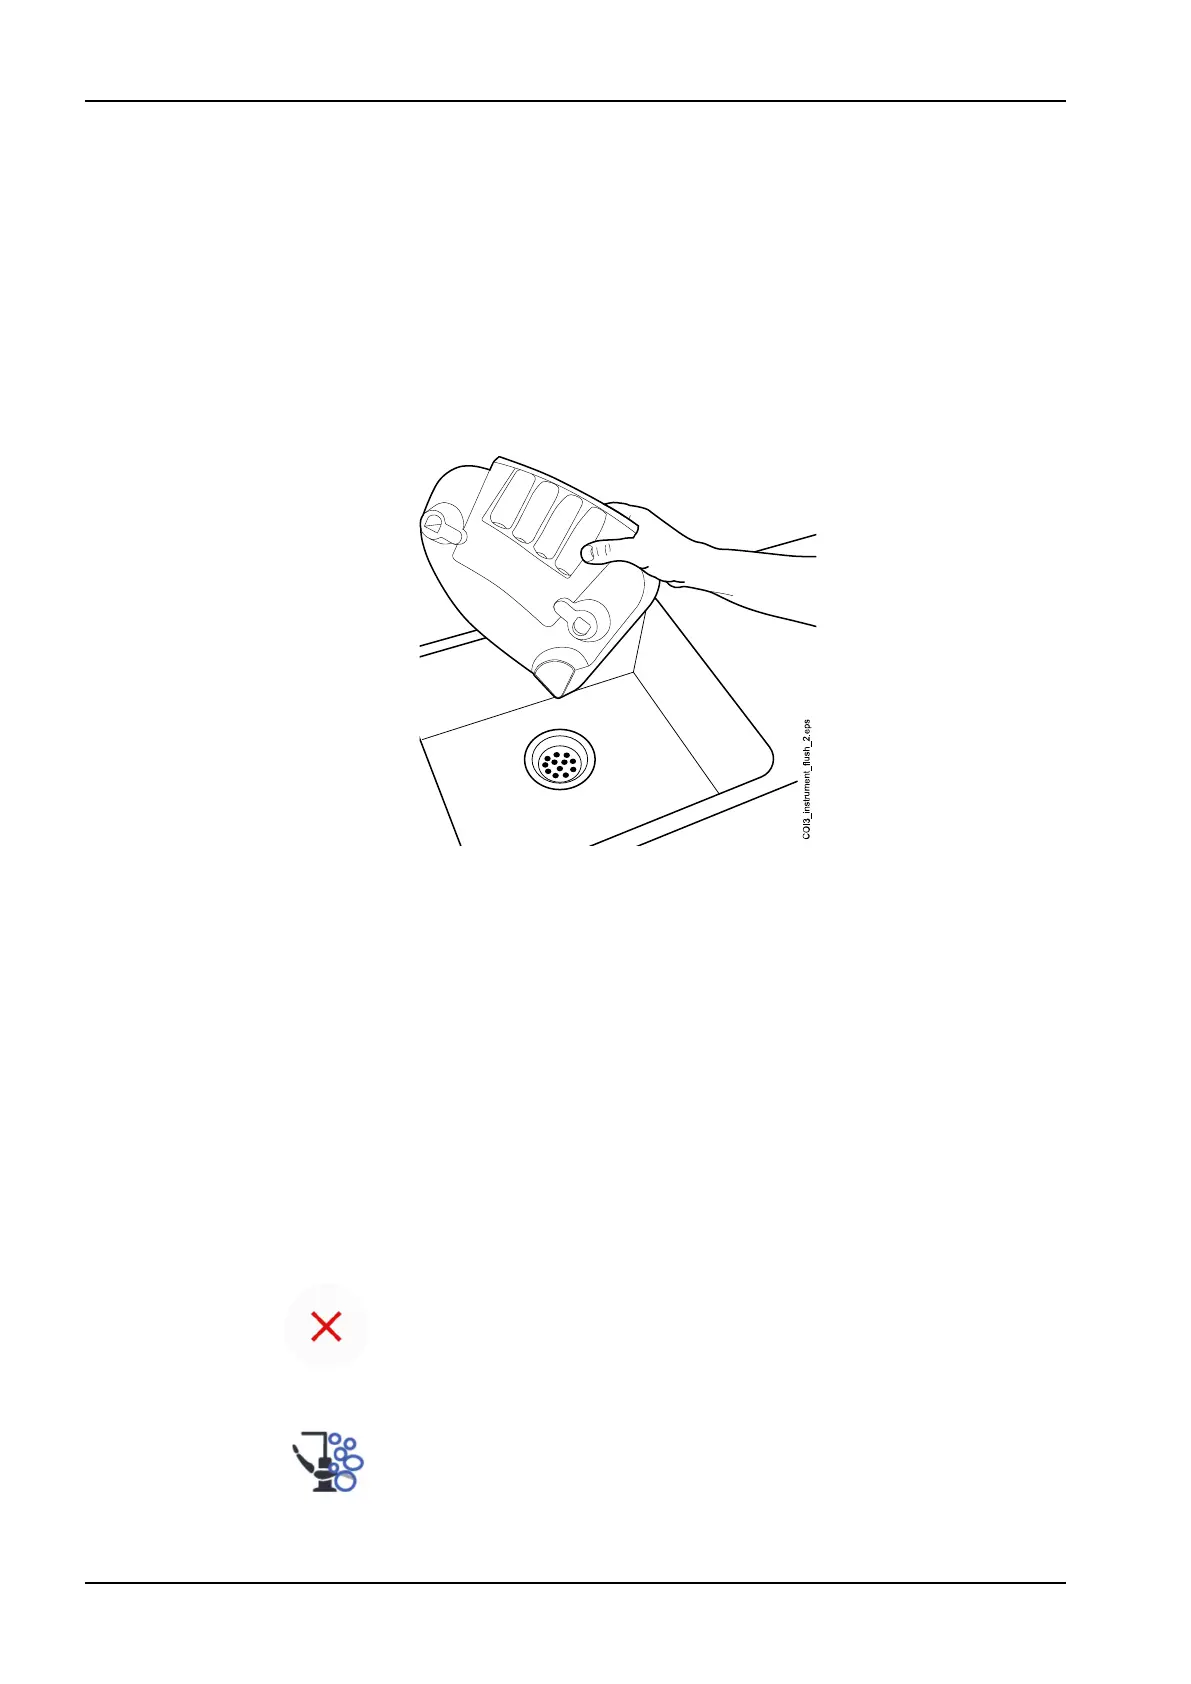
7. Empty the instrument flushing holder.
26.4 Long instrument flushing
About this task
NOTE
To be able to run the long instrument flushing program according to the
instructions below you need an instrument flushing holder. If you do not have
the holder, perform long instrument flushing by running water through each
instrument for 30 seconds / instrument.
NOTE
The duration of the long flushing cycle can be adjusted, see section
"Adjusting maintenance functions" on page 169.
NOTE
You can interrupt the flushing cycle by pressing Close. After the interruption,
the dental unit can be used normally.
Steps
1. Press Maintenance to go into maintenance mode.
26 Flushing and cleaning programs
178 Planmeca Compact i3 User's manual