4. Press 12/24 to change the mode (12-hour / 24-hour clock).
5. Adjust the time.
6. Press OK.
The pop-up window closes and the new time is displayed on the control
panel.
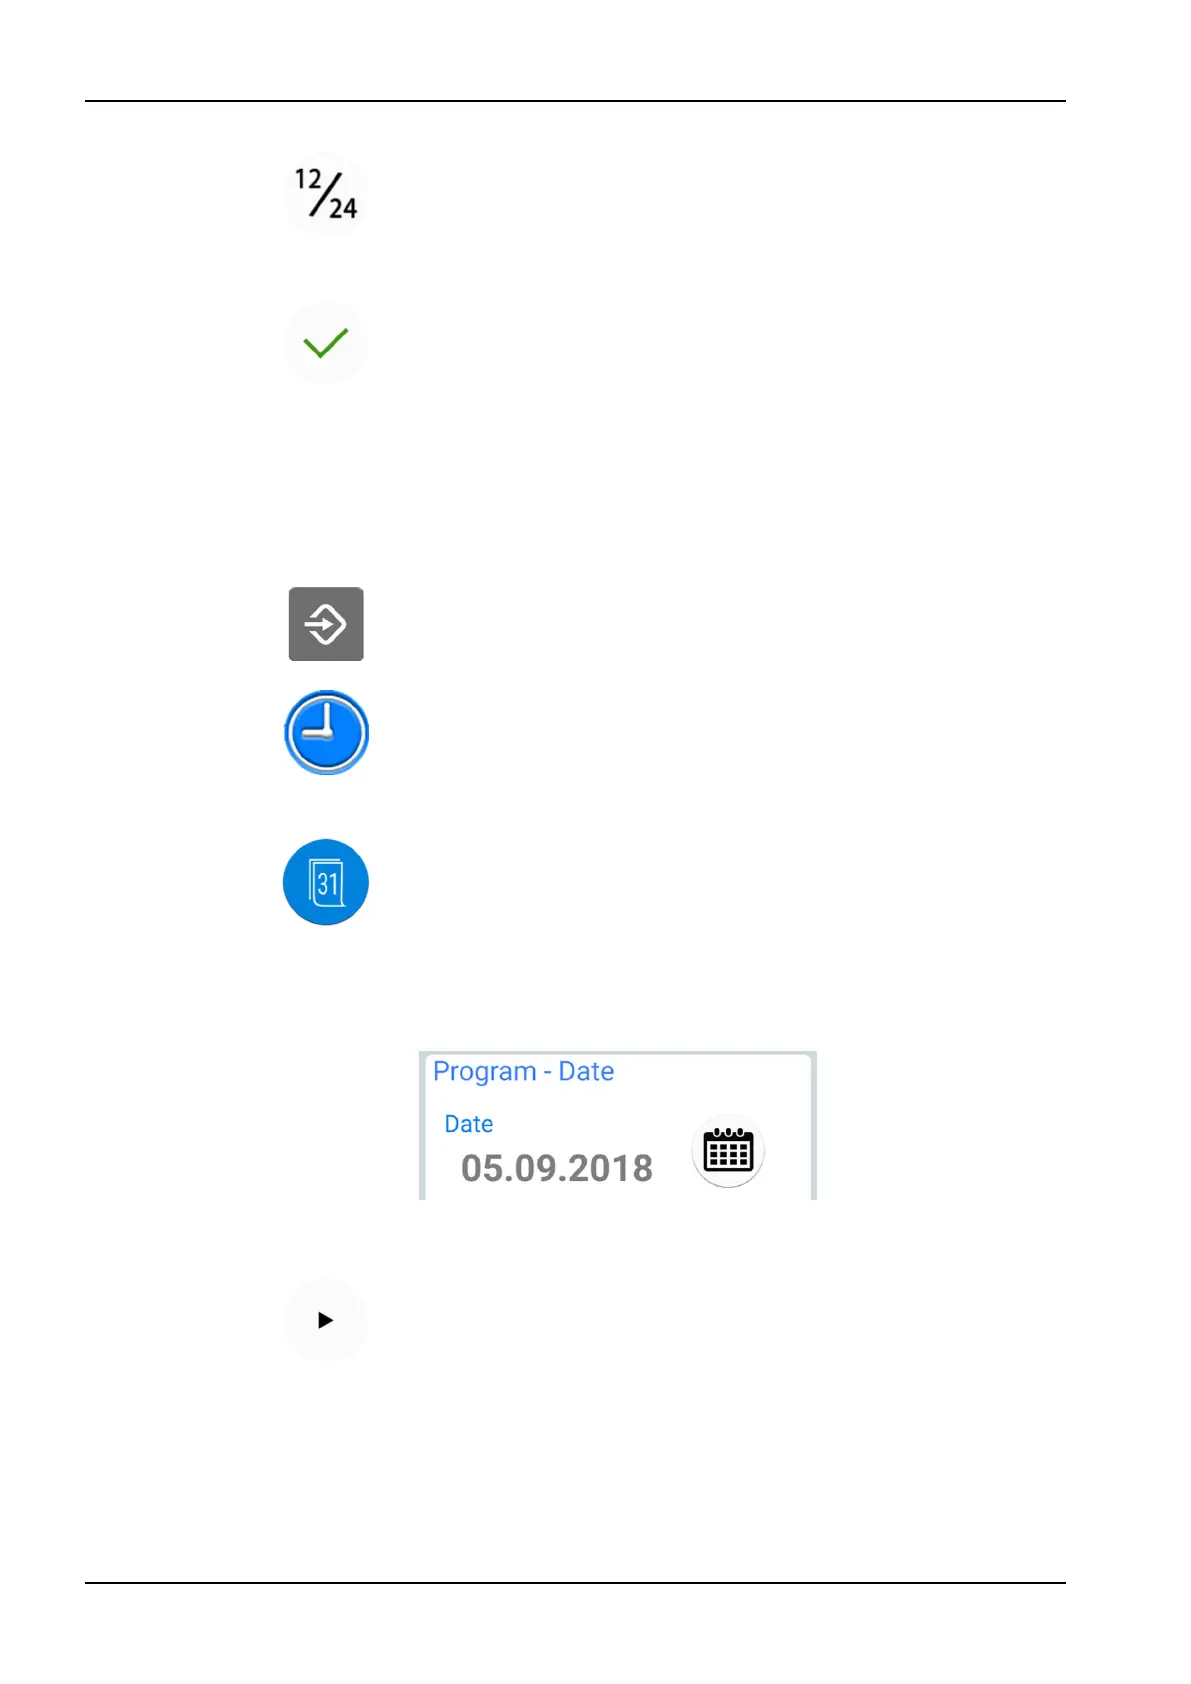
24.9 Date
Steps
1. Press Program.
2. Press Clock.
A pop-up window opens.
3. Select the date programming view by pressing Date at the bottom of the
programming window.
When the date is not visible on the control panel, the items in the
programming window are grey. This means that they are disabled.
To show the date on the control panel and to enable programming, press
the Date button at the top of the programming window.
The button will turn blue and all items in the window will turn black (which
means that programming is enabled).
4. Select the date format.
Press the arrow to scroll through the different format options:
• dd.mm.yyyy (day, month, year)
• mm.dd.yyyy (month, day, year)
• yyyy.mm.dd (year, month, day)
5. Adjust the day, month and year.
24 Programming
168 Planmeca Compact i3 User's manual