24 Programming
24.1 Introduction
Automatic chair positions, operating light and instrument settings are saved
to the user’s personal settings. Before you start programming, make sure
that you have signed in to the dental unit with your own user name.
NOTE
If the instrument is operated during programming, the changes in settings
are seen immediately.
NOTE
The air/water flow of the syringe can not be programmed.
NOTE
To check a function setting (other than automatic position) without
programming it, press Program and the button of the desired function. The
setting is displayed on the control panel. Press OK to close the window
without changing the setting.
Most of the programming follows the same pattern:
1. If you are programming an instrument, pick up the instrument from the
instrument console.
2. Press Program to activate the programming mode.
The button turns blue.
3. Select the desired function from the control panel.
4. A pop-up window opens where you can adjust the values with the plus
(+) and minus (-) buttons.
NOTE
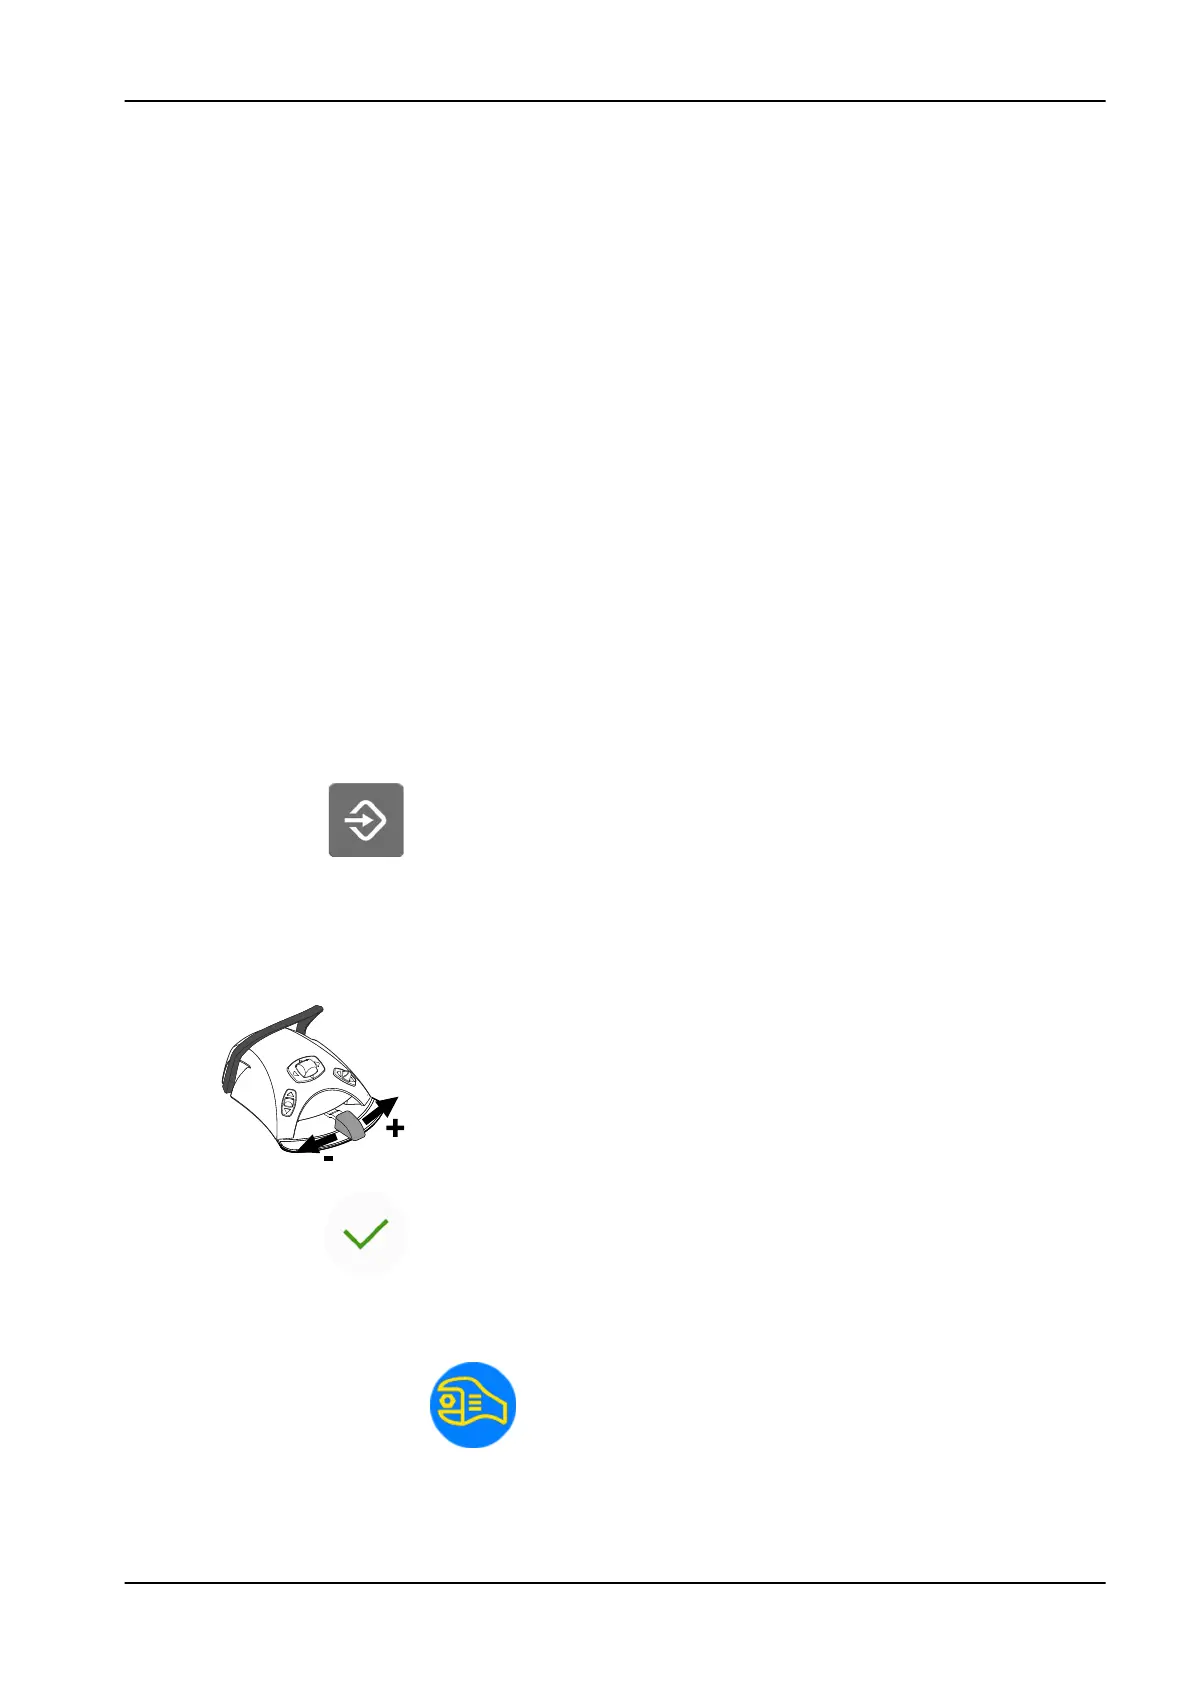
Alternatively, you can change the settings with the foot control. To
increase the parameter value, push the pedal to the right. To decrease
the parameter value, push the pedal to the left. When the pedal is
pushed halfway (right or left) the parameter changes slowly. When the
pedal is pushed to its extreme position (right or left) the parameter
changes quickly.
5. Press OK to store the new setting into memory.
The pop-up window closes.
When you press Program, you will also see the following symbols on the
control panel:
service mode
24 Programming
User's manual Planmeca Compact i3 147