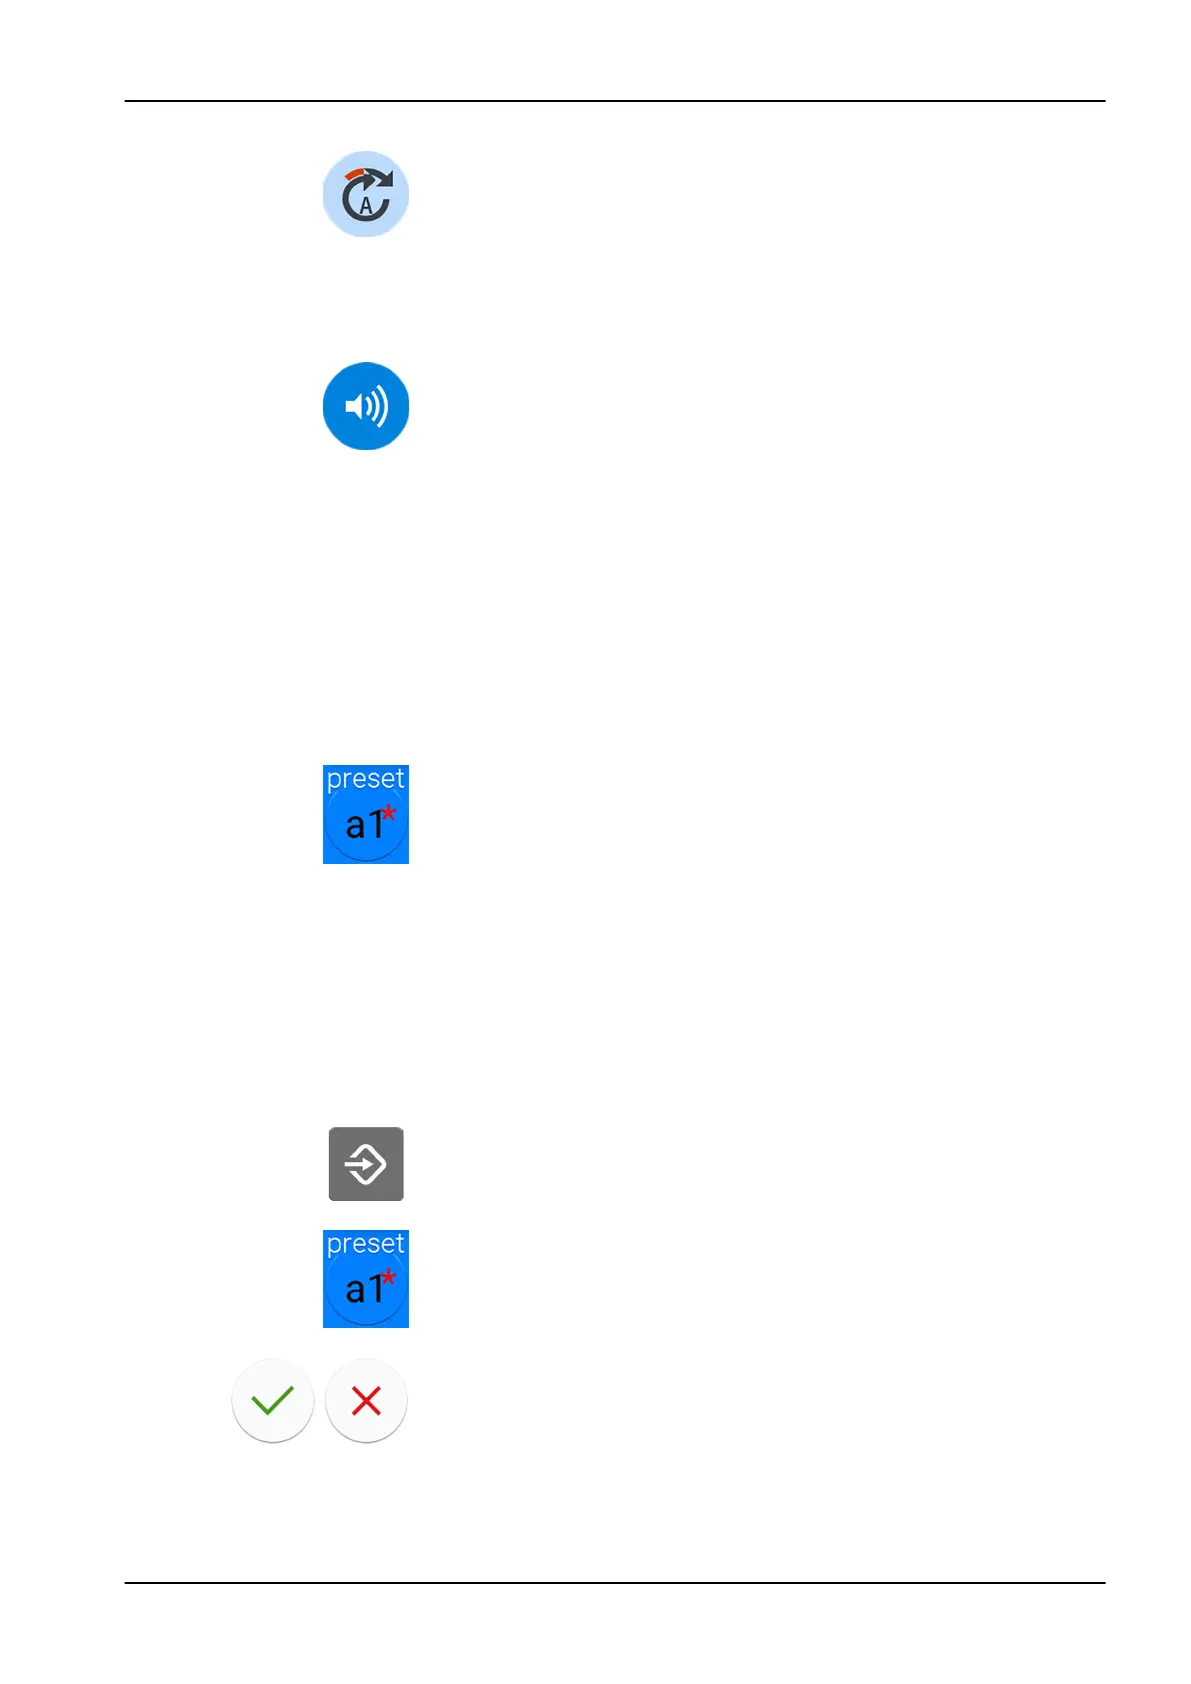
10. Presets a1 - a3 only: Press Apical action to toggle between the apical
actions auto stop, auto forward, and no action.
NOTE
The button looks different depending on which apical action is currently
in use.
11. Presets a1 - a3 only: Press Sound to turn off/on the sound of the apex
locator.
This only turns off the sound of the apex locator. It has no effect on the
beep signals of the torque function. We recommend that you keep the
sound on at all times.
Results
NOTE
Changing the instrument spray, chip blow and instrument light values follows
the normal programming pattern. For more information, see sections
"Instrument spray" on page 152, "Automatic chip blow" on page 153 and
"Instrument light" on page 154.
When you have modified the settings of a preset, but have not saved them,
an asterisk can be seen on the Preset button.
The procedure for saving the modified preset settings is explained in section
"Saving modified preset values" on page 161.
24.4.8.2 Saving modified preset values
About this task
When you have modified the settings of a Morita TORX micromotor preset,
you can store them under that specific preset so that the modified settings
are in use next time you select that preset.
Steps
1. Press Program.
2. Press Preset.
3. Press OK to confirm that you want to save the new settings.
If you do not want to save the new settings, press Cancel.
The preset window is closed. The settings are stored in the dental unit
when you return the instrument to its holder.
24 Programming
User's manual Planmeca Compact i3 161