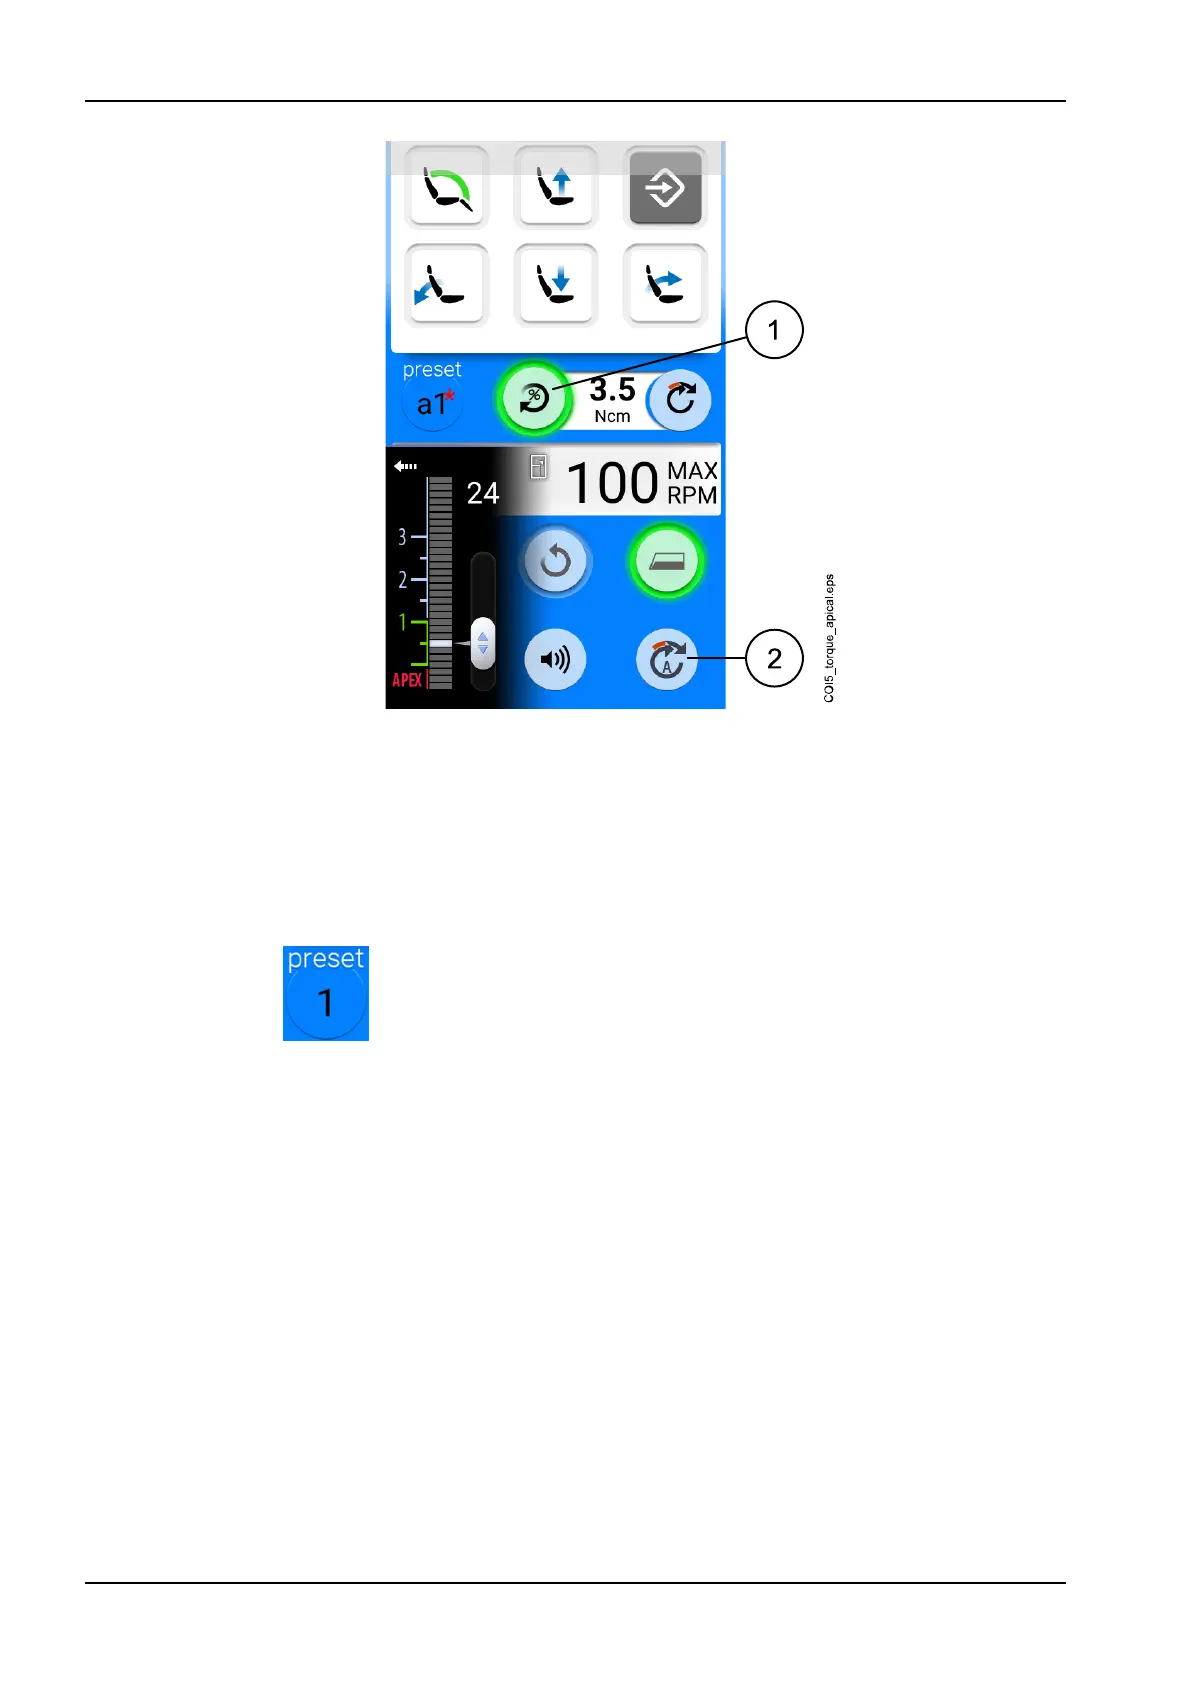
1 Torque action
Torque-based transition from reverse to forward rotation
2 Apical action
Apical depth-based transition from reverse to forward rotation
22.5.4 Presets
Each user has a personal set of presets for the Morita TORX micromotor.
Nine different presets are available and the Preset button displays the
currently used preset.
If you want to use another preset than the current, follow the steps below.
1. Activate the micromotor.
2. Press Preset.
3. In the window that opens, select the desired preset. You will then
automatically be returned to the main window.
The presets available for the Morita TORX micromotor are:
1 a1 t1
2 a2 t2
3 a3 t3
Presets 1 - 3 are generic default presets where the torque limit is not
available, a1 - a3 are presets for measuring the apex where the torque limit
can be enabled, and presets t1 - t3 are torque presets where the torque limit
can be enabled.
Presets a1 - a3 can only be used with the Morita CA-10RC-ENDO 10:1
endo-contra handpiece. This handpiece must not be used with other presets
than a1 - a3.
22 Operating instruments
118 Planmeca Compact i3 User's manual