3.26
9929399 R01 - 2018-2019 RANGER XP/ CREW 900/1000 Service Manual
© Copyright Polaris Industries Inc.
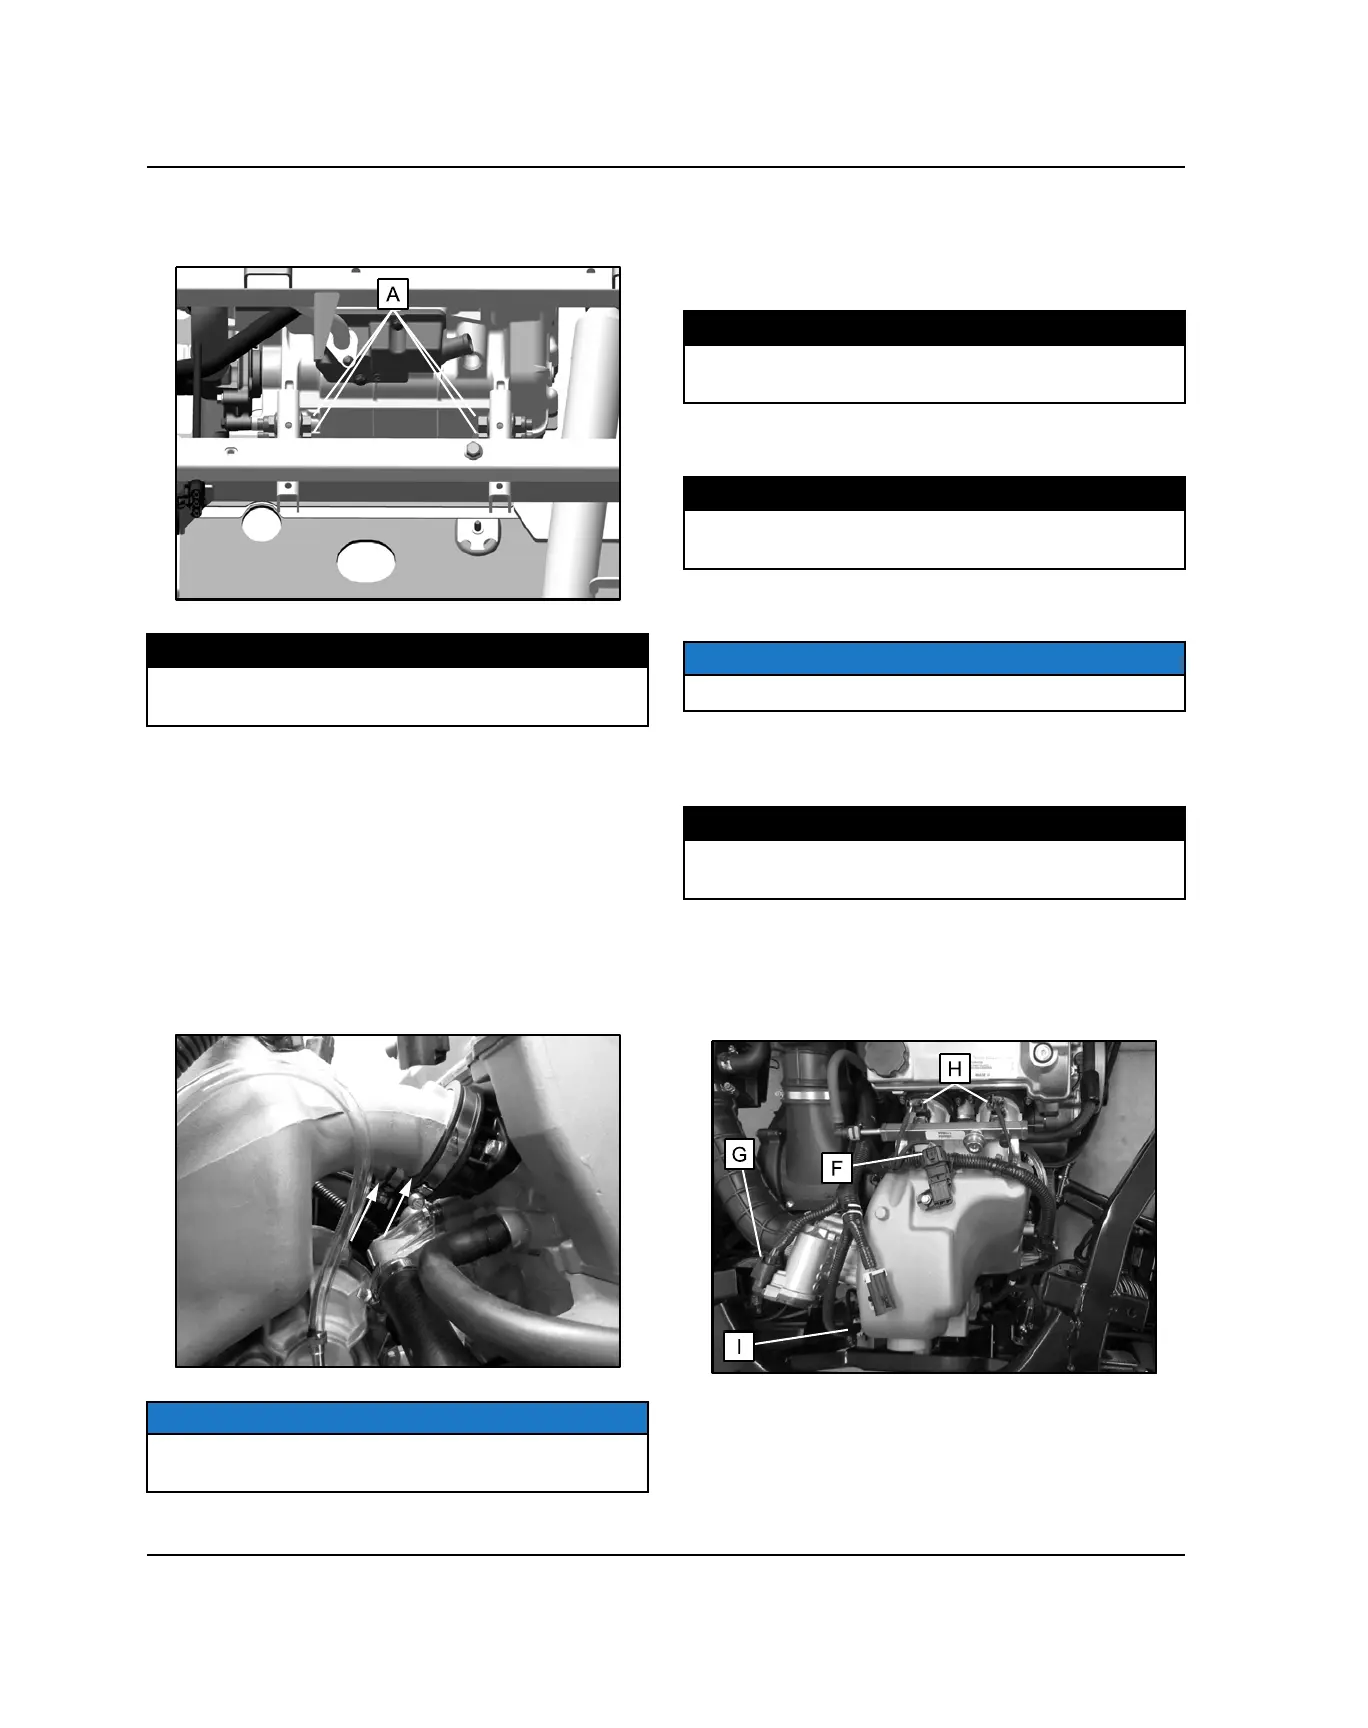
13. Torque the four front engine mount fasteners (A) to
specification.
TORQUE
Front Engine Mount Fasteners:
40 lb-ft (54 Nm)
14. Remove the lifting straps and overhead or portable
engine hoist.
15. Install the breather hose onto the crankcase at the
front of the engine.
16. Install the two coolant hoses onto the engine.
17. Install (+) positive cable to the starter motor and (-)
negative cable to the starter motor mounting bolt.
18. Install the intake plenum and throttle body assembly.
Place the intake plenum runners into the cylinder
head intake adapters.
NOTICE
Be sure the intake plenum runners are fully seated in
the intake adapters before tightening the hose clamps.
19. Loosely install the fastener securing the bottom of
the intake plenum to the rear transmission mount. Do
NOT torque fastener yet.
20. Tighten the hose clamps to specification.
TORQUE
Intake Plenum Hose Clamps:
17 lb-in (2 Nm)
21. Torque the lower intake plenum fastener to
specification.
TORQUE
Lower Intake Plenum Fastener:
22 lb-ft (30 Nm)
22. Lightly lubricate both fuel injector O-rings and install
the fuel injector / fuel rail assembly.
NOTICE
Take care not to damage the O-rings upon installation.
23. Install the two bolts that retain the fuel rail assembly
to the intake plenum and torque bolts to
specification.
TORQUE
Fuel Rail Mounting Bolts:
5 lb-ft (7 Nm)
24. Connect the stator harness at the front of the engine.
25. Connect the vehicle harness to the T-MAP sensor
(F), ETC (G), fuel injectors (H), rear differential relay
and rear differential solenoid (I).
ENGINE / COOLING / HVAC SYSTEM
 Loading...