Replacement
Adjustment
21 August 2006
Replacement
Adjustment
3-37
AREA A
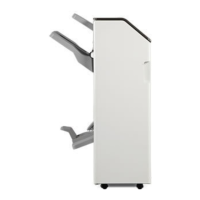
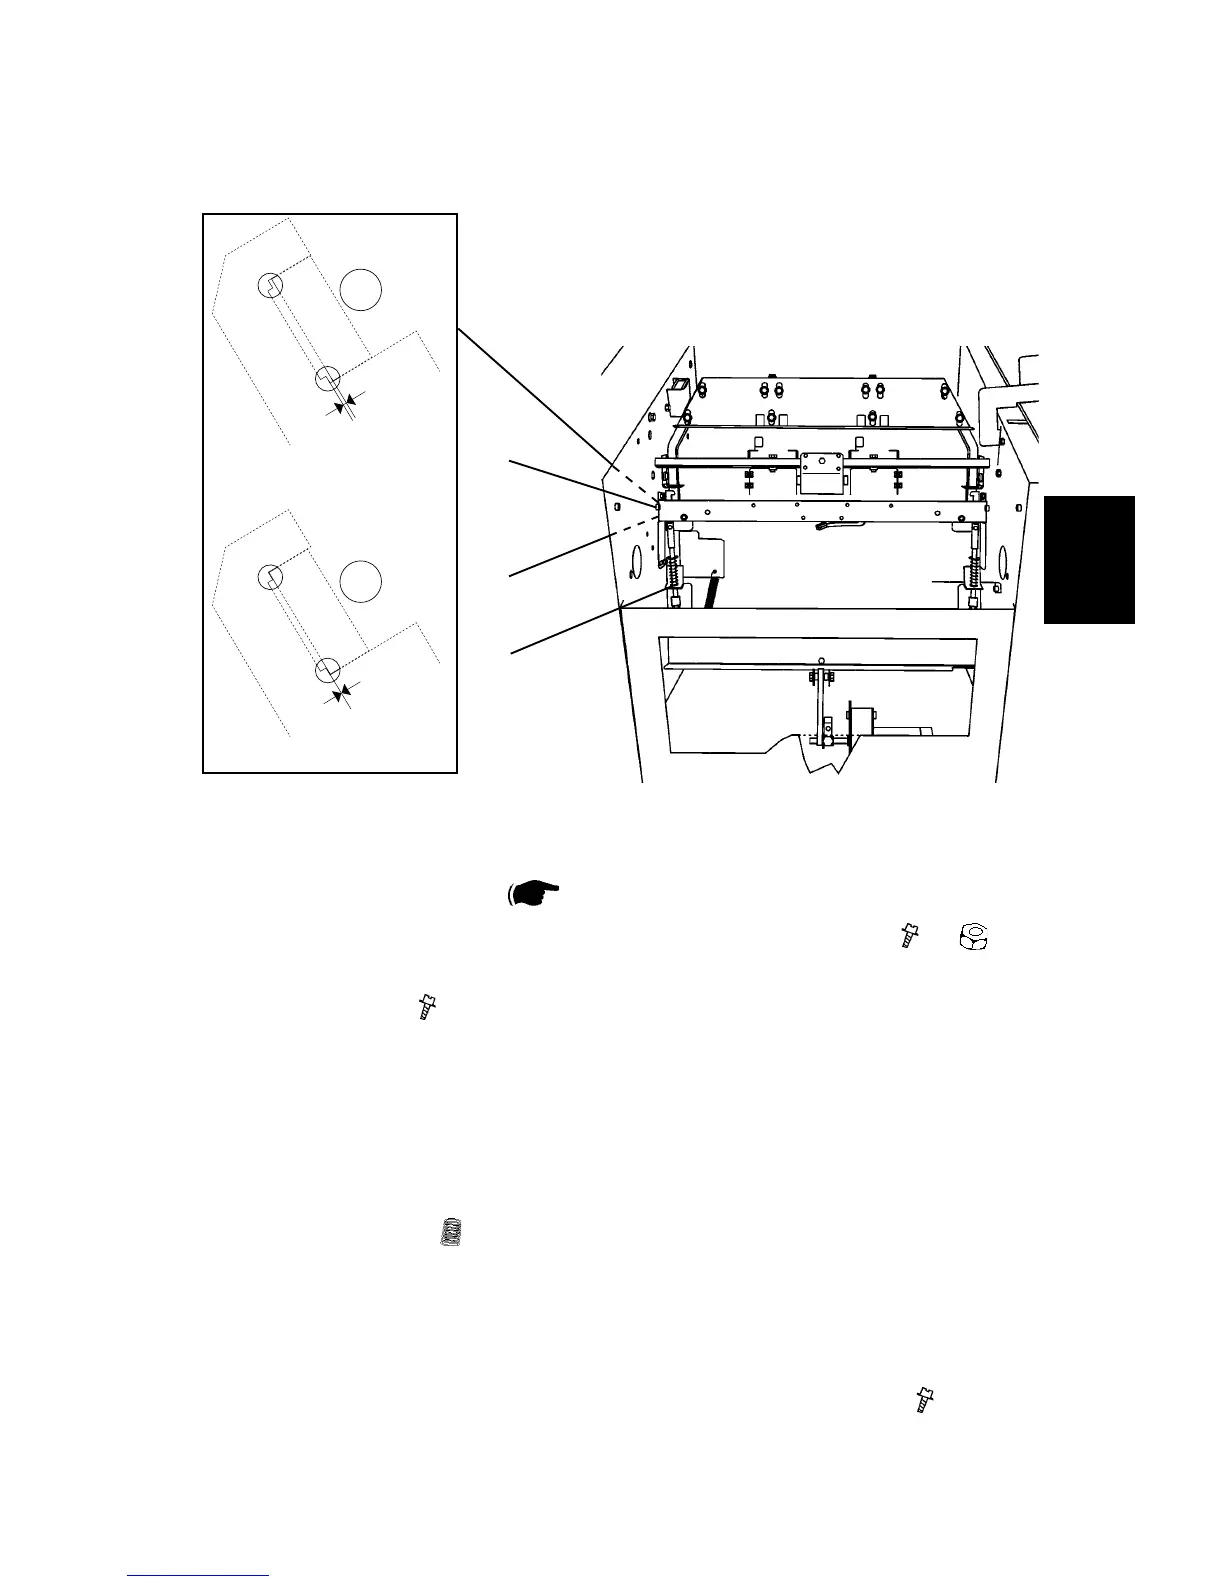
3.4.16 CLINCHER BAR ASSEMBLY
Removal
1. Set the machine to A3 / 11x17”.
2. Remove Infeed module (
3.4.1 ).
3. Remove screws and nuts [A] on both sides of the Booklet maker (
x2, x2 ).
4. Remove the screws [B] fastening the clincher beam, on both sides of the
Booklet maker ( x2 ).
5. Lift out the Clincher bar assembly.
Replacement
1. Reinstall the Clincher bar assembly.
NOTE: Make sure that the spring [C] is positioned on top of the Stapler assy
drive bar ( x2 ).
2. Before tightening the screws [B], make sure that the Clincher bar assembly is
rmly seated [D].
NOTE: There should be no space [D], If you look at the clincher bar through
the positioning holes in the Front and Rear frame.
3. While pressing the Clincher bar assembly, tighten the screws [B] (
x2 ).
4. Reverse the rest of the removal procedure.
[A]
[B]
[C]
[D]
Correct, no gap
Incorrect, with gap
 Loading...