1-21
Installation
04 October 2007
1.3.5 CHECK THE INSTALLATION
1. If installing a Cover Feeder CF5010 or Trimmer TR5010, continue to that sec-
tion ( 1.4 or 1.5 ) otherwise continue with step 2.
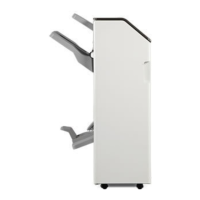
2. Power on the Booklet maker.
NOTE: Make sure that the nisher connector is connected to the copier.
3. Remove the two Stapler heads, according to section (
3.4.12 ).
4. Perform a Detailed self-diagnostic, according to section (
5.3.3 )
5. Reinstall the two Stapler heads, according to section (
3.4.12 ).
6. Power on the Copier.
NOTE: Make sure that the Booklet maker is powered ON before the Copier.
7. Set up the Booklet maker to Auto paper size.
8. Send one A4/8.5 x 11” job to the Booklet maker.
9. Check for the correct feeding of the paper.
NOTE: If paper is not fed correctly, check adjustment of the Booklet maker ac-
cording to section ( 1.3.3 ).
10. Send one A3/11 x 17” job to the Booklet maker.
11. Check for the correct feeding of the paper.
NOTE: If paper is not fed correctly, check adjustment of the Booklet maker ac-
cording to section ( 1.3.3 ).
BOOKLET MAKER INSTALLATION