Basic Operation
Scanning using the control panel allows you to send scanned files via e-mail (Scan to E-mail) or to the
shared folder of a computer on a network (Scan to Folder).
The Scan to E-mail and Scan to Folder functions are available only through a network connection.
• The original in the ADF takes precedence over the original on the exposure glass if you place
originals both in the ADF and on the exposure glass.
• When using the Scan to E-mail or Scan to Folder function, you must first register the destination in
the Address Book using Web Image Monitor. For details, see page 96 "Registering Scan
Destinations".
1. Place the original on the exposure glass or in the ADF.
To place the original, see page 73 "Placing Originals".
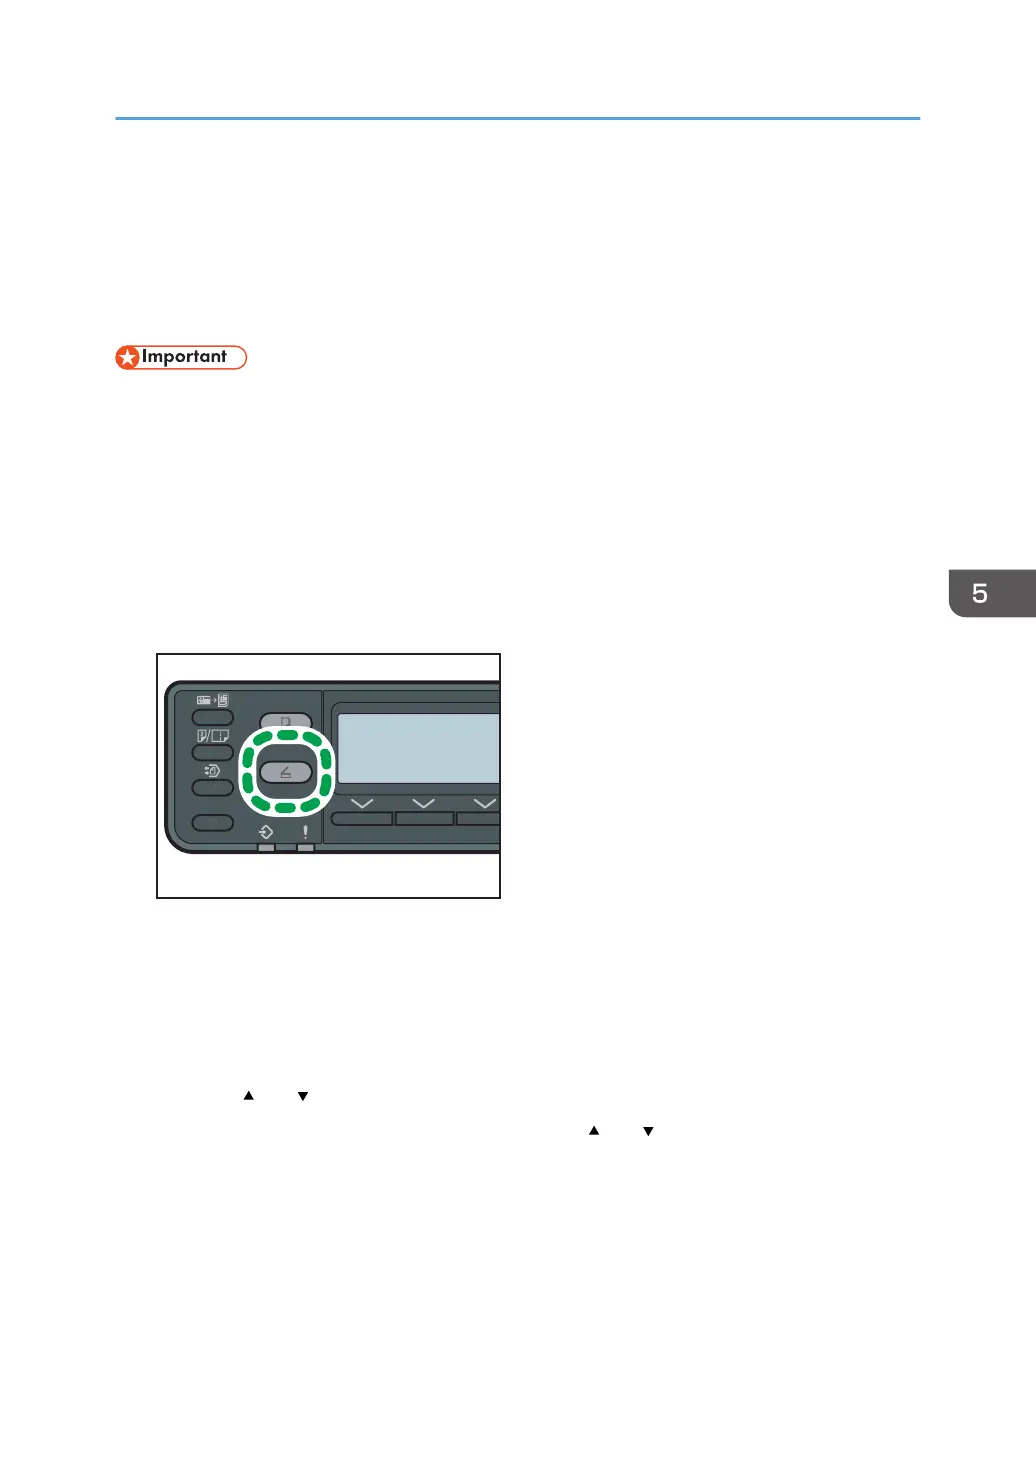
2. Press the [Scanner] key.
3. Press [Addr].
Alternatively, you can press the short cut keys if [Shortcut to Function] under administrator settings is
set to [Scan Addr]. Press the key to switch to the scanner destination selection menu. For [Shortcut
to Function], see page 151 "Administrator Settings".
4. Select [Search By Name] or [Search By ID] and then press the [OK] key.
5. Press the [ ] or [ ] key to scroll the Address Book, and then press the [OK] key.
6. Search for the desired destination by pressing the [ ] or [ ] key to scroll the Address
Book, and then press the [OK] key.
When you specify a scan destination, the machine's scan settings change automatically according
to the information registered for that destination in the Address Book. If necessary, you can change
the scan settings using the control panel. For scan settings, see page 108 "Specifying the Scan
Settings".
Basic Operation
105
 Loading...