8. Press the [ ] or [ ] key to select [mm] or [inch], and then press the [OK] key.
9. Enter the width using the number keys, and then press the [OK] key.
To enter a decimal point, press the [ ] key.
10. Enter the length using the number keys, and then press the [OK] key.
To enter a decimal point, press the [
] key.
• You can change the machine's default [Scan Size] setting to always scan originals with a specific
scanning size. For details, see page 143 "Scanner Features Settings".
• Temporary job settings are cleared in the following cases:
• When no input is received for the period of time specified in [System Auto Reset Timer] while
the initial screen is displayed. For details, see page 151 "Administrator Settings".
• When the [Clear/Stop] key is pressed while the initial screen is displayed.
• When the machine's mode is changed.
• When the power is turned off.
• When the machine's default for the same setting is changed
Specifying the Scanning Mode, Density, Resolution, and Original
This section explains how to specify a scanning mode, density, resolution, and original.
There are five image density levels. The higher the density level, the darker the scanned image.
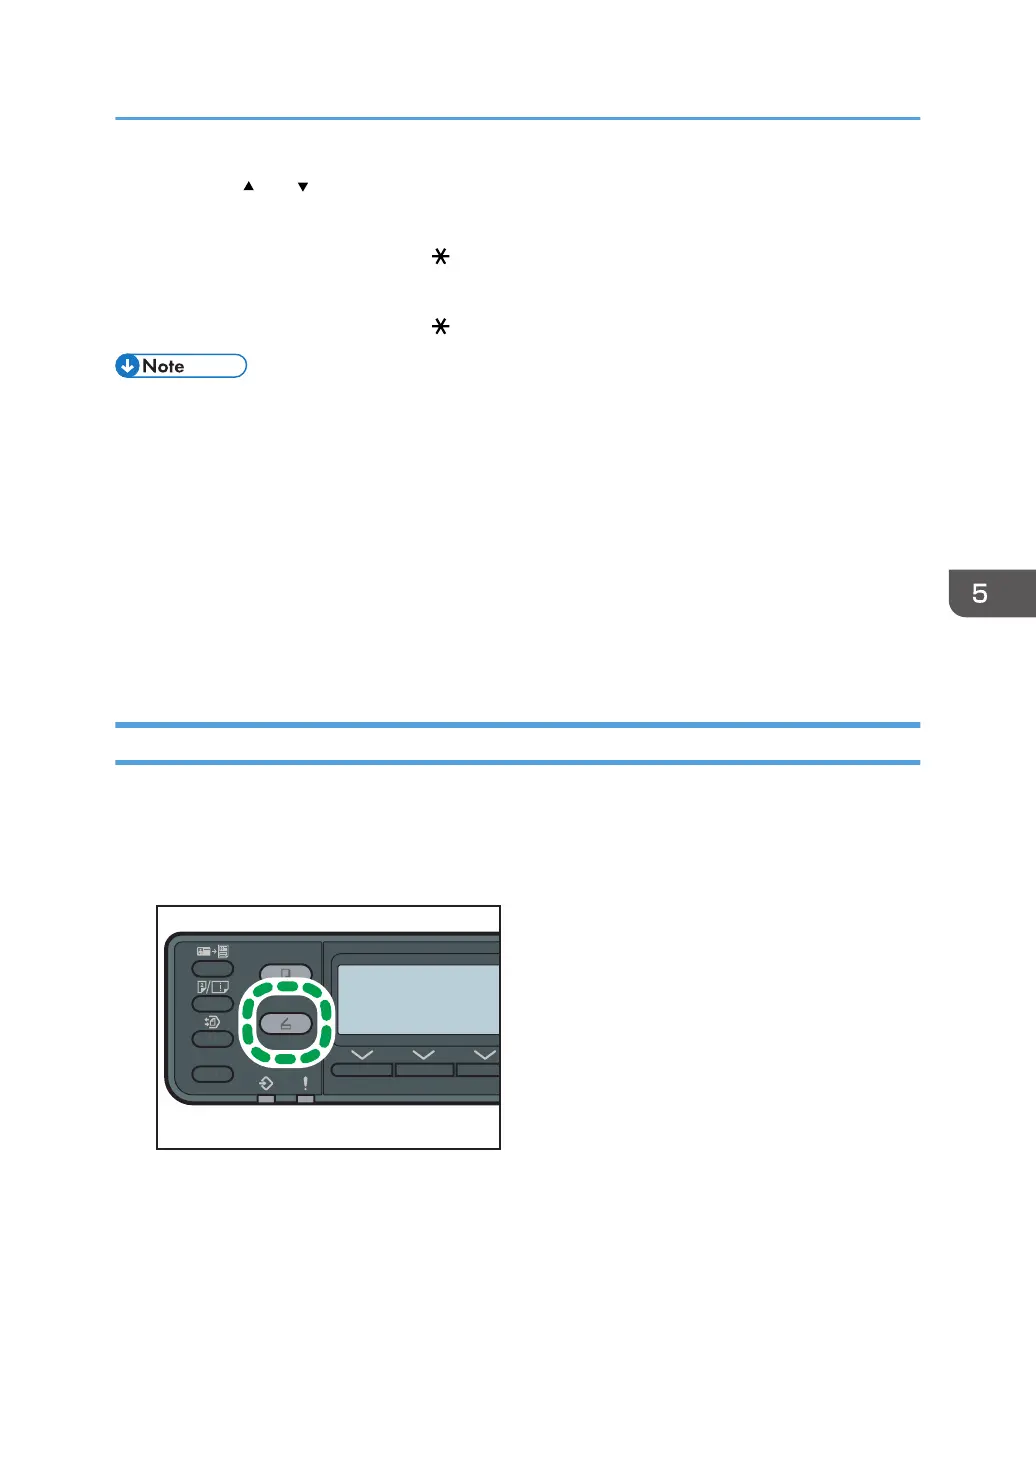
1. Press the [Scanner] key.
2. Press [Addr].
3. Select [Search By Name] or [Search By ID].
4. Select the address to which you want to send the scanned document.
5. Press [Setting].
6. Press [Mode].
Specifying the Scan Settings
109
 Loading...