Rockwell Automation Publication 450L-UM001D-EN-P - December 2019 65
System Configuration Chapter 5
This process has to be performed only once, after the first powerup of a plug-in
with new settings. It is not required at any following powerup (only when DIP
switches are changed again).
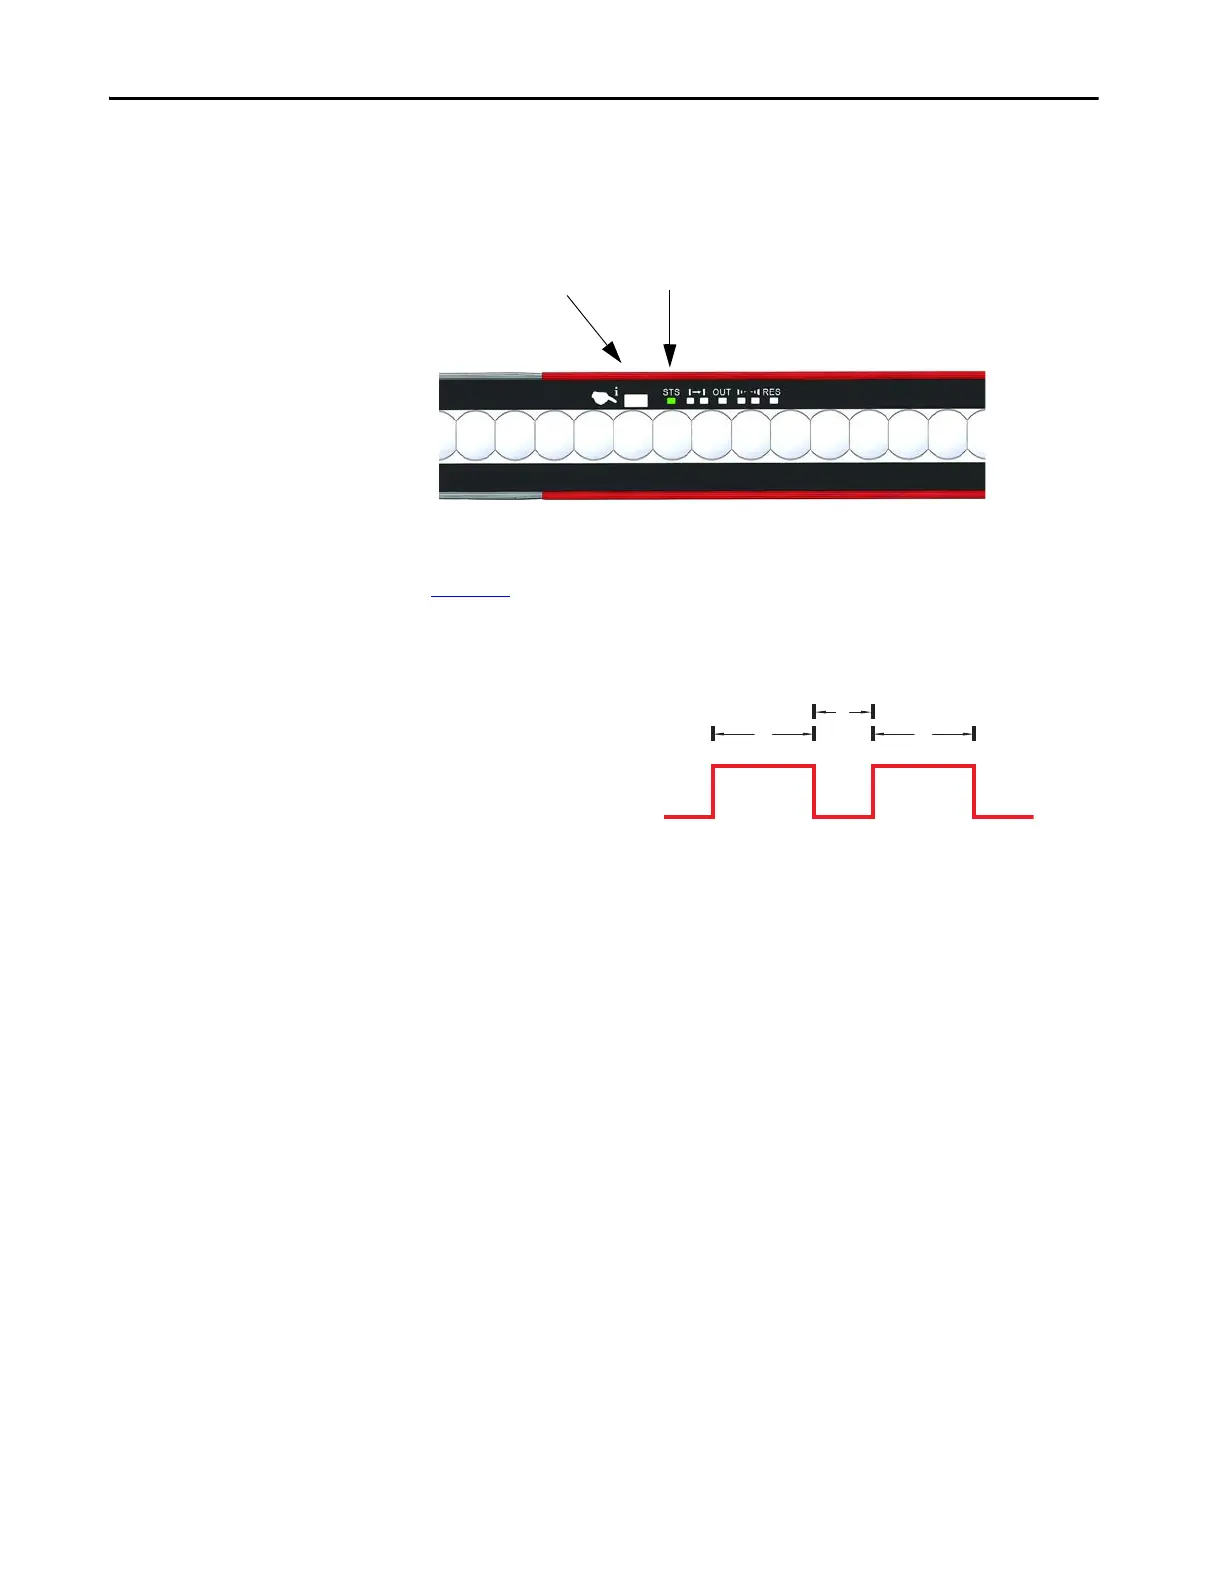
Figure 31 - Position of Optical Push Button and Status Indicator
Confirmation
Figure 32 shows the configuration timing sequence. The optical push button
must be activated two times for 5 seconds. Between the two activations, a break
of a maximum of 2 seconds is allowed.
Figure 32 - Configuration Process
Confirmation Procedure
To confirm a new configuration, follow these steps:
1. The status indicator STS blinks green/red (1 Hz, one time red, and one
time green per second, 50:50 duty cycle) which indicates that the stick is in
the configuration mode.
2. Actuate optical push button for 5 seconds.
3. STS blinks green/red to indicate actuation with a frequency of 10 Hz and
50:50 duty cycle.
4. As soon as status indicator STS changes from green/red to green/off,
release the optical push button.
5. Release is indicated with a change of frequency of 10 Hz to 1 Hz (status
indicator STS green/off and a 50:50 duty cycle).
6. Within 2 seconds, actuate the optical push button.
7. Status indicator STS indicates the activation by a new green/red frequency
of 10 Hz and a 50% duty cycle.
8. Actuate the optical push button for 5 seconds.
Optical Push Button
Status Indicator
5 s 5 s
2 s
1524
63
Optical Push Button Released
Optical Push Button Activated
 Loading...