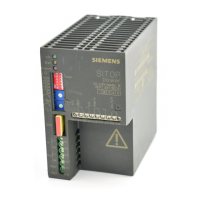
SWT 3000 Equipment Manual SNMP and Remote Access
© SIEMENS AG 2008 Edition p3_3_2x 08/09 Page - 15
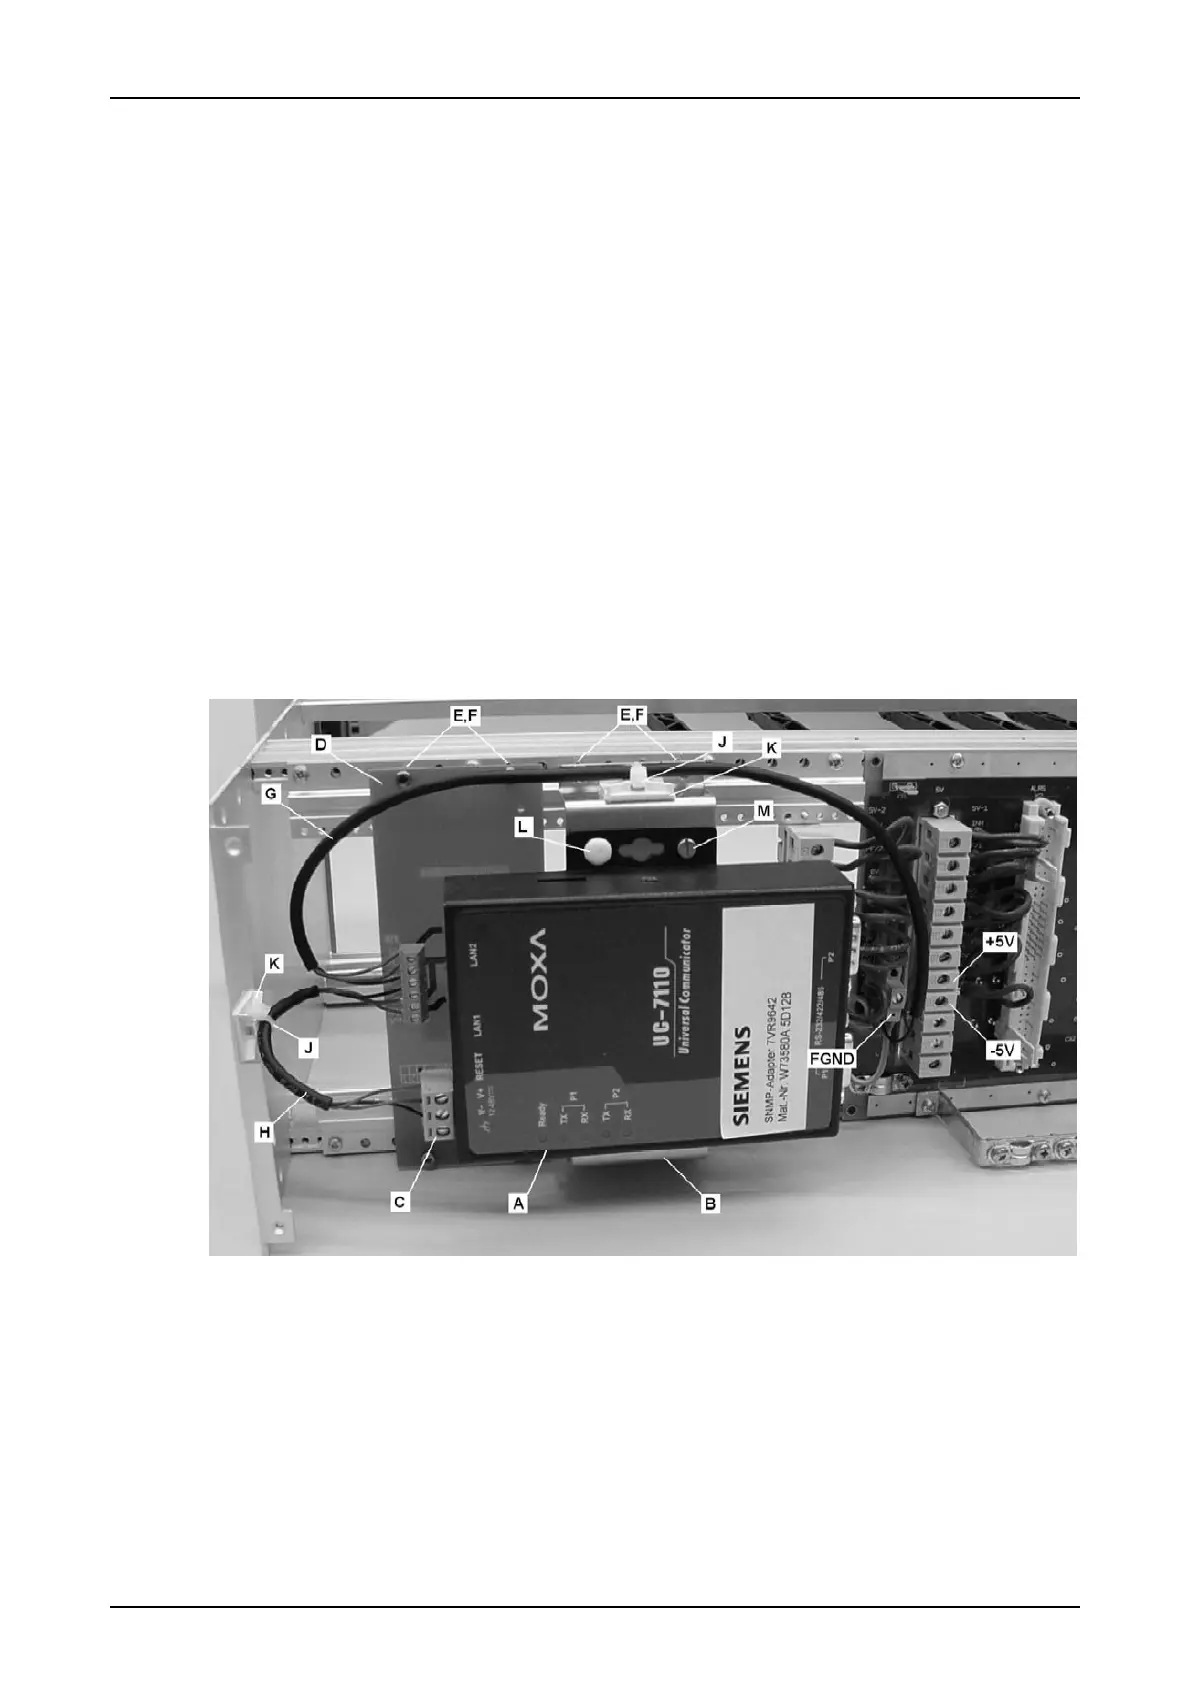
Perform the following steps to assemble the SNMP adapter kit.
1. Disassemble the rear panel of the device.
2. Assemble the DC/DC converter module to the mainframe, using threads # 9 and 15
(counted from side wall).
• For mainframes with single power supply use 4 screws M2,5x8 (N).
• For mainframes with 2 power supplies use 4 screws M2,5x20 (E) and 4 spacers (F).
3. Assemble the SNMP adapter to its bracket, using 2 slotted screws and 2 plastic riv-
ets.
4. Assemble the SNMP adapter bracket to the mainframe, using threads # 19 and 25
(counted from side wall).
• For older SNMP adapter brackets (approx. 20mm high) use 4 screws M2,5x20 (E)
and 4 spacers (F).
• For newer (higher) SNMP adapter brackets use 4 screws M2,5x8 (N).
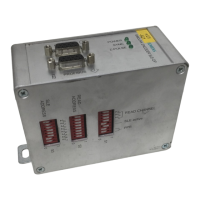
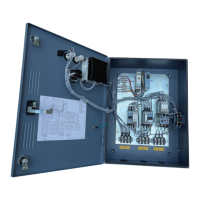
5. Connect the SWT 3000 power source to the DC/DC converter module and the
DC/DC converter module to the SNMP adapter as shown in figure 7 on page 14 and
secure the cables with the cable ties (J) and holders (K).
6. Assemble the rear panel of the device.
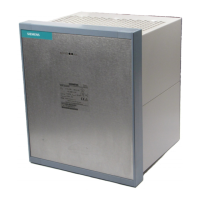
Figure 8: SWT 3000 chassis for 2 power supplies with SNMP adapter and DC/DC converter