1F-8 Engine Cooling System:
2) Inspect the radiator reservoir tank cooling leaks. If
any defects are found, replace the radiator reservoir
tank with a new one.
3) Reinstall the remored parts.
Radiator Reservoir Tank Removal and
Installation
B718H11606017
Removal
1) Remove the seat tail cover. Refer to “Exterior Parts
Removal and Installation in Section 9D (Page 9D-
6)”.
2) Remove the reservoir tank bolts.
3) Disconnect the hoses (1) and drain the engine
coolant.
4) Remove the reservoir tank (2).
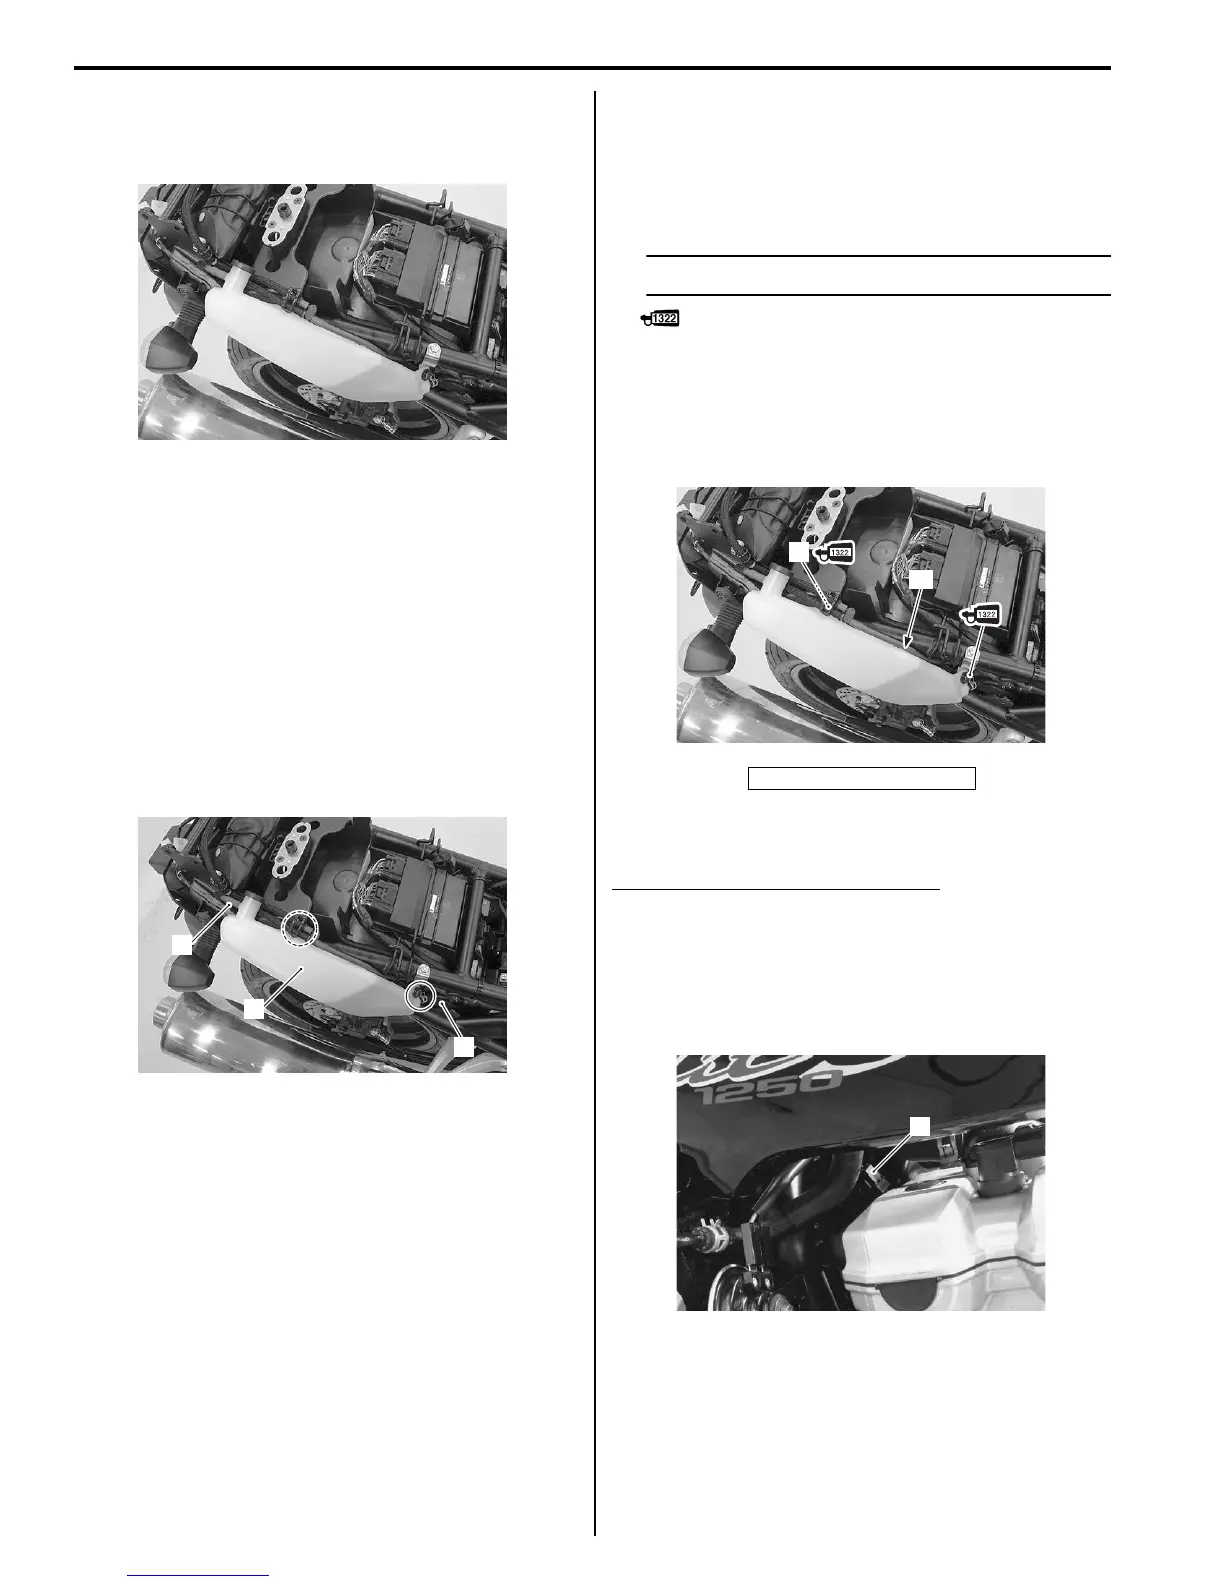
Installation
Install radiator reservoir tank in the reverse order of
removal. Pay attention to the following points:
• Apply thread lock to the reservoir tank mounting bolts
and tighten them.
NOTE
Fit the clamp to bolt (1).
: Thread lock cement 99000–32110
(THREAD LOCK CEMENT SUPER 1322 or
equivalent)
• Fill the reservoir tank to the upper level “A”. Refer to
“Cooling System Inspection in Section 0B (Page 0B-
12)”.
Cooling Fan Inspection
B718H11606019
Cooling fan operating temperature
Standard
(ON→OFF): Approx. 100 °C (212 °F)
(OFF→ON): Approx. 105 °C (221 °F)
Inspect the cooling fan in the following procedures:
1) Disconnect the cooling fan motor coupler (1).
I718H1160065-01
1
2
1
I718H1160066-01
“A”: Upper level
1
“A”
I718H1160067-01
1
I718H1160047-01

 Loading...


