CHAPTER 9 Cleaning and Maintenance
9-18 Sysmex XE-5000 Instructions for Use
Revised April 2007
9.12 Replacing the waste container (option)
When the optional waste sensor unit monitoring function is used
When the message “Exchange Waste Tank” is displayed,
replace the waste container by the following procedure.
1. Turn OFF the power of the Main Unit and Pneumatic Unit,
and make sure that the pressure gauge indicates “0”.
2. Prepare an empty waste container and remove the cap.
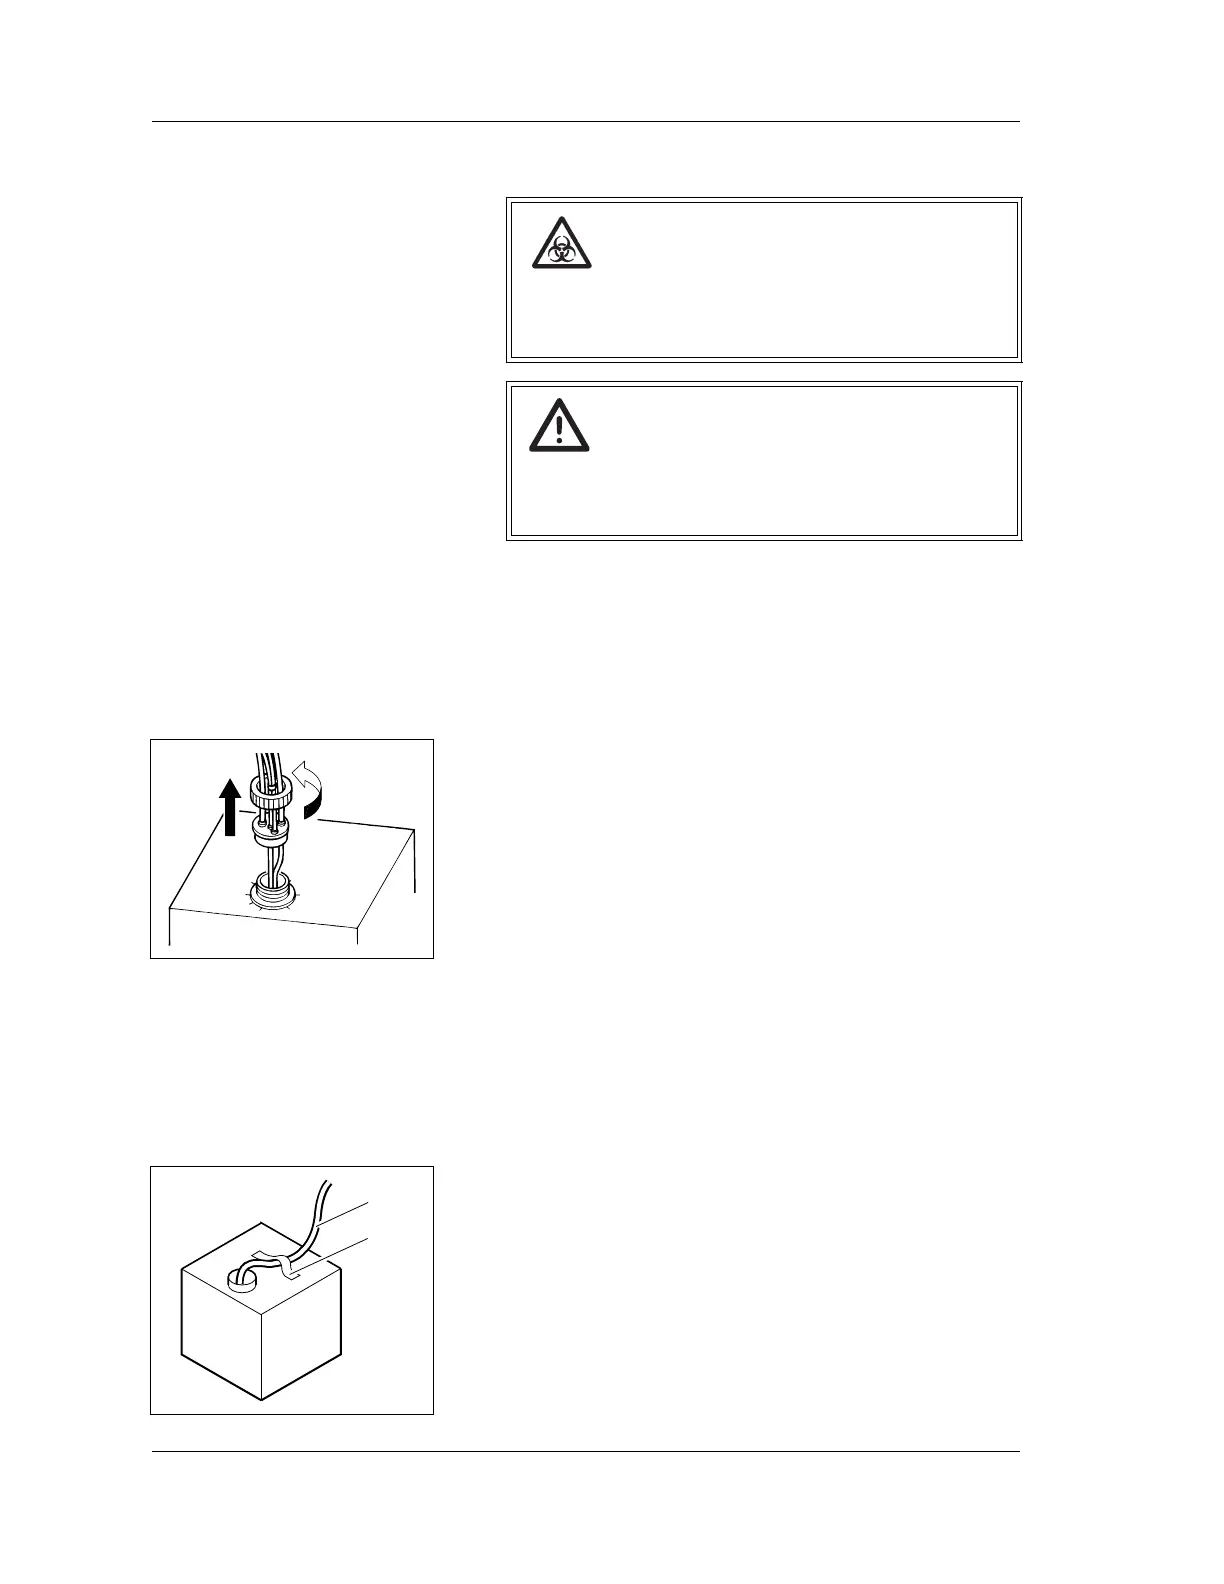
3. Remove the cap of the waste container which has
become full, and pull out the cap straight up with the tubes
connected.
4. Insert the cap with the tubes to a new waste container
straight in, and tighten the cap.
When an empty container is used
1. Turn OFF the power of the Main Unit and Pneumatic Unit,
and make sure that the pressure gauge indicates “0”.
2. Prepare an empty waste container and remove the cap.
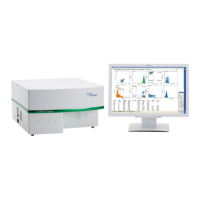
3. Remove the tube from the full waste container.
4. Insert the tube into a new waste container, and fix it using
a tape or the like.
Risk of infection
When replacing the waste container, always wear
gloves. Also, after replacing, wash your hands with
disinfectant.
Caution!
When using a used reagent container as the waste
container, make sure to clearly mark it that it is the
waste container.
Loosen
Tube
Waste
Tape