CHAPTER 6 Operation
6-24 Sysmex XE-5000 Instructions for Use
Revised April 2007 EU
6.20 Sample analysis in manual closed mode
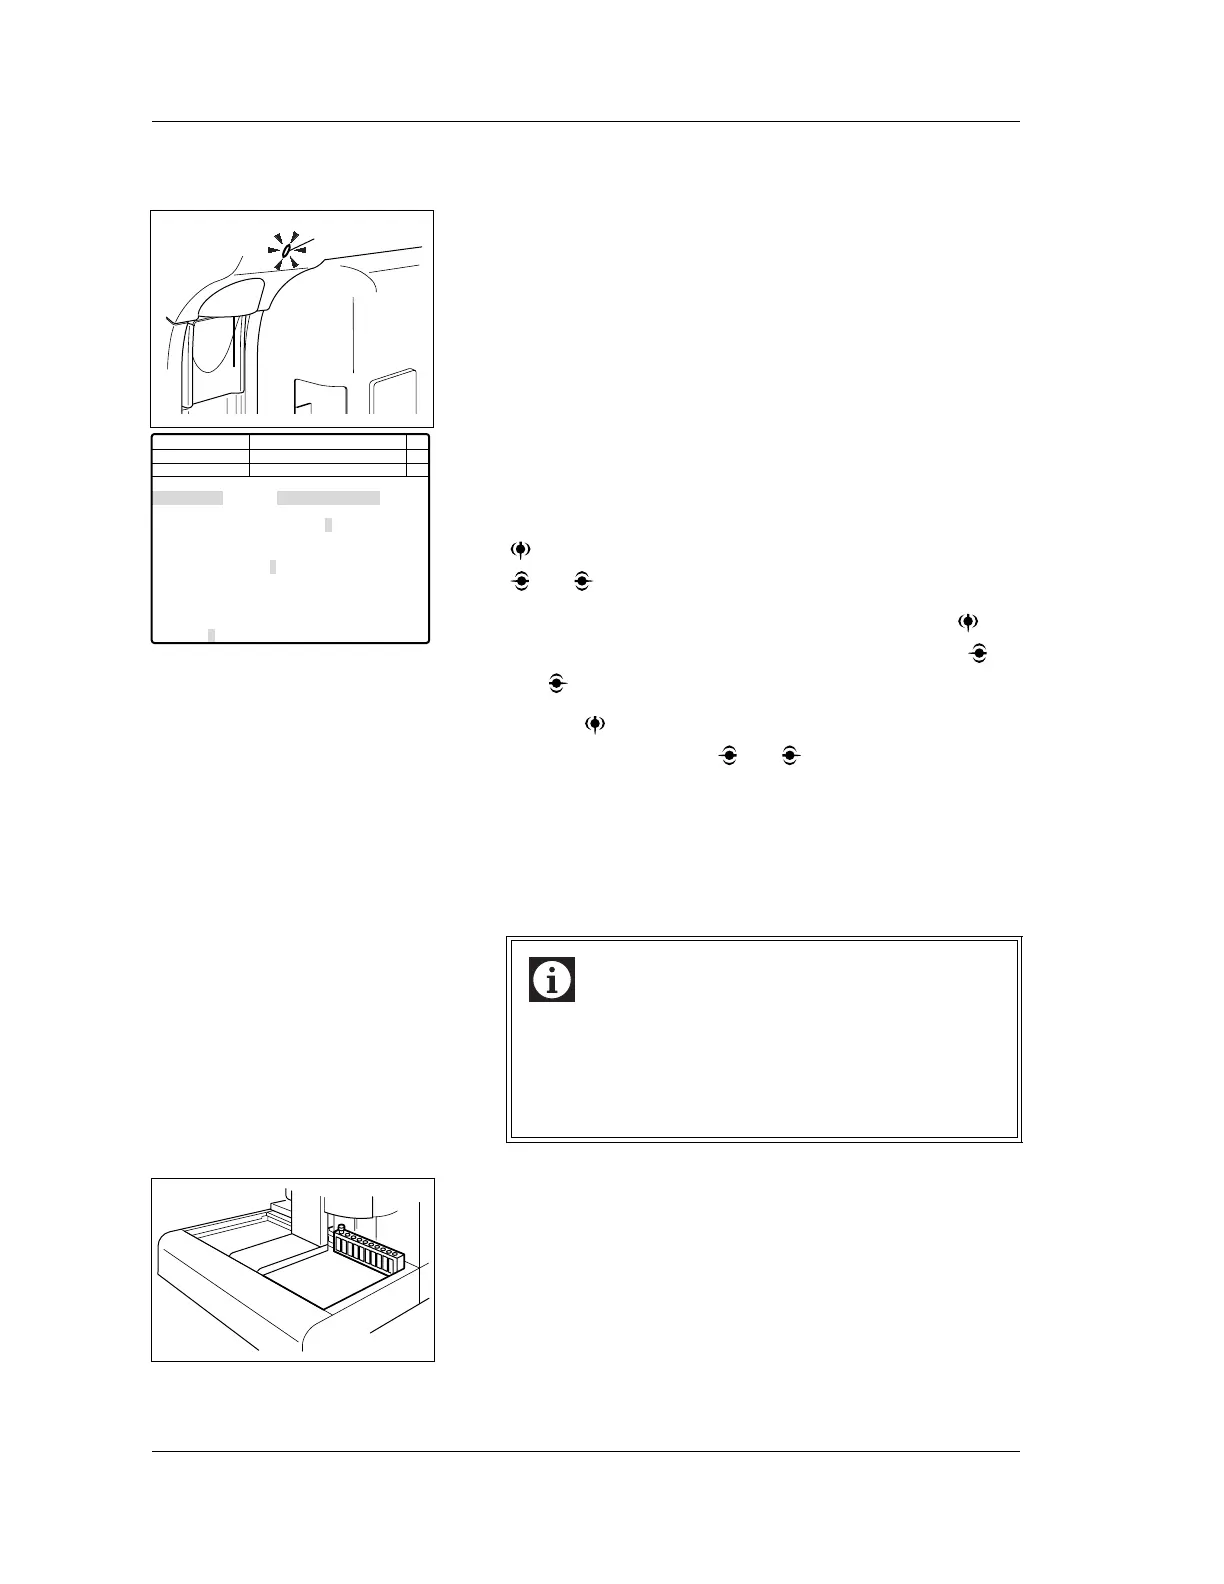
1. Make sure that the instrument is in READY status.
The READY LED should be lit.
2. Press the MANUAL key on the Main Unit panel keypad.
The Sample No. Setting screen will appear on the LCD.
3. Using the numeric keys, input the sample ID number. Or,
read the barcode using a handheld barcode scanner
(option).
4. When analysis mode is not set in closed mode, press the
key and change the set item to “Mode.” Then using the
and keys, set the closed mode.
5. Check the discrete setting, and if necessary, press key
to change the set item to “Discrete.” Then using the
and keys, set the discrete.
6. Use the key to change the setting parameter to
“Sample”, then use the and keys to set to Normal.
7. After all the settings are completed, press the ENTER key
to confirm.
8. Mix the sample thoroughly by inverting the tube; then
insert it into the far left position of the rack (tube position
No. 1).
9. Set the rack at the rightmost position of the analysis line in
the sampler’s right rack pool.
10. Press the START switch to start the analysis. The rack is
transferred to the aspiration point, and aspiration and
analysis are performed automatically.
Information
• In manual closed mode, a sample is not mixed
automatically. Be sure to perform mixing manually
before analysis.
• HPC analysis and body fluid analysis are not
possible in manual closed mode.
READY LED
Next No.123456789012346
123456789012345
1 2 3 4 5
CBC CBC CBC CBC CBC
DIFF DIFF
NRBC NRBC NRBC
RET RET
Sample 1:Normal 2:HPC 3:Body Fluid
DP No. 123456789012345
C D N R
Num
DP
Xm
<Select Mode and No.>
Manual Capillary Closed
Closed
Not Ready
Sample No.
Mode
Discrete
1 2 3