CHAPTER 6 Operation
6-22 Sysmex XE-5000 Instructions for Use
Revised April 2007 EU
3. Using the numeric keys, input the sample ID number.
4. Check the first sample rack number and tube position
number. If it is necessary to change them, press the
key to change the set item; then input the numeral.
5. Check the discrete setting, and if necessary, press key
to change the set item to “Discrete”. Then using the
and keys, set the discrete.
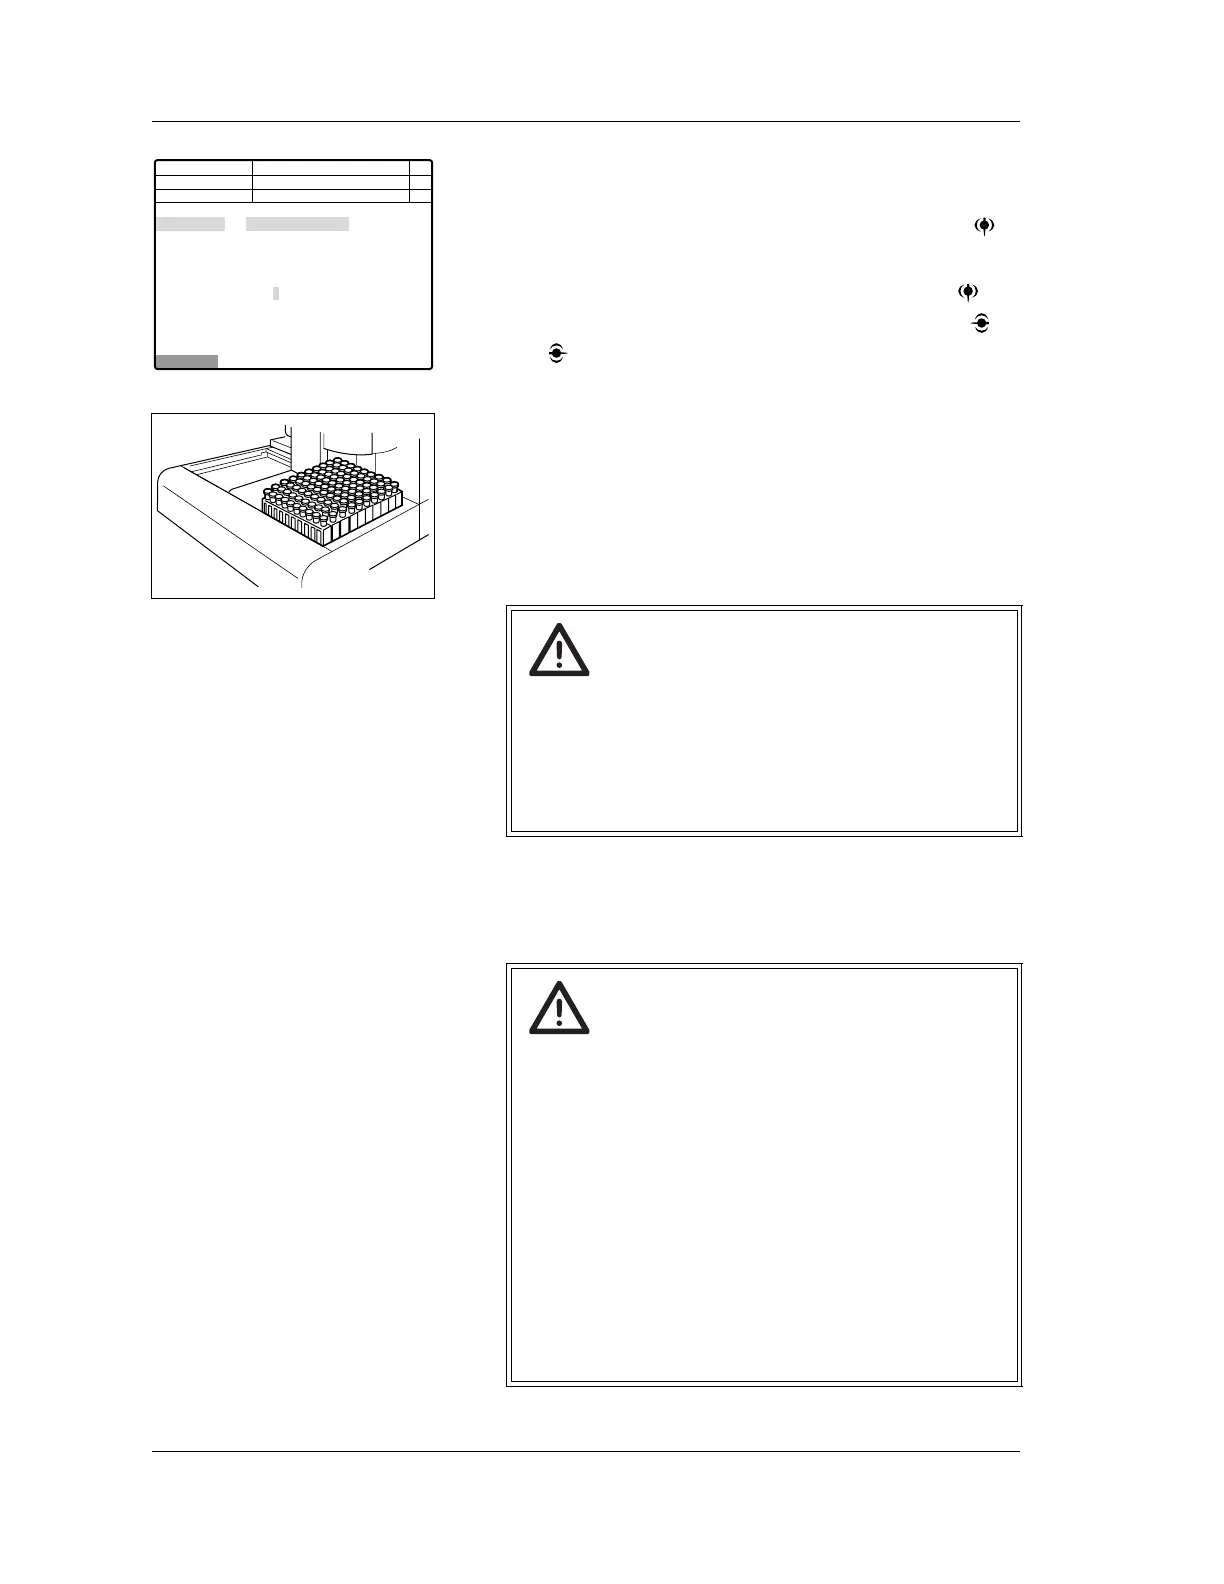
6. Put the sample tubes in the rack, and set the rack in the
right rack pool of the sampler.
Up to 10 sample racks can be loaded at a time.
7. From the Sampler Setting screen, select “Start” on the
function menu or press the SAMPLER key again. The
sampler analysis will start.
Caution!
If a sample is left in a stable condition for more than 4
hours and its blood cell and plasma are separated,
correct analysis results may not be obtained due to
insufficient mixing. Therefore, in case of analyzing
such samples, make sure to mix the samples
thoroughly before setting them on the sampler.
Caution!
• Do not touch or remove the cover of the CP Unit
during the sampler is in operation.
You could be injured by the mechanical parts.
(If the cover is opened, analysis will be interrupted
by the monitoring switch.)
• Do not manually push (or move) the sample rack
forward during sampler analysis.
There is a small possibility that sample numbers and
analysis results could become misaligned.
• Do not touch the rack on the analysis line during
sampler analysis.
• Make sure there is no dirt or foreign substance on
the bottom of the rack. Also make sure there is no
breakage or deformation of the rack.
Next No.123456789012346
123456789012345
1 2 3 4 5
CBC CBC CBC CBC CBC
DIFF DIFF
NRBC NRBC NRBC
RET RET
123456 - 01
DP No. 123456789012345
Start
C D N R
Manual
Sample No.
Rack-Tube
Discrete
<Sampler Setting>
Not Ready
Num
DP
Xm