Installation
Hardware Installation 21
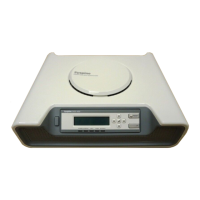
9. Use the guide line on the wall mounting template and a level to ensure the
DOS-A50 is in horizontal position.
10. Mark the locations for the two positioning screws using the template.
11. Drill two holes and insert the supplied wall fixing plugs.
12. Insert the supplied screws and tighten fully, until non of the thread is show-
ing.
N
OTE: The screws are designed to project out from the wall for mounting pur-
poses.
13. Align the wall mounting slots on the underside of the DOS-A50 with the
screws. Place the DOS-A50 on the wall and pull down to locate the screws
securely.