Lab 10: Programming the Flash
10 - 20 TMS320F2837xD Microcontroller Workshop - System Design
15. Program the flash memory by clicking the “Debug” button (green bug). A Launching
Debug Session window will open. Select only CPU1 to load the program on (i.e. uncheck
CPU2), and then click OK. The CCS Debug perspective view will open and the flash
memory will be programmed. (If needed, when the “Progress Information” box opens
select “Details >>” in order to watch the programming operation and status). After
successfully programming the flash memory the “Progress Information” box will close.
Then the program will load automatically, and you should now be at the start of main().
Running the Code – Using CCS
16. Reset the CPU using the “CPU Reset” button or click:
Run Reset CPU Reset
The program counter should now be at address 0x3FF16A in the “Disassembly” window,
which is the start of the bootloader in the Boot ROM. If needed, click on the “View
Disassembly…” button in the window that opens, or click View Disassembly.
17. Under Scripts on the menu bar click:
EMU Boot Mode Select EMU_BOOT_FLASH
This has the debugger load values into EMU_KEY and EMU_BMODE so that the
bootloader will jump to "Flash" at address 0x080000.
18. Next click:
Run Go Main
The code should stop at the beginning of your main()routine. If you got to that point
succesfully, it confirms that the flash has been programmed properly, that the bootloader
is properly configured for jump to flash mode, and that the codestart section has been
linked to the proper address.
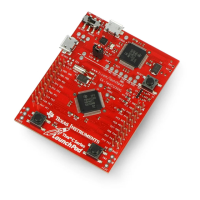
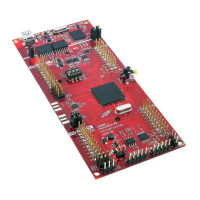
19. You can now run the CPU, and you should observe the LED D9 on the LaunchPad
blinking. Try resetting the CPU, select the EMU_BOOT_FLASH boot mode, and then
hitting run (without doing the Go Main procedure). The LED should be blinking again.
20. Halt the CPU.
Terminate Debug Session and Close Project
21. Terminate the active debug session using the Terminate button. This will close the
debugger and return Code Composer Studio to the CCS Edit perspective view.
22. Next, close the project by right-clicking on Lab10 in the Project Explorer window and
select Close Project.
Running the Code – Stand-alone Operation (No Emulator)
Recall that if the device is in stand-alone boot mode, the state of GPIO72 and GPIO84 pins are
used to determine the boot mode. On the LaunchPad switch SW1 controls the boot options for
the F28379D device. Check that switch SW1 positions 1 and 2 are set to the default “1 – on”
position (both switches up). This will configure the device (in stand-alone boot mode) to
GetMode. Since the OTP_KEY has not been programmed, the default GetMode will be boot from
flash. Details of the switch positions can be found in the LaunchPad User’s Guide.
23. Close Code Composer Studio.
 Loading...
