10-10 4262930-Rev A
ACCESSORIES
10
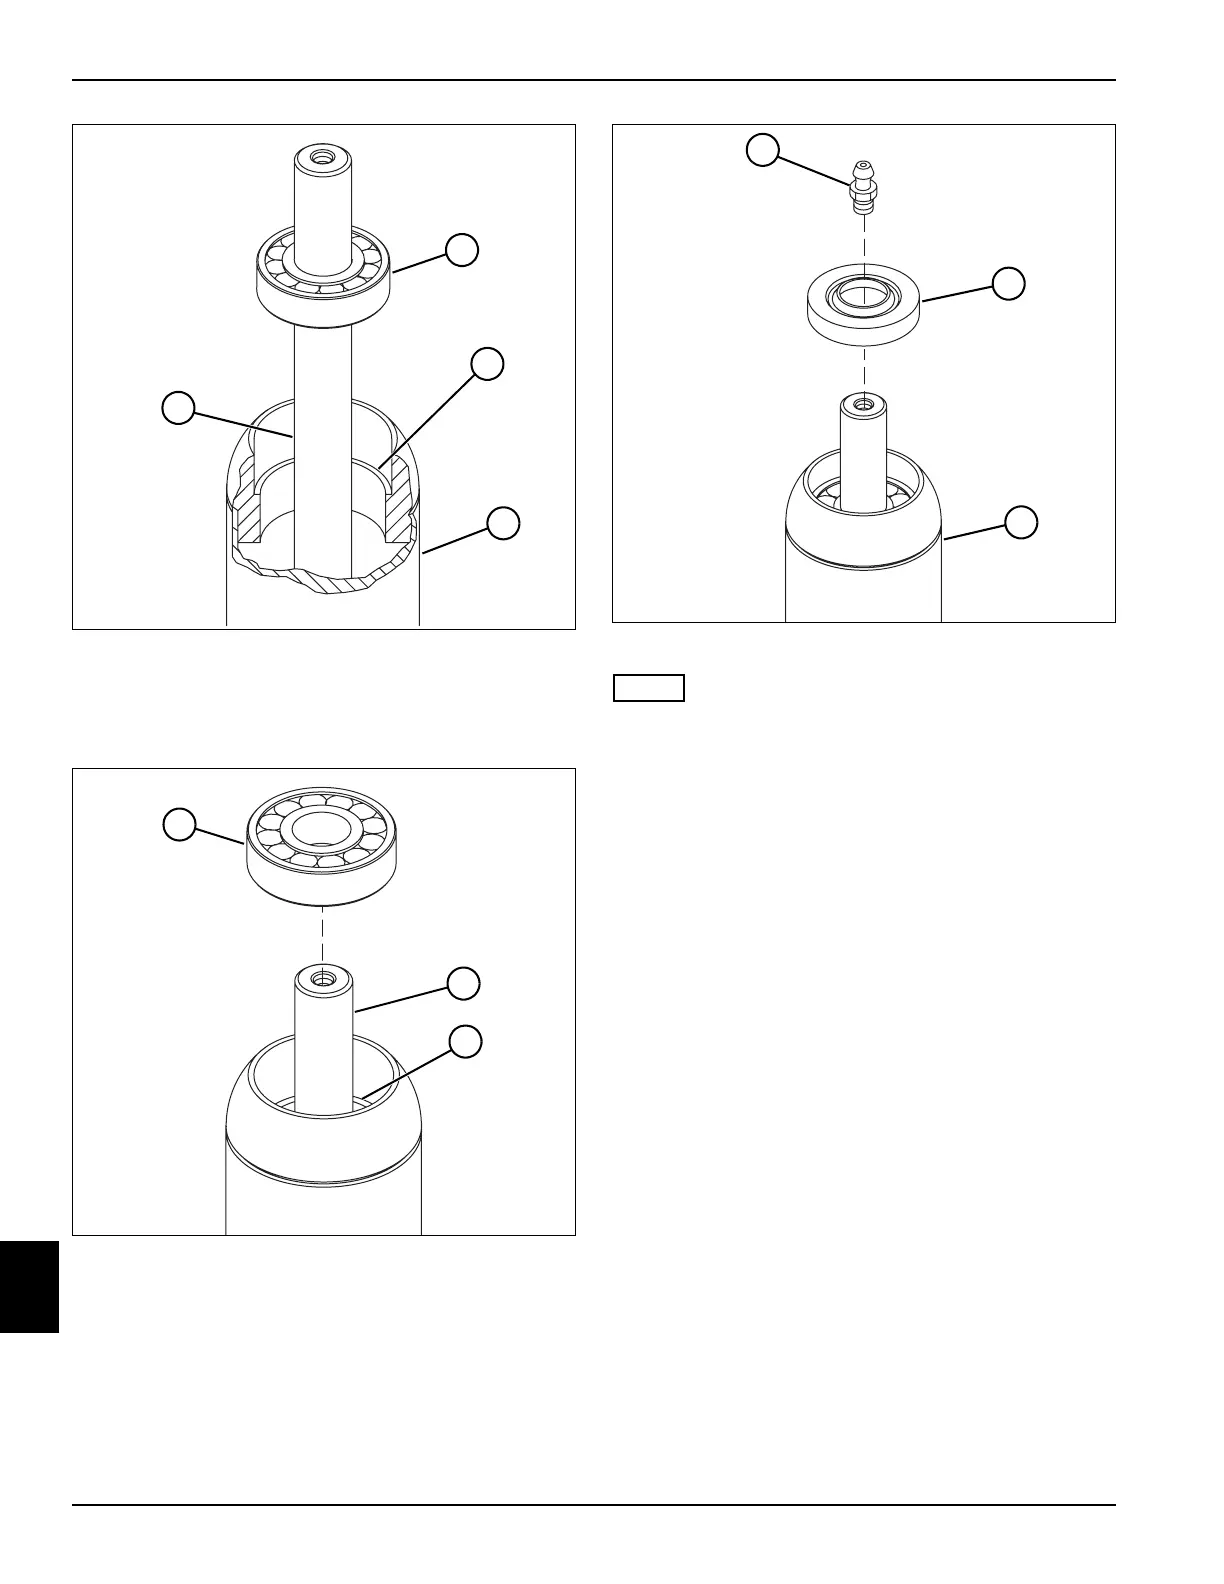
Figure 10-14
4. Install the roller shaft (9) with bearing (6) into the
roller (8) until the bearing is seated against the
shoulder (7) in the roller.
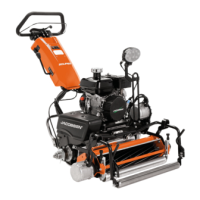
Figure 10-15
5. Pack the bearing (10) with grease that meets or
exceeds NLGI Grade 2 LB specifications before
installation.
6. Install bearing (10) over the other end of the roller
shaft (11), with the sealed side toward the inside of
the roller. Seat the bearing against the shoulder (12).
Figure 10-16
NOTE
Always use new grease seals for installation.
7. Apply a thin film of Permatex
®
Anaerobic Sealant (or
equivalent) to the outside diameter of the new grease
seal (14). Install the grease seals into each end of
the roller (15).
8. Install the grease fittings (13) into each end of the
roller shaft and lubricate grease fittings with grease
that meets or exceeds NLGI Grade 2 LB
specifications. Clean grease fittings before
lubricating and apply grease to the fittings with a
hand grease gun only. Pump the gun slowly until a
slight amount of pressure is felt, then stop—do not
over-grease. Do not use compressed air gun.
9. Check the rotational resistance of the roller assembly
after four revolutions. The resistance should be 6
lb-in. (0.68 N·m) maximum with no end play.
6
TN0316
7
8
9
10
TN0317
11
12
13
TN0318
14
15