ELECTRICAL
4262930-Rev A 4-59
4
Generator
Removal and Installation
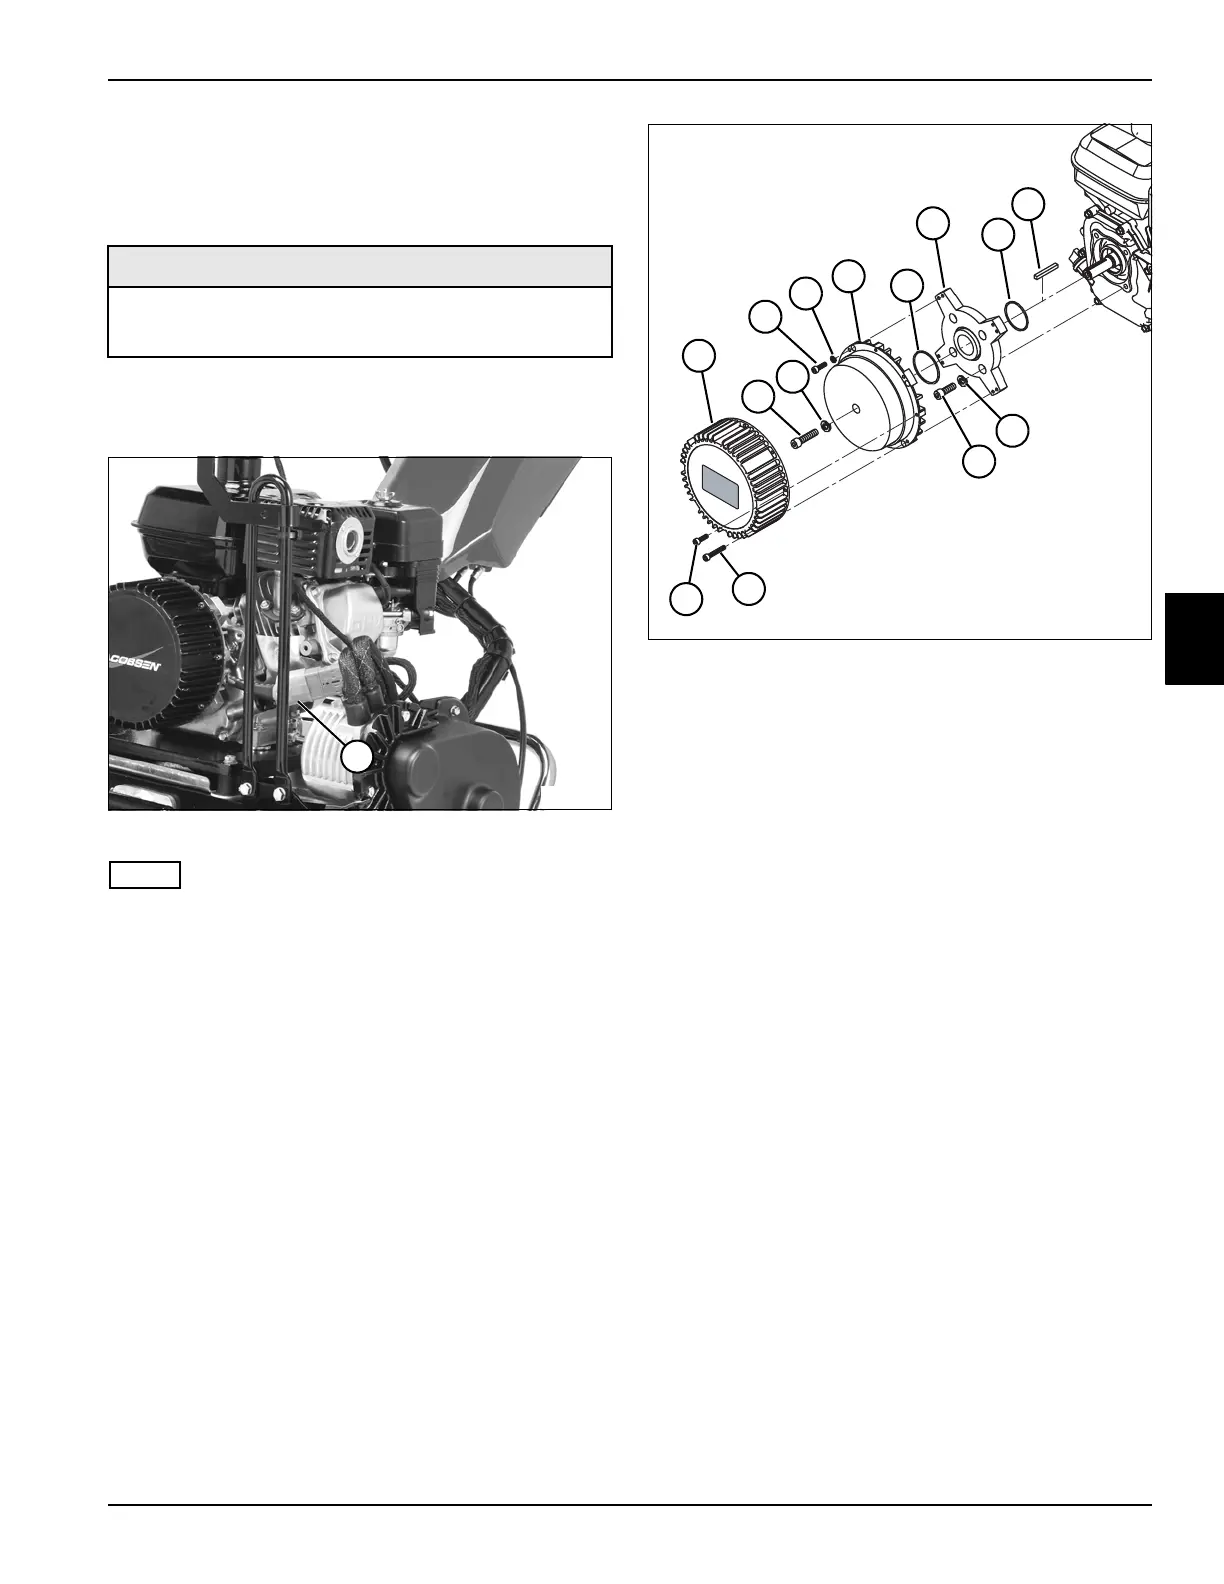
See Figures 4-44 and 4-45.
1. Park the mower safely. (See “Park Mower Safely” on
page 1-5.)
Figure 4-44
NOTE
Label all wires before disconnecting to ensure correct
installation.
2. Disconnect gen-set connector (1).
Figure 4-45
3. Remove four generator cover mounting screws (13),
four generator cover mounting screws (14), and
generator cover (1).
4. Remove engine shaft screw (2) and lock washer (3).
5. Remove four generator mounting screws (4) and lock
washers (5), and remove generator assembly (6).
6. Remove four adapter plate mounting screws (12)
and lock washers (11).
7. Remove adapter plate (8).
8. Inspect O-rings (7 and 9) for wear or damage and
replace as necessary.
Installation Notes
• Install generator by reversing the order of removal.
• Be sure to align crankshaft key (10) when installing
generator.
• Apply Loctite
®
5900 FIPG (Jacobsen PN 4248230)
around generator mounting screw holes on generator
assembly (6) prior to installation.
• Tighten engine shaft screw (2) to 20.4 lb-ft
(27.7 N·m).
• Tighten generator mounting screws (4) to 68 lb-in.
(7.7 N·m).
• Tighten adapter plate mounting screws (12) to 14.4
lb-ft (19.5 N·m).
• Tighten generator cover mounting screws (13 and
14) to 68 lb-in. (7.7 N·m).
• Apply dielectric grease (Jacobsen PN 365422) to any
connectors removed.
Required Materials
•Loctite
®
5900 FIPG (Jacobsen PN 4248230)
• Dielectric Grease (Jacobsen PN 365422)
1
TN4397
TN4458
1
5
4
2
3
6
8
10
14
13
11
12
7
9