1126700 SmartPAC 2 User Manual
C-10 SmartView
SmartView Operation
Setup Page
Follow these steps to fill in the information on the SmartView Setup Page (see Figure C-5,
page C-8):
1. On the SmartView Main Page, click on Setup to display the SmartView Setup Page.
2. Enter in the Network Name window “SPAC2-nnnnnnnn,” where nnnnnnnn is the
SmartPAC 2 8-digit serial number, if you have assigned your SmartPAC 2 a DHCP
address
or
Enter in the Network Name window the SmartPAC 2 IP address if you have assigned your
SmartPAC 2 a fixed or static IP address.
3. Enter in Press Name window a name for your press, using up to 25 characters (e.g., Press
8, Press 9, etc.).
4. Click on the Add button. Your entries are displayed in the large window beneath the
Network Name and Press Name windows.
5. Enter a user name if you have not already done so.
6. Click on the Submit Changes button. SmartView will check for networked units and
indicate if a connection is made.
7. To add more networked SmartPAC 2s, click on Setup on the Main Page to go back to the
Setup Page, and repeat steps 2 through 6. You do not have to enter your user name each
time. It is a good idea to record your settings on paper.
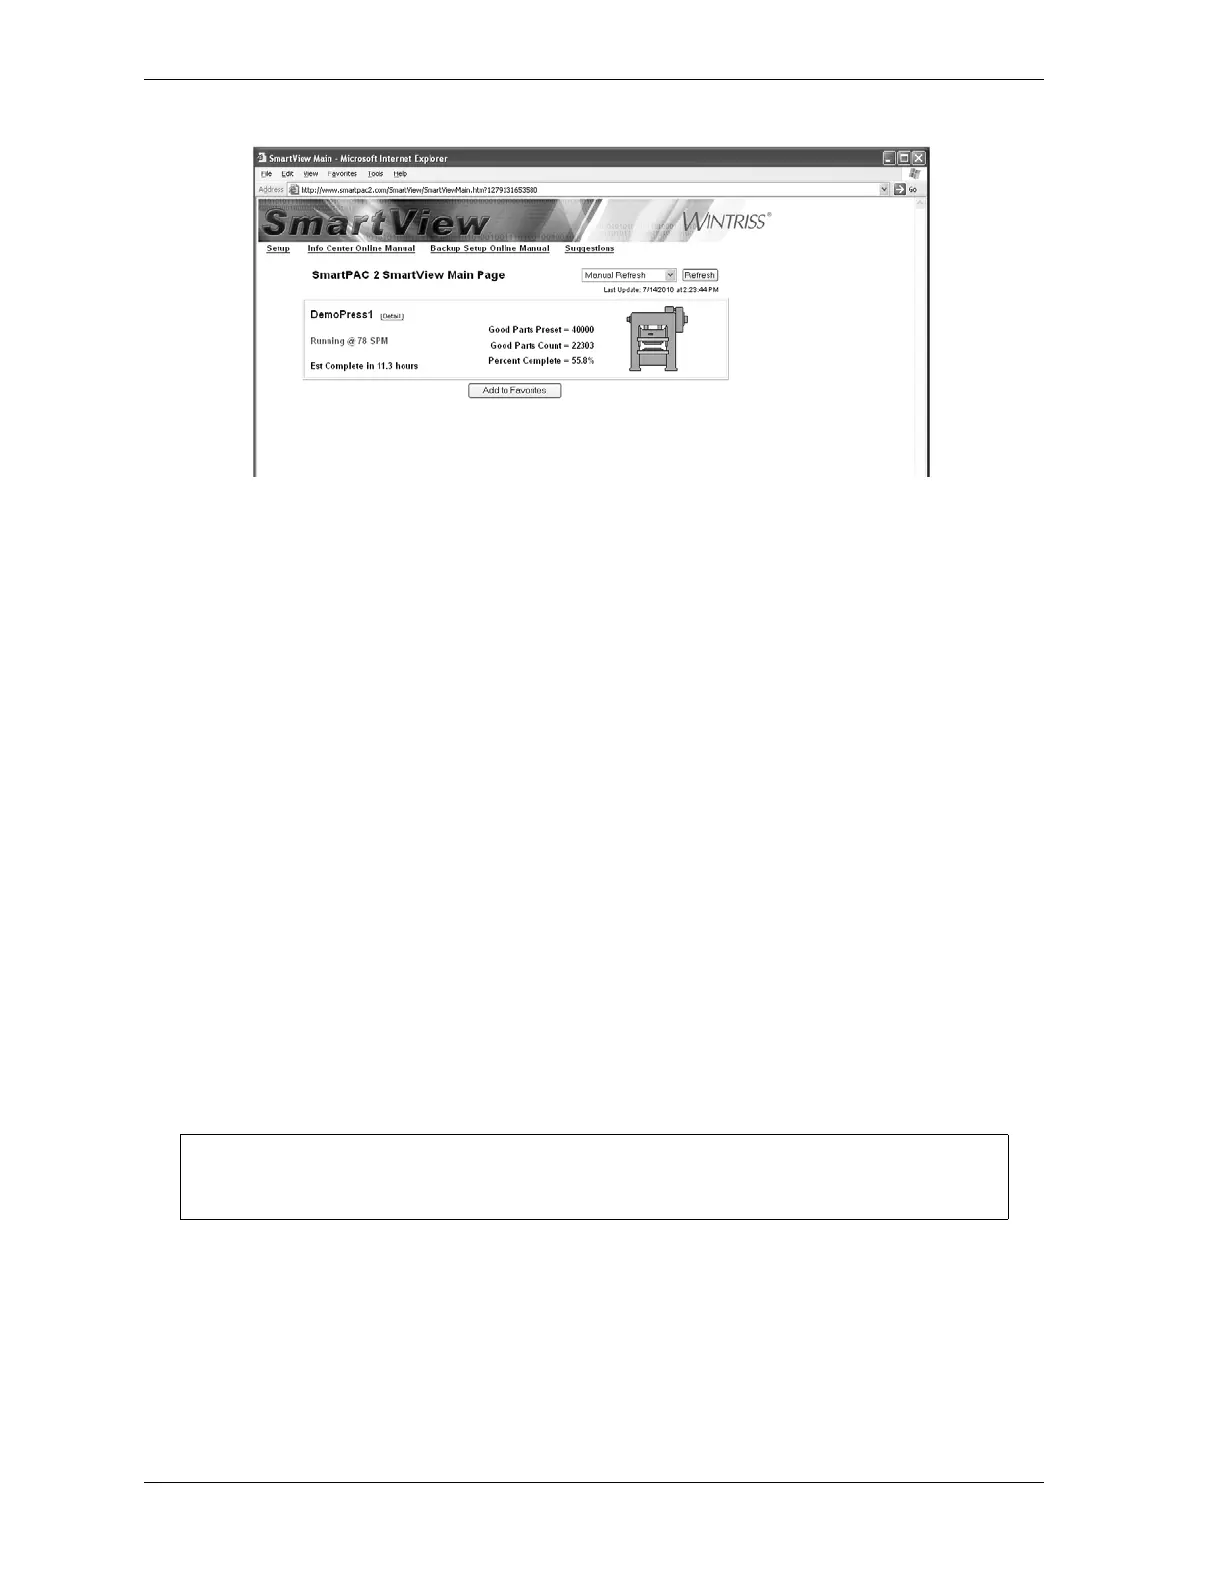
Figure C-7. SmartView Main Page
You can also type network and press names directly into the large window.