Step 1: prepare the examination
1. Insert the dynamic DR detector in the bucky at the radiographic table or at
the radiographic wall stand.
Remove the anti-scatter grid from the bucky. The position of the detector
in the bucky must be centered.
2. Add a digital tomosynthesis group to the Image Overview pane.
If a digital tomosynthesis group has already been added based on data
from the RIS, this step can be skipped.
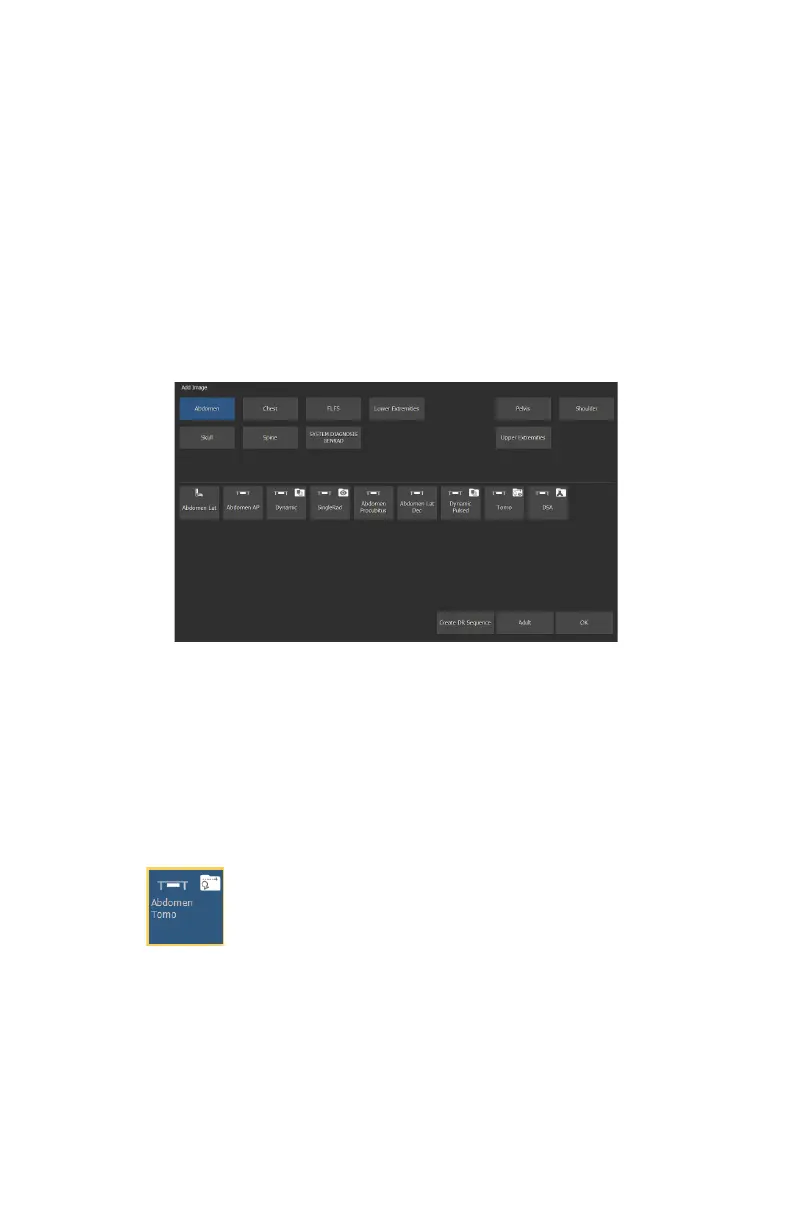
a) In the Examination window, click Add Image.
The Add Image window appears.
Figure 42: Add Image
b) Specify the exam group and exam type by clicking on the buttons.
c) Select an exam type that is configured as a digital tomosynthesis group
and click OK.
The digital tomosynthesis group thumbnail is added to the Image
Overview pane.
A digital tomosynthesis group thumbnail is indicated with an icon in the
top right corner of the thumbnail.
Figure 43: Thumbnail for a digital tomosynthesis group
3. Select the thumbnail for the digital tomosynthesis group in the Image
Overview pane of the Acquisition window.
The selected DR detector is activated. The default X-ray exposure
parameters and X-ray system position for the selected examination are
sent to the modality. The software console displays these settings in the
tomosynthesis screen.
102 | DR 600 | Basic Workflow
3261K EN 20210708 0808