Working With Systems and System Files
68
NetLinx Studio (v2.4 or higher)
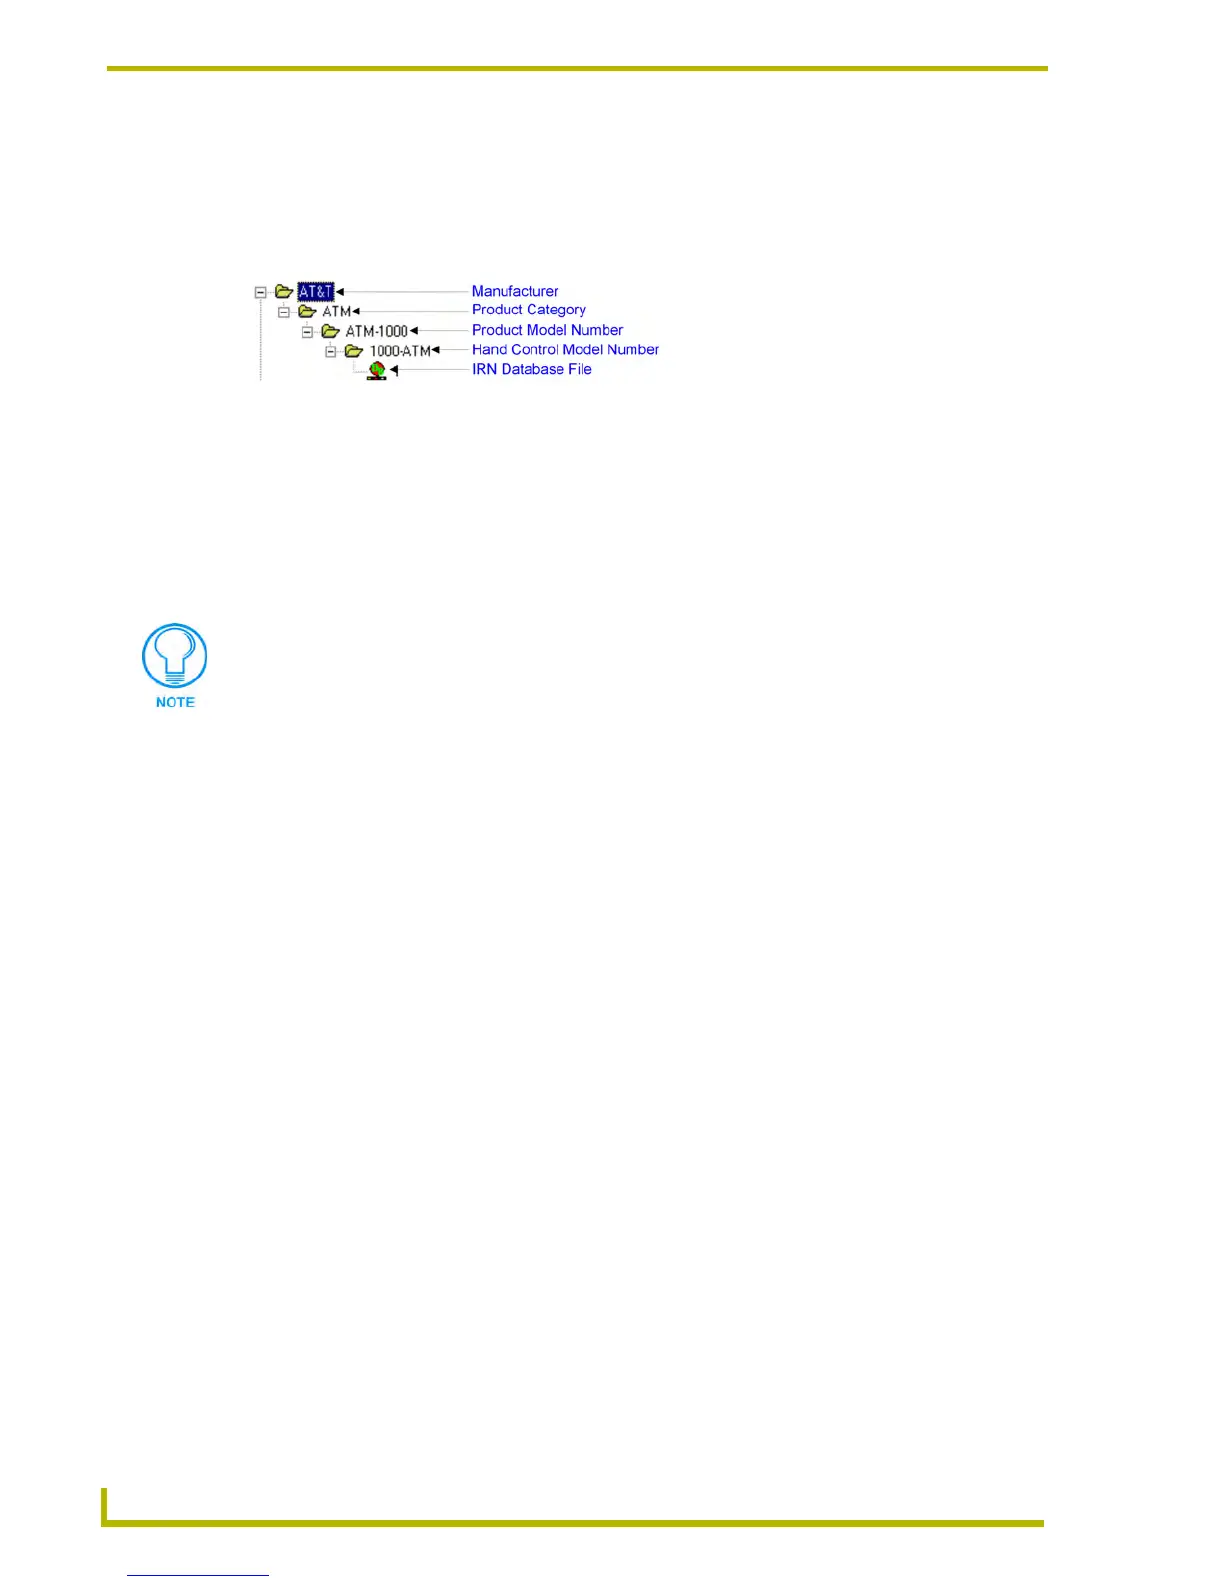
2. In the IR Database Navigator Window (on the left side of this dialog), start by picking the
Manufacturer of the device associated with the desired IR file, and drill down through the
subfolders (Product Category, Product Model Number and Hand Control Model Number) to
locate and select the desired IR file (FIG. 10).
3. Double-click on the file (or select the file and click the Add To List button) to add the file to
the Selected IR List.
4. Repeat steps 2 and 3 as often as necessary to populate the Selected IR List, and click OK to
close the Select IR From a Database dialog.
5. The selected IR files are add to the selected System (in the IR system file folder).
Adding An IR File From an IREDIT User Database (*IRN) File
Use the options in the Select IR From a Database dialog to access individual IR files from within an
existing IREdit IR Database (*IRN) file:
1. Select Add From User IR Database from the Project menu, the IR File Folder context menu,
or click the toolbar button to open the Select IRN User Database dialog.
2. Locate and select the *IRN file that contains the IR file(s) that you want to add to the selected
System.
3. Click Open to open the selected IRN file in the Select IR From a Database dialog.
4. In the Select IR From a Database dialog, select the Manufacturer, Product Category, Model #,
Hand Control Model # and then select the IR file to add to the System.
5. With the desired IR file selected, click Add to add the file to the Selected IR File(s) list.
6. Repeat steps 4 and 5 as many times as is necessary to add the desired files to the Selected IR
File(s) list.
To remove a file from the Selected IR File(s) list, select a file and click Remove.
7. Click OK to close the Select IRN User Database dialog and open the File Properties dialog,
where you can change the selected file's name (Identifier) and Description if necessary. You
can assign multiple different identifiers, file names and descriptions to the same file for use in
different Projects and Systems, as needed.
8. Click OK to add the file to the selected System (which is not necessarily the active system).
The file appears in the IR System File Folder (in the Workspace tab of the Workspace
Window).
FIG. 10 IR Database Navigator Window
The file(s) will be added to the selected (highlighted) System in the Workspace tab,
which is not necessarily the active system.