4. Installation
4.5.4 Installing the lens and adjusting the Scheimpflug
WARNING: In case of a projector with NVG option, do not insert your fingers in the lens holder if the lens is
removed. They could get hit by the smearing reduction wheel!
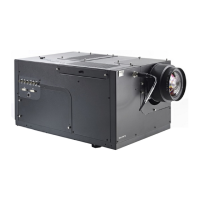
Image 4-14
CAUTION: Make sure that the projection lens and the interpolation lens are a matched set. Replacing any one
of these units requires the replacement of the other.
Each of the lenses have Scheimpflug adjustment possibility!
Back focal length adjustment is also needed after the projection lens installation. See "Back focal length
adjustment", page 59 for detailed procedure.
Necessary tools
• Torx screwdriver T10
• Nut spanner or socket spanner 10 mm
• Allenkey2mm
How to prepare the projector lens?
1. Screw in 3 Allen bolts M4 into the lens flange. See image 4-15 and image 4-16
Tip: Make sure the bolts do not c ompletely go through the flange.
2. Fix a nut M4 to the Allen bolts. Do not tighten yet.
R59770066 SIM 7Q SERIES 07/10/2013
27

 Loading...