Cutter Maintenance
¡
B-5
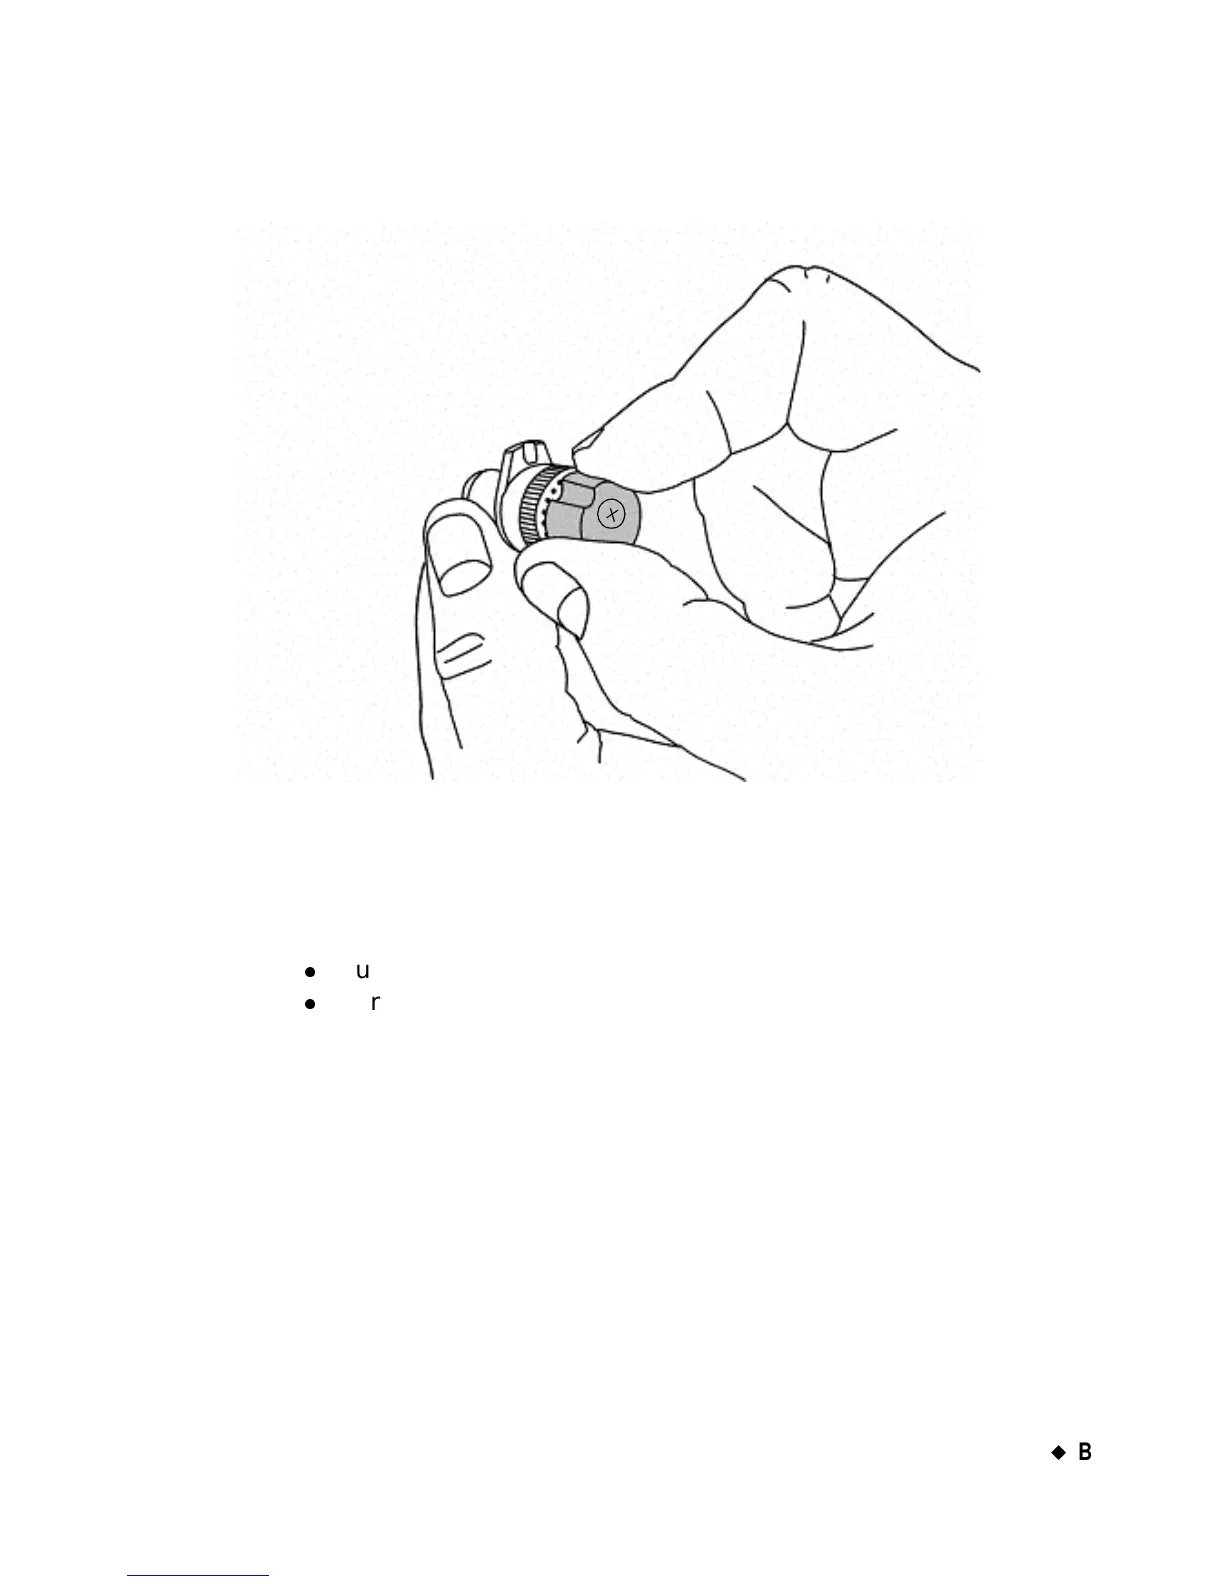
Step 2: Hold the stylus holder as shown here to make the adjustment:
Figure B-3. Adjusting the stylus depth.
Step 3: Note the dots beneath the adjustment dial. Each dot represents an
adjustment of approximately .001 inch (.0025 mm).
Start by turning the adjustment dial past one dot.
z
Turn the dial clockwise to increase the cutting depth.
z
Turn the dial counter-clockwise to decrease the cutting depth.
Step 4: Test the stylus before re-installing it:
1. Take a sample piece of the installed tape, and place it flat on a hard
surface.