B-6
¡
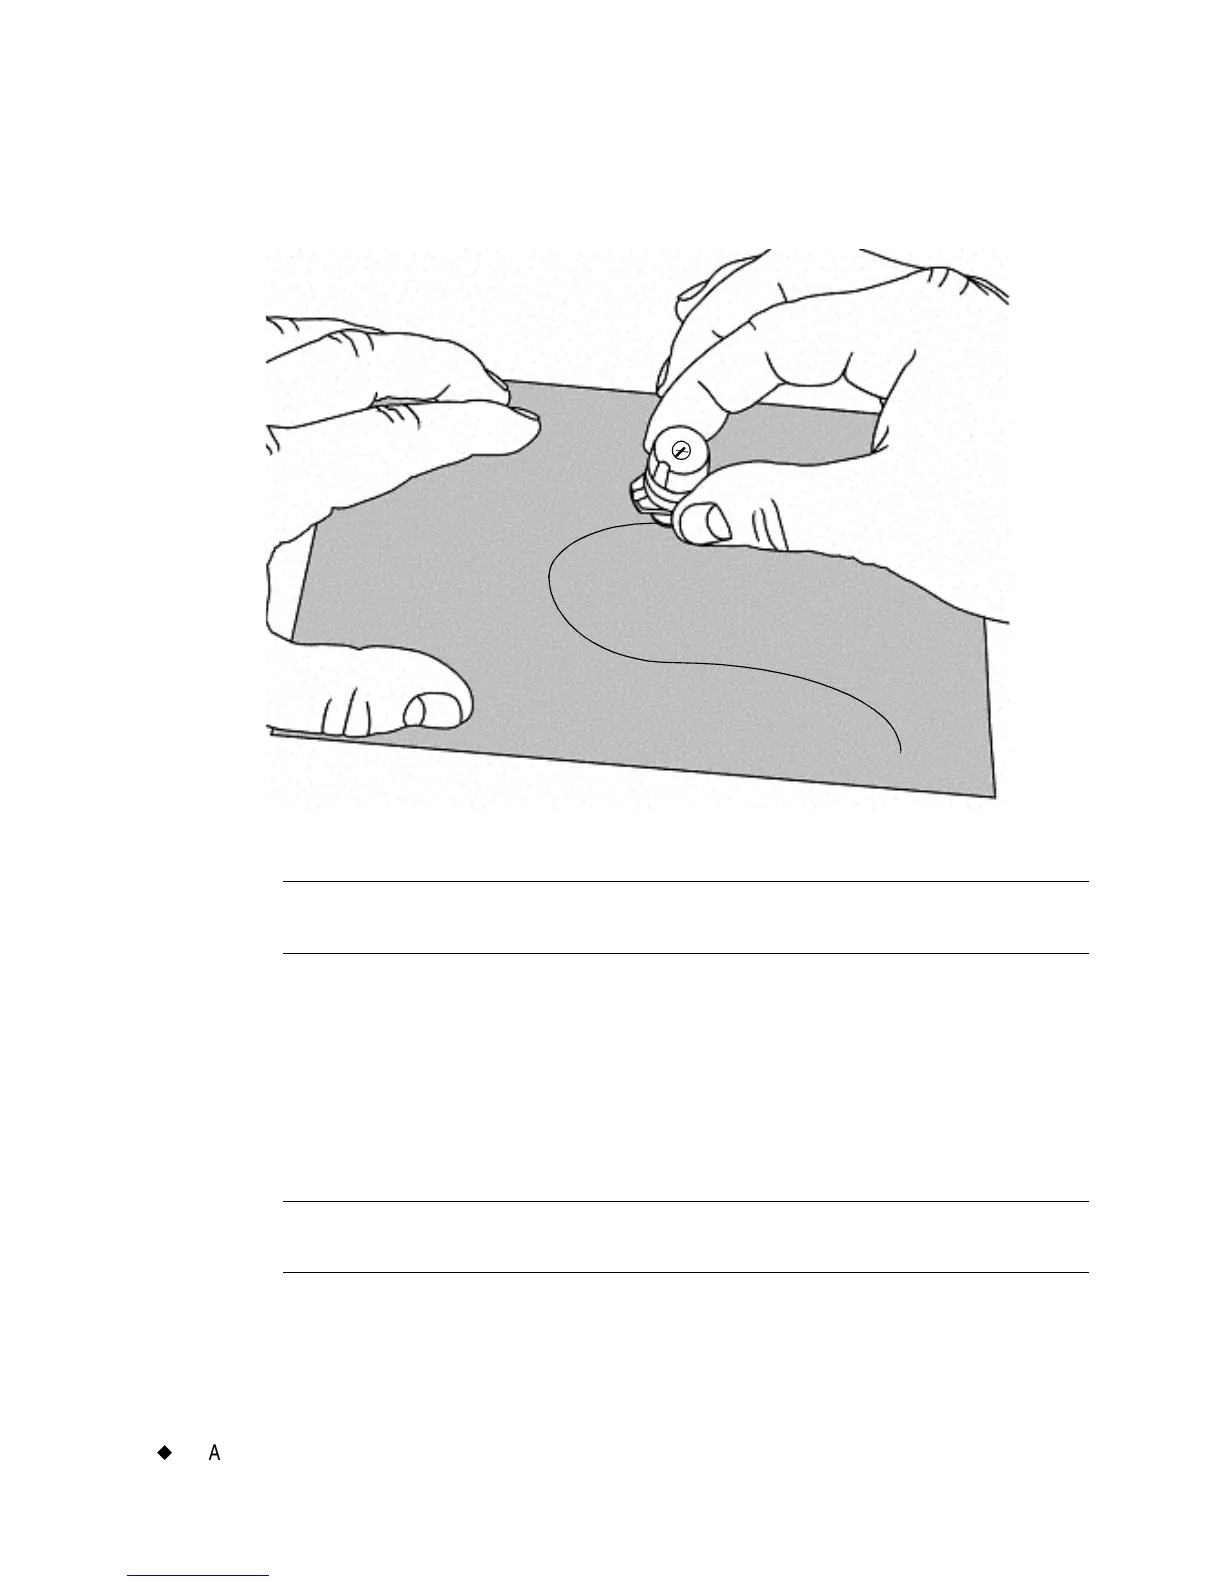
Adjusting the Cut Depth
2. Holding the stylus holder perpendicular to the surface, glide the
stylus nose lightly across the tape:
Figure B-4. Testing cutting depth.
Note: Do not apply pressure. Make sure the stylus holder is positioned
straight vertically.
3. Check the tape to see if the cut is correct. The cut should go through
the tape, but leave the backing paper unscored.
Step 5: Make any adjustments required to the stylus depth, then test again.
Step 6: Re-install the stylus holder. Seat it in the mechanism, then turn it
counter-clockwise. You’ll feel the holder click into place when it is in
position.
Note: If you pass the click, you can reverse direction back to it without
harming the mechanism.