53-1002177-19 Hardware Installation Guide
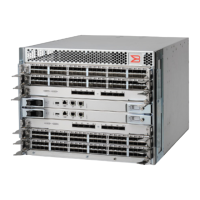
Brocade DCX 8510-4 Backbone Hardware Installation Guide
Assembling the Rack Hardware
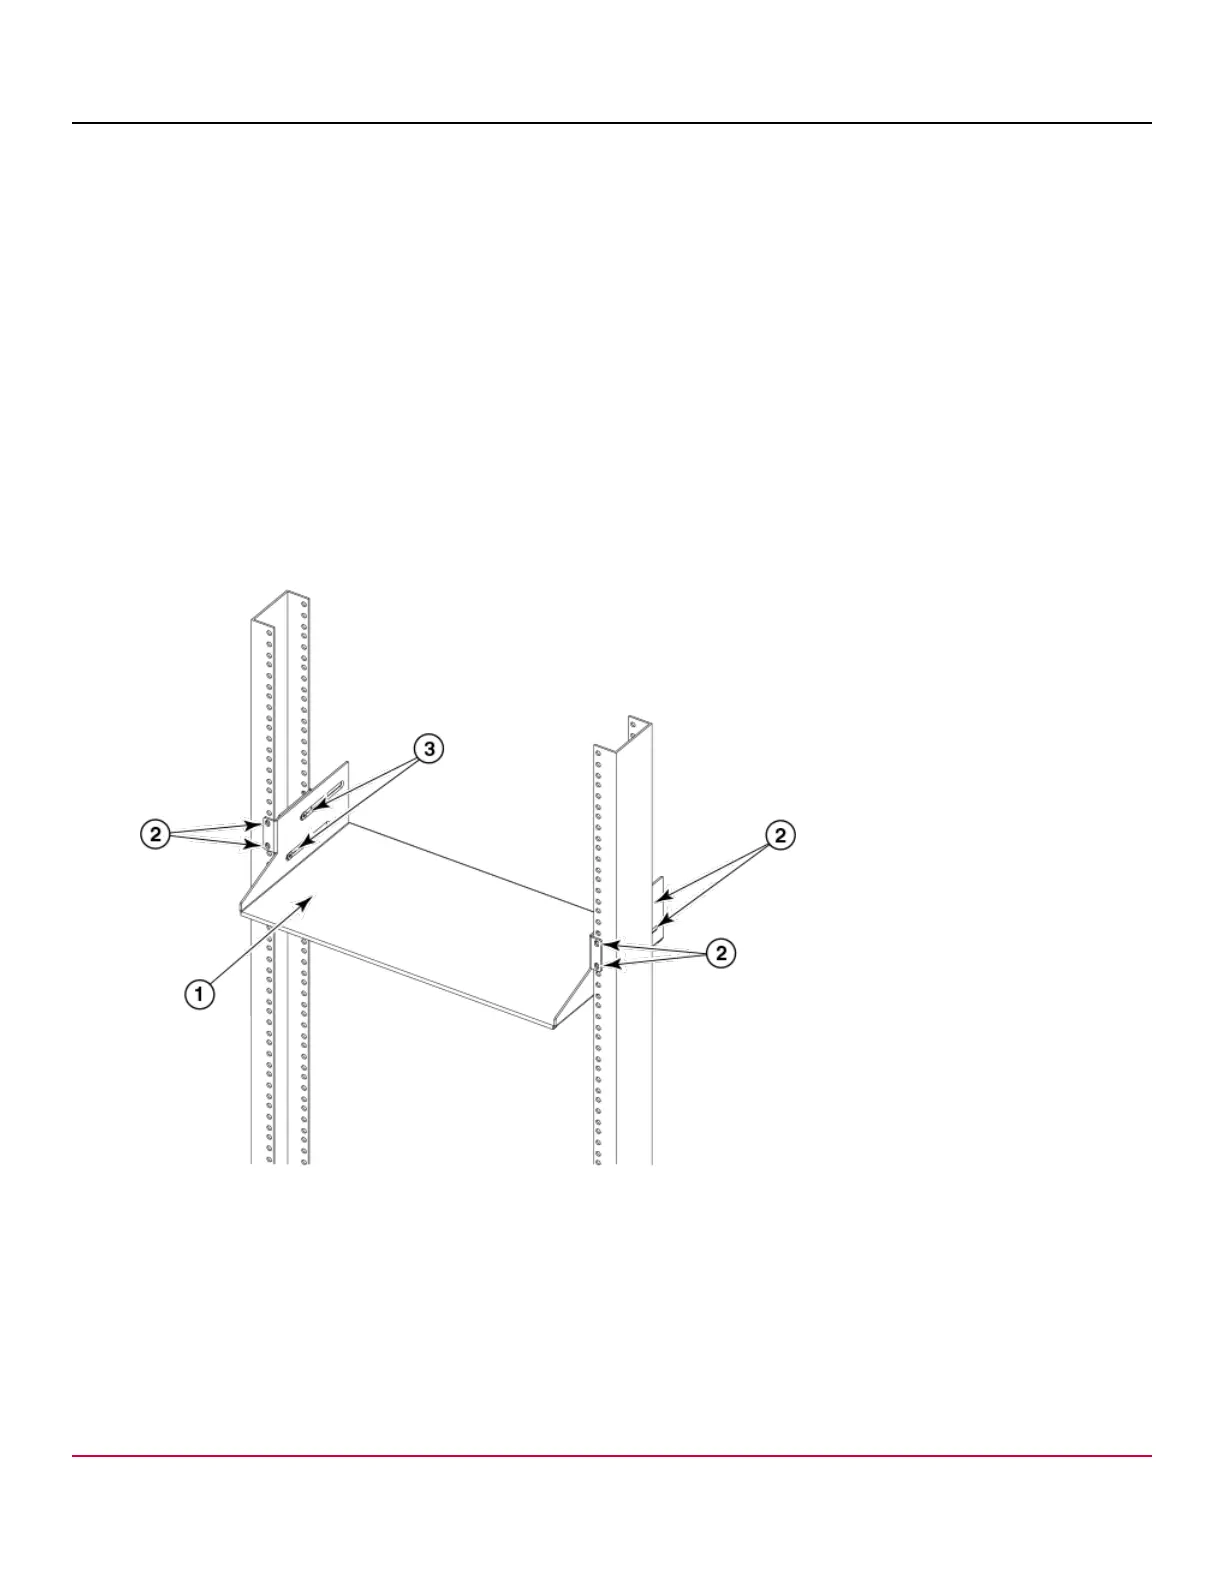
1. Loosen the two 10-32 adjusting screws securing the each mid-mount bracket to the saddle (see the previous figure)
and slide the brackets as far backward as possible.
2. Install the saddle to the equipment rack rails using the following steps while referring to the following figure. Also see
Figure 3 for details on securing screws to equipment rack.
a) Install the saddle to the port side of the rack rails using four 10-32 screws with square-cone washers, two screws
on each side of the saddle. Tighten the screws to 36.86 cm-kg (32 in.-lb).
b) Move the mid-mount brackets into position so they align with the rack mounting holes on the nonport side of the
rack. Secure the mid-mount brackets to the rack with four 10-32 screws with square-cone washers, two on each
side. Tighten the screws to 36.86 cm-kg (32 in.-lb).
c) Tighten the two 10-32 adjusting screws on each mid-mount bracket.
NOTE
The following figure shows the saddle for XBR-DCX4S-0126. The saddle for XBR-X64-0126 has a
somewhat different design but installs the same way.
Figure 6: Saddle Installed in a Rack
1. Saddle
2. 10-32 Screws with Square-Cone Washers
3. Adjusting Screws (two on each side of the saddle)
NOTE
For rails with round holes, use the clip nuts (seeFigure 1) on the rack rails for securing 10-32 screws. For
rails with square holes, use the retainer nuts (see Figure 1). Also see the following figure.
53-1002177-19
30