213
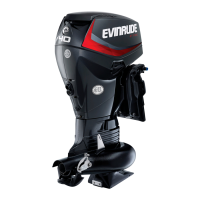
POWERHEAD
POWERHEAD ASSEMBLY
10
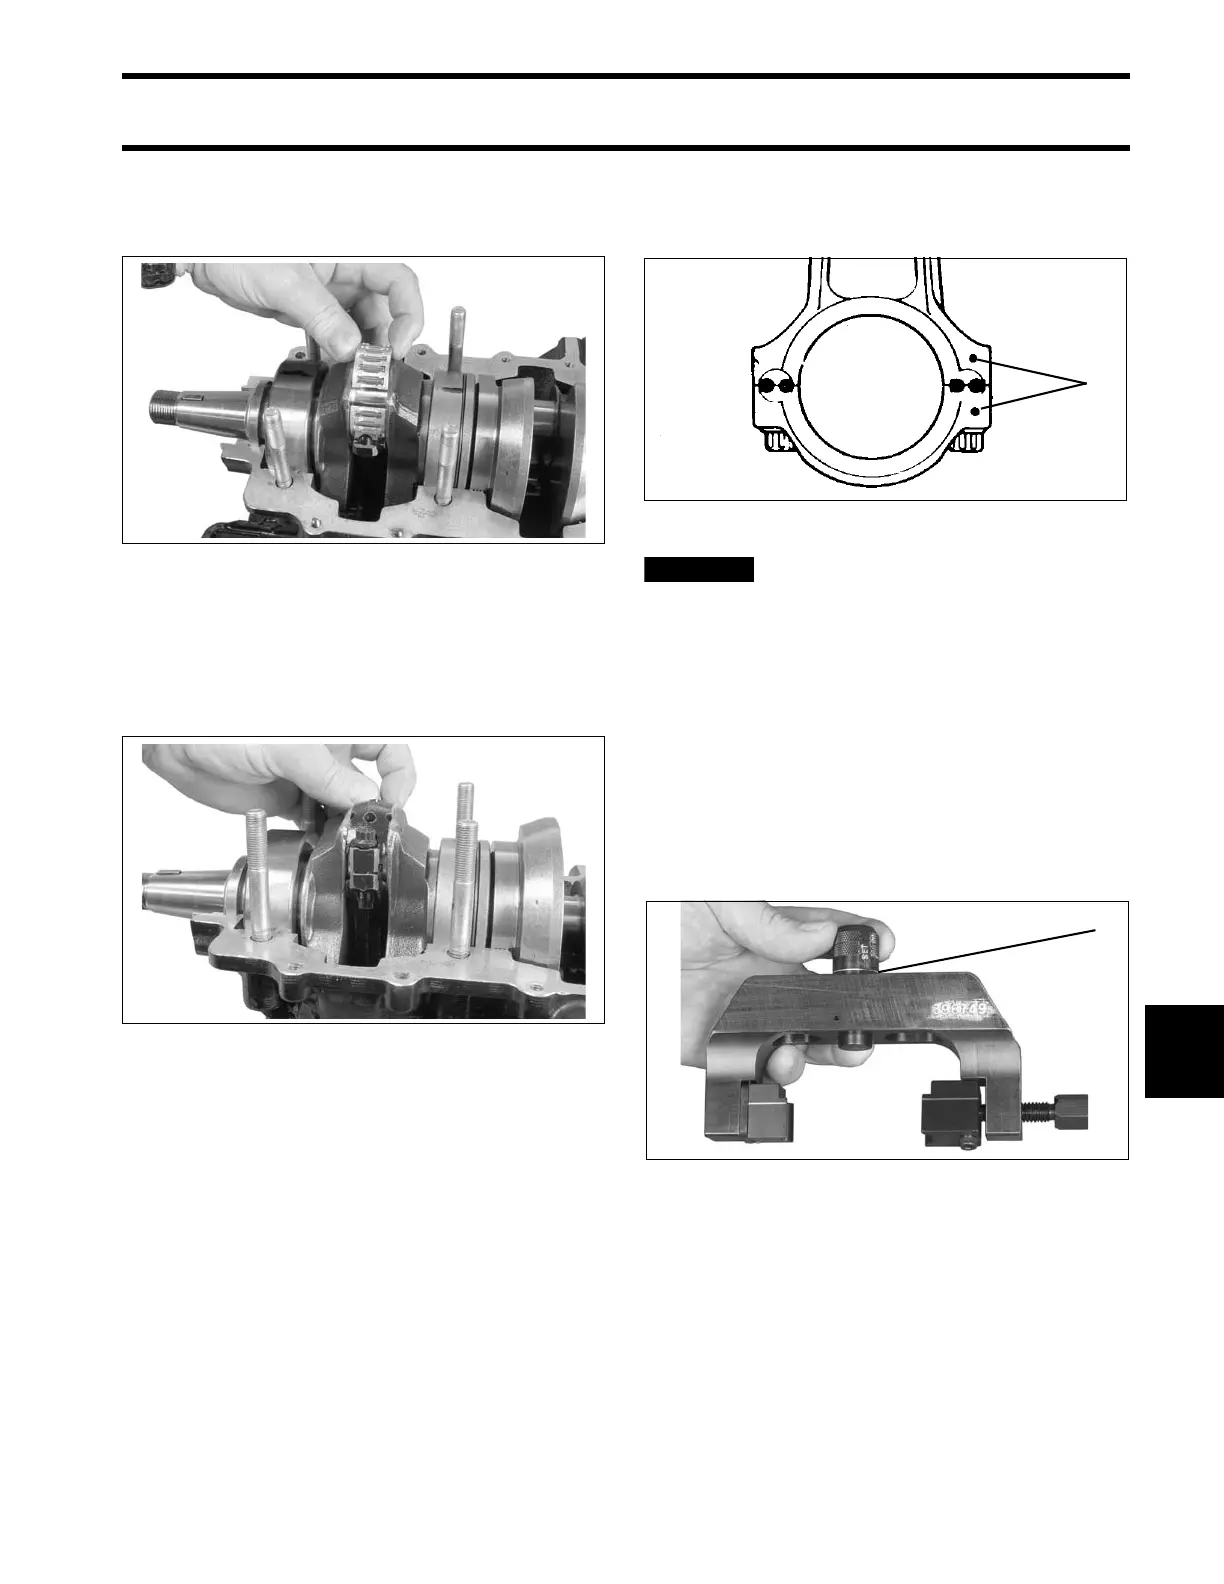
Lubricate each crankpin and bearing assembly
with outboard lubricant. Slowly pull connecting rod
up to crankshaft and install bearing halves.
Lubricate rod cap screw threads and under screw
head mating surface with outboard lubricant. Align
dot on rod cap with dot on the connecting rod.
Install rod cap screws finger tight (NO MORE than
6 in. lbs. (1 N·m) maximum).
IMPORTANT: Be sure alignment dot on rod cap
matches dot on rod and that both dots face fly-
wheel.
Tightening rod cap screws without
Alignment Fixture, P/N 396749, or using an
incorrect procedure could cause permanent
damage to the connecting rod and crankshaft.
To maintain accurate torque values, keep
torque wrench extension length to a minimum.
Install Rod Cap Alignment Fixture, P/N 396749,
before tightening rod cap screws. Align the flat
marked “SET” on the rod engagement stop with
the arrow on the frame. Position stop at the center
setting (one line showing). Rotate adjustment
knob 180° to lock in position.
002115
002116
1. Alignment dots 53628
1. Center position, one line showing 002484