2. To optimize the density of the measured patterns, control the primary charging bias and the developing bias.
The image density correction control is triggered under the conditions below.
• In the case of Menu > Adjustment/Cleaning > Auto Adjustment Settings > Auto Adjustment Image Regularly: OFF
(default)
1. At power ON (When the environmental change is great compared with the condition before turning OFF the power
(more than +/-10 degC))
2. When replacing the Toner Cartridge
3. When the environmental change is great while not getting into the sleep state (more than +/-5 degC)
4. After printing the specified number of sheet (every 500 sheets)
5. After printing or after 300 min. since the execution of the image density correction
6. At recovery from the sleep state (When the environmental change is great compared with the condition before
getting into the sleep state (more than +/-10 degC))
7. When the user commands execution of the calibration
• In the case of Menu > Adjustment/Cleaning > Auto Adjustment Settings > Auto Adjustment Image Regularly: ON, the
operation of (1) and (6) mentioned in the above conditions will be as follow:
1’. Must execute at power ON
6’. Must execute at recovery from the 8-hour (or longer) sleep state
● Image gradation correction control (D-half control)
This control is to correct the gradation by the main controller PCB based on the half-tone density measured by the DC controller
PCB.
Upon D-max control completed, the DC controller PCB and the main controller PCB enter the following steps of D-half control.
1. The DC controller PCB measures the density detection patterns on the ITB by applying the primary charging bias and the
developing bias optimized through D-max control to send the density data to the main controller PCB.
2. The main controller PCB corrects gradation based on the density data to reproduce the ideal half-tone images.
● Color displacement control
This control is to correct color displacement due to variability of the laser units or toner cartridges.
The following displacements are corrected through this control.
• Horizontal scanning start position
• Horizontal scanning magnification
• Vertical scanning start position
The DC controller PCB controls the color displacement/density sensor and the color displacement sensor under the conditions
below.
In the case of Menu > Adjustment/Cleaning > Auto Adjustment Settings > Correct Color Mismatch when turned ON: OFF (default)
1. When completing the first job after power ON
2. When replacing the Toner Cartridge
3. After printing the specified number of sheet (every 150 sheets)
4. After the specified time has passed(60 min, after that every 240 min)
5. When completing the first job after recovering from the 8-hour (or longer) sleep state
6. When the user commands execution of the color displacement correction
In the case of Menu > Adjustment/Cleaning > Auto Adjustment Settings > Correct Color Mismatch when turned ON:
ON, the operation of (1) and (5) mentioned in the above conditions will be as follow:
1'. At power ON, execute before executing a job
5'. At recovery from the 8-hour (or longer) sleep state, execute before executing a job
● Auto-gradation correction control
This control is to stabilize the image gradation density characteristic.
To execute this control, go to “Adjustment / Cleaning > Auto-gradation correction” in User mode.
This control is performed in the following 3 approaches.
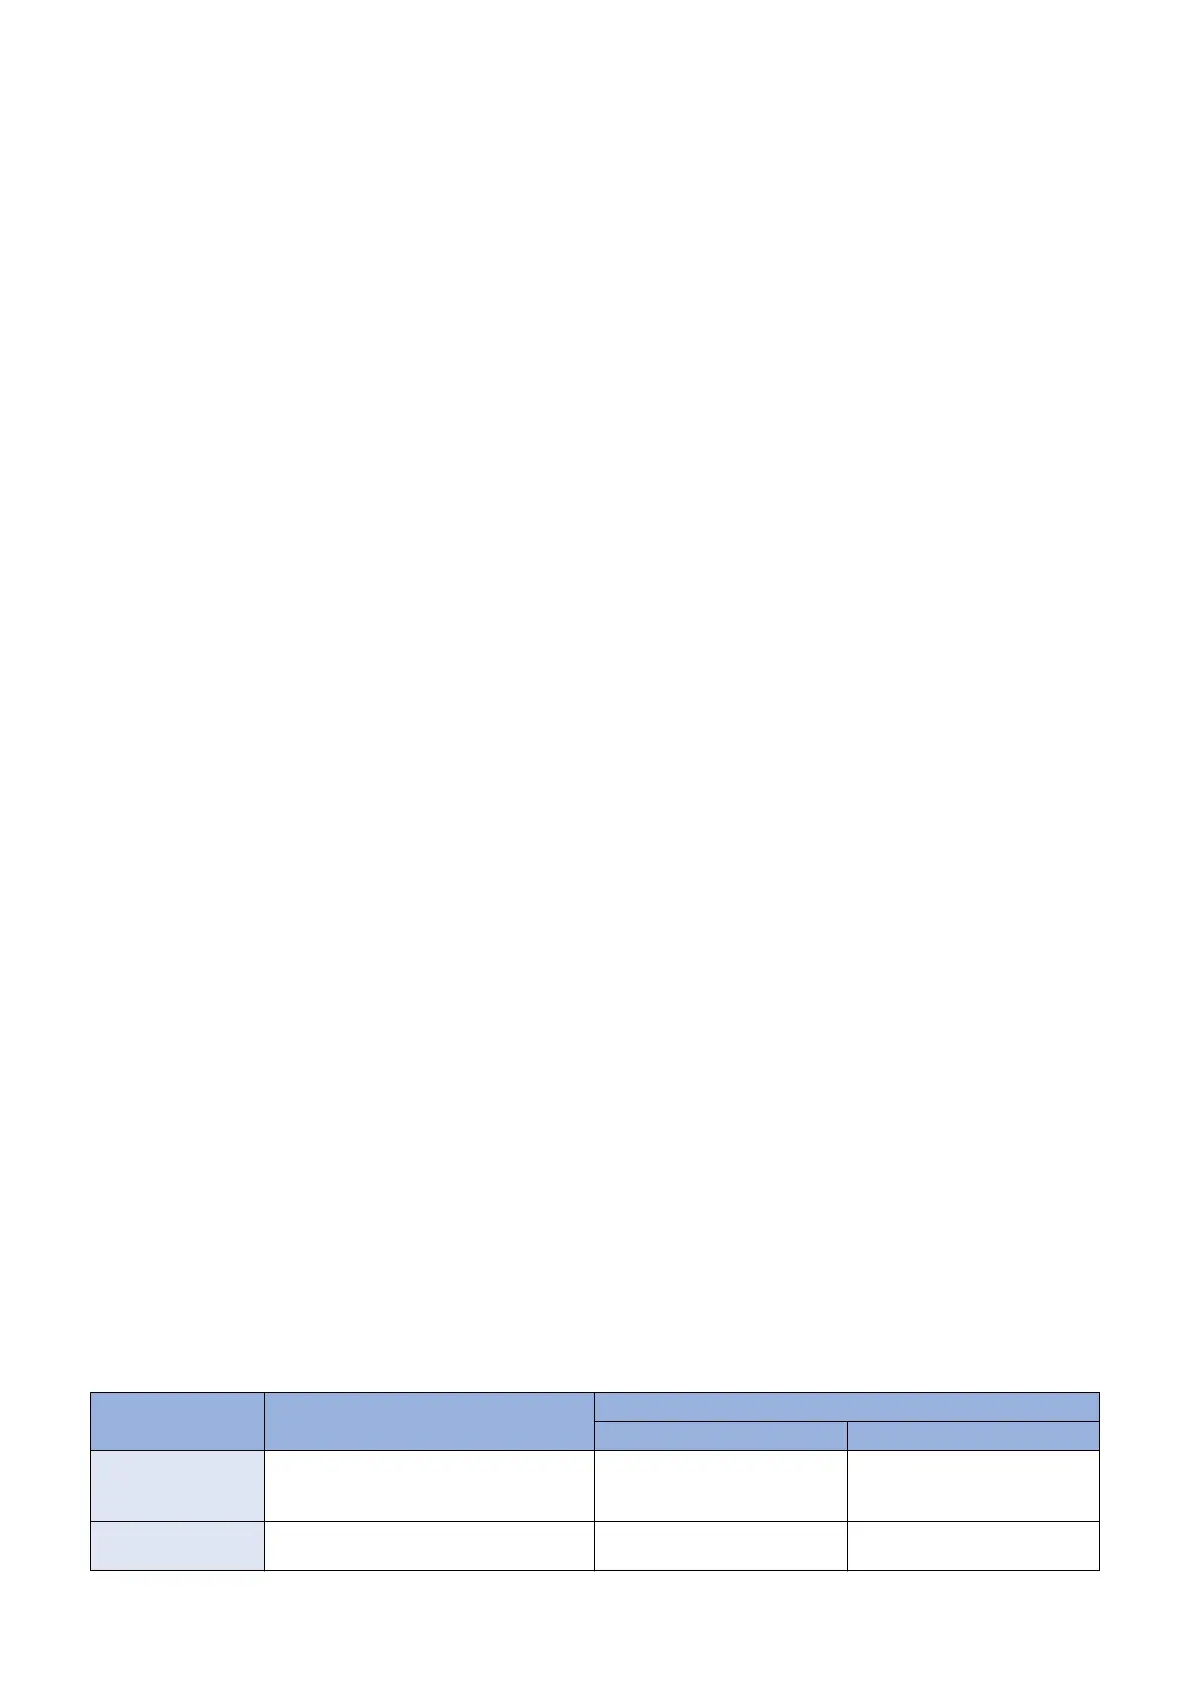
Item Description Test pattern
Output sheets Type
Full correction (PAS-
CAL)
Gradation is corrected based on the grada-
tion density read on output test patterns by
the reader.
2 sheets 1: for error diffusion process
2: for screen
Quick correction Gradation is corrected by D-half control not
using output test patterns.
- -
2. Technical Explanation
38